188 Powermax30 XP Service Manual 808150 Revision 0
8 – Parts
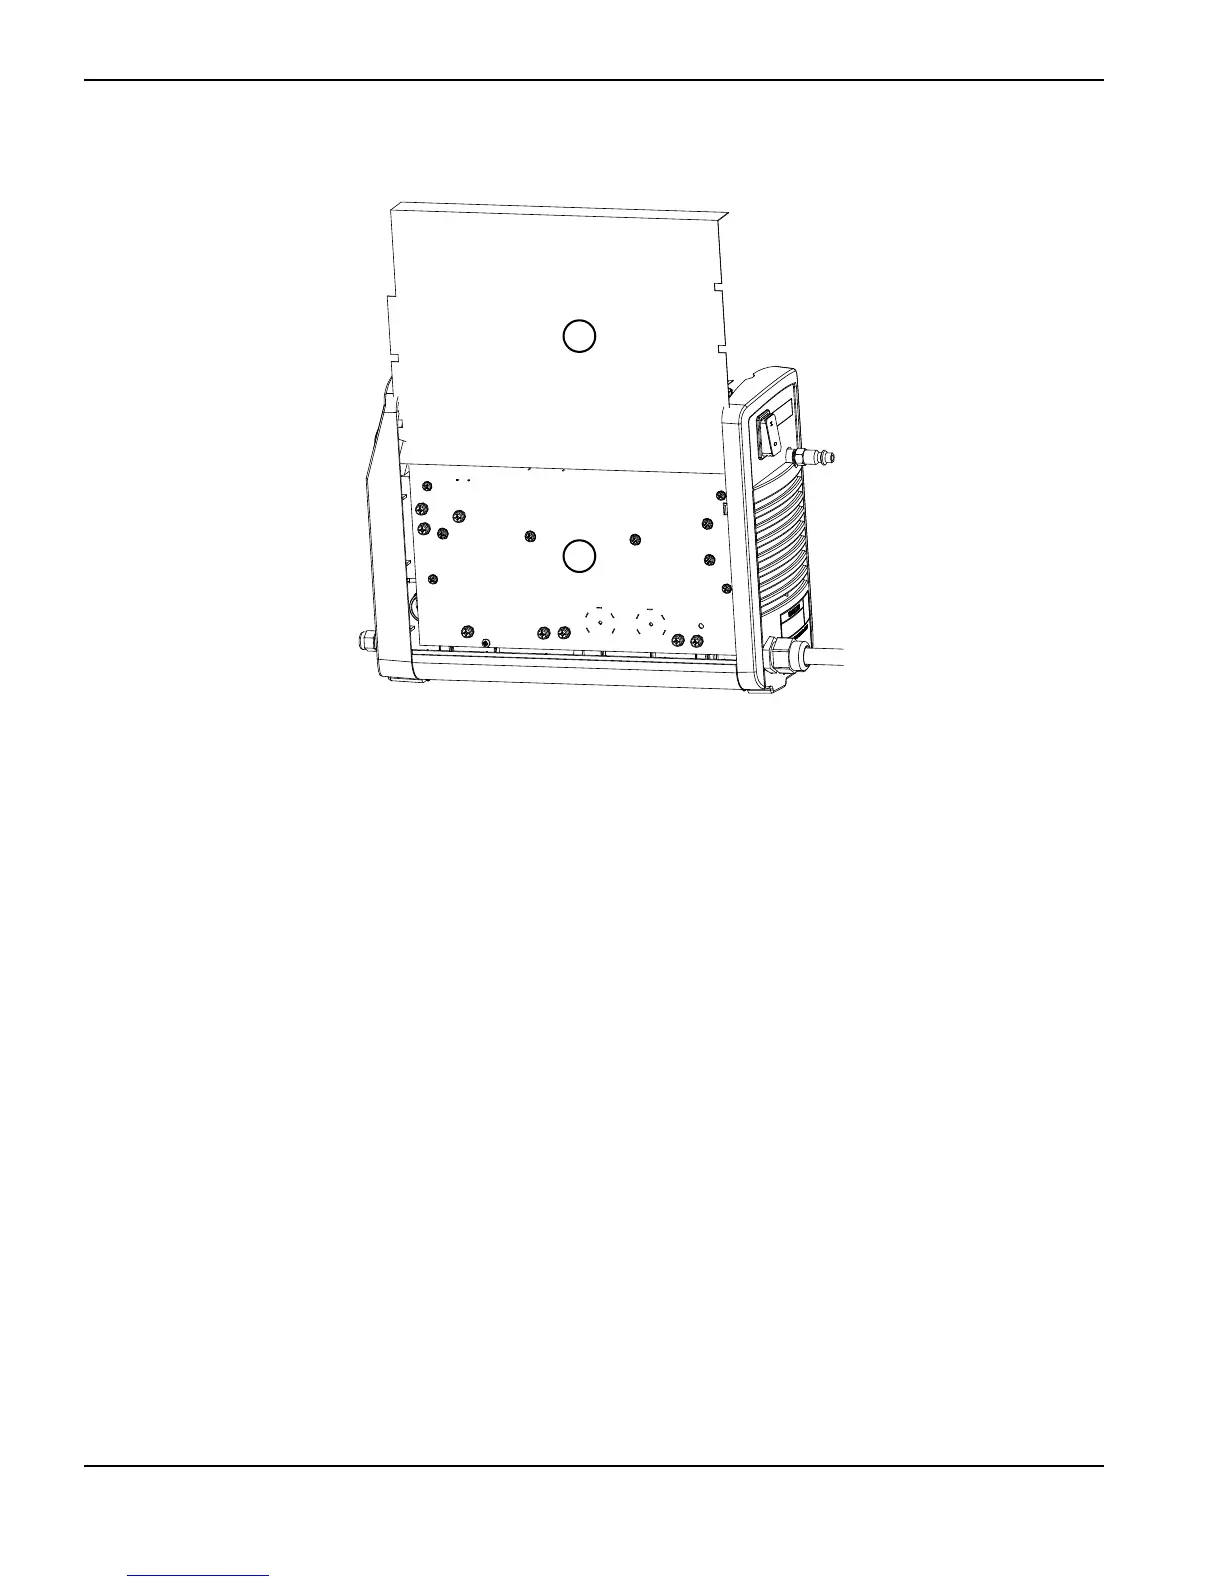
Interior, power board side
Item Kit number Description Designator
1 228104 Kit: Component barrier
2 428233 Kit: Power board, CSA (141304) PCB2
2 428234 Kit: Power board, CE and CCC (141309) PCB2