Quick Start Guide ~ RCON PROFINET IO Specification ~
p18
©2023 / IAI Corporation
STEP
3
STEP
1
STEP
2
Wiring
Table
of
Contents
200V Power supply unit /
Power supply connector
Items to prepare
It is to be wired to the power supply connector on RCON-PS2 in order to supply
drive power to the 200V servo driver RCON-SC.
7
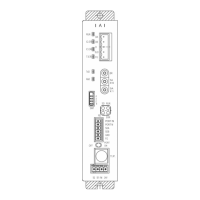
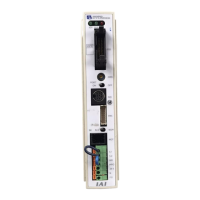
Wiring to RCON-PS2 Power Supply Connector
Insert the power supply connector to the 200V power supply unit (RCON-PS2).
(1)
Connect wires to each terminal. See the example of connection below to
have the wiring process.
(2)
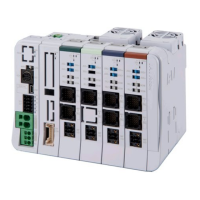
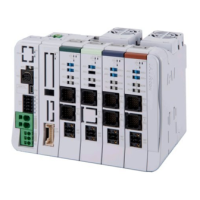
RCON system
Tighten up
with slotted
screwdriver
Power Supply Connector
(Model: SPC5/4-STF-7.62)
200V Power Supply Unit
(RCON-PS2-3)
Wiring to 200V Power Supply Unit (RCON-PS2)
The leakage current may vary depending on the connected motor capacity,
cable length and other ambient environment. In case of leakage protection,
measure the leakage current at the position to install a leakage breaker.
A leakage breaker should be selected under a clear purpose such as protection
from fire or protection for personnel. Select a leakage breaker applicable for
higher harmonics (inverter).
* In this example, shows the layout
for the 3-phase 200V power supply.
Grounding
Class D Grounding
(former Class 3 Grounding with ground
resistance 100Ω or below)
Leakage Breaker
X
X
X
I
>
I
>
I
>
Circuit Breaker
L1 L2 L3
(1) Prepare a cable with its diameter from
AWG 14 to 8.
(2) The strip length of a
cable should be
15mm.
(3) Insert the wire all the
way into the terminal
port while pushing the
flathead screwdriver
into the hole next to
the wire insertion port.
Wiring method to power supply connector
GoodBad
(4) Pull out the slotted
screwdriver,

 Loading...