Note: You can install DIMMs for microprocessor 2 as soon as you install
microprocessor 2; you do not have to wait until all of the DIMM slots for
microprocessor 1 are filled.
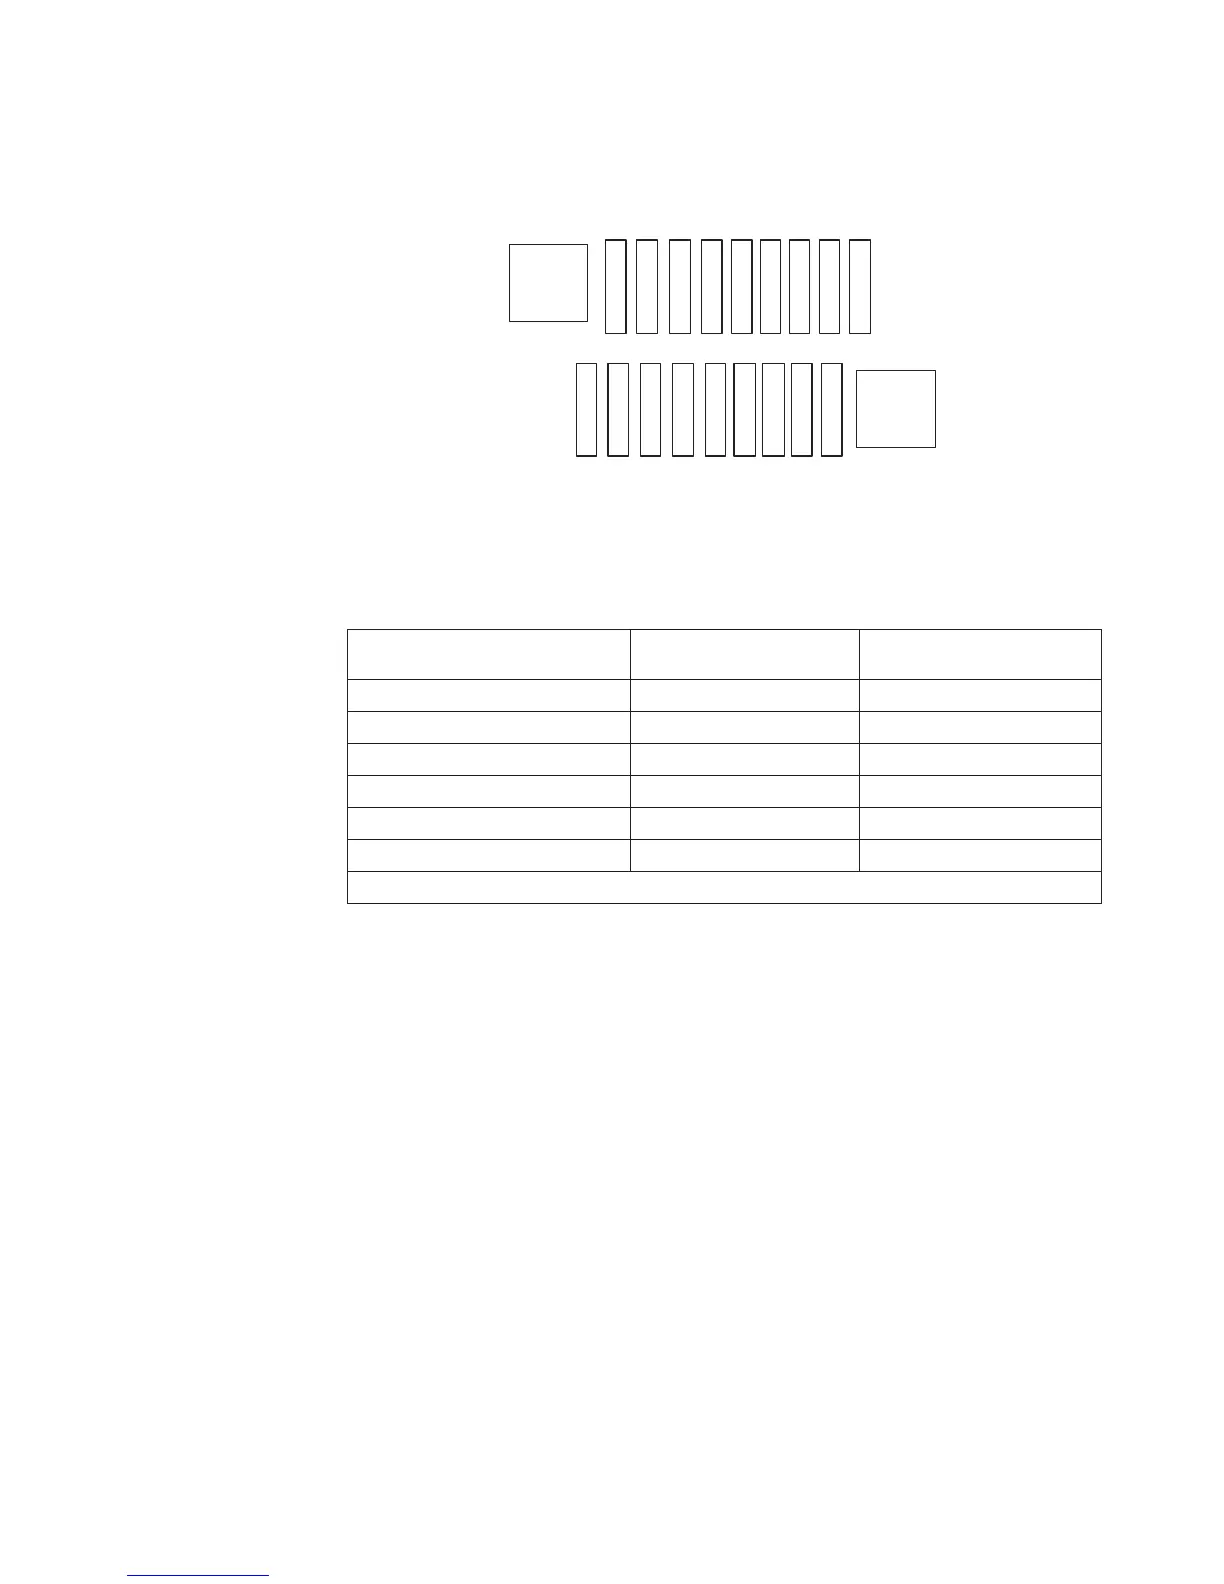
The following table shows the installation sequence for installing DIMMs in
memory-mirroring mode:
Table 16. Memory mirroring mode DIMM population sequence
Number of DIMMs
Number of installed
microprocessor DIMM connector
First pair of DIMMs 1 3, 6
Second pair of DIMMs 1 2, 5
Third pair of DIMMs 1 1, 4
Fourth pair of DIMMs 2 12, 15
Fifth pair of DIMMs 2 11, 14
Sixth pair of DIMMs 2 10, 13
Note: DIMM connectors 7, 8, 9, 16, 17, and 18 are not used in memory-mirroring mode.
Online-spare memory
The memory online-spare feature disables the failed memory from the system
configuration and activates an online-spare DIMM to replace the failed active DIMM.
You can enable either online-spare memory or memory mirroring in the Setup utility
(see “Using the Setup utility” on page 259). When you use the memory online-spare
feature, consider the following information:
v The memory online-spare feature is supported on server models with an Intel
Xeon
™
5600 series microprocessor.
v When you enable the memory online-spare feature, you must install three DIMMs
per microprocessor at a time. The first DIMM must be in channel 0, the second
DIMM in channel 1, and the third DIMM in channel 2. The DIMMs must be
identical in size, type, rank, and organization, but not in speed. The channels run
at the speed of the slowest DIMM in any of the channels.
v The maximum available memory is reduced to 2/3 of the installed memory when
memory online-spare mode is enabled. For example, if you install 72 GB of
memory using RDIMMs, only 48 GB of addressable memory is available when
you use memory online-spare.
The following table shows the installation sequence for installing DIMMs for each
microprocessor in memory online-spare mode:
CPU1
CPU2
12
3
4
56
7
8
16
15
14
13
1211
10
9
1122
33
44
5566
17 18
Figure 2. Memory connectors associated with each microprocessor for memory mirroring
Chapter 5. Removing and replacing server components 199

 Loading...


