ı TRANSMITTING
Before transmitting, monitor your selected operating
frequency to make sure transmitting won’t cause inter-
ference to other stations on the same frequency.
➀ Connect an electronic keyer or paddle to the [ELEC-
KEY] jack on the rear panel of the transceiver
(p. 68).
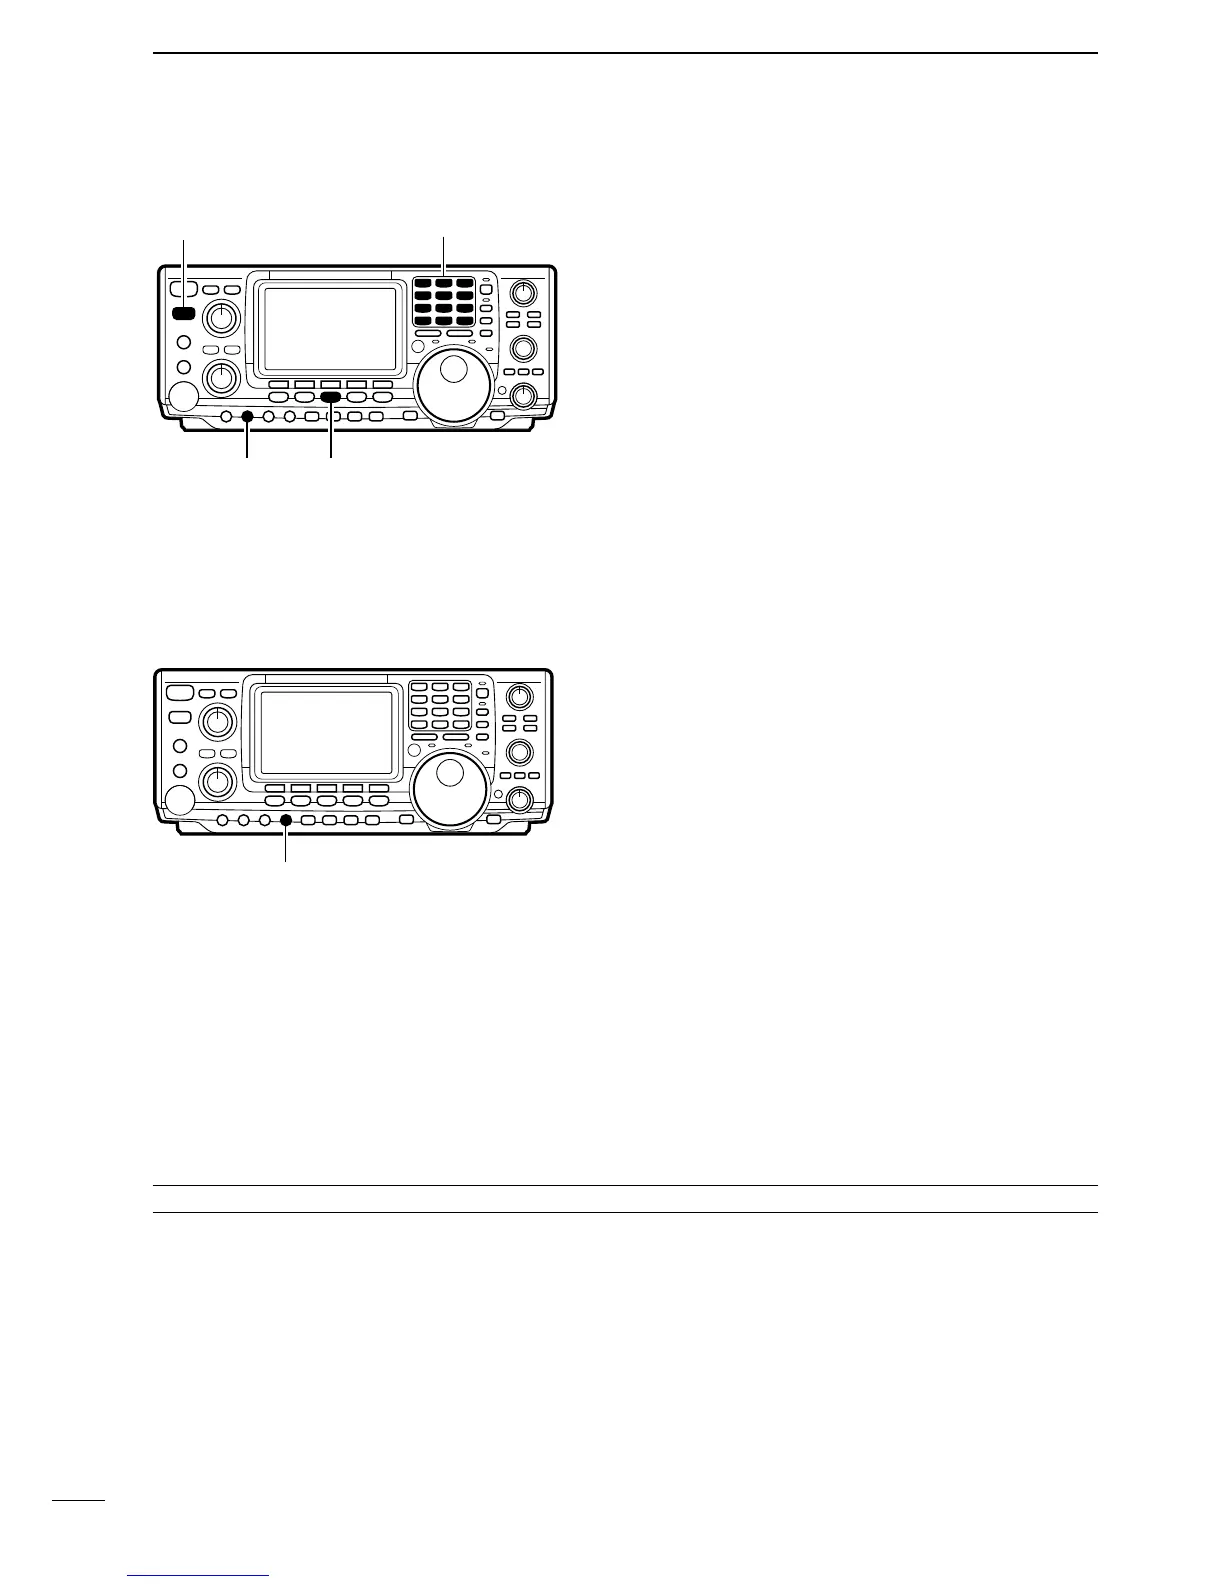
➁ Push a band key to select the desired band.
➂ Push [CW/RTTY] to select CW or CW-R.
• Push [CW/RTTY] for 2 sec. to toggle between CW and
CW-R modes.
➃ Rotate [AF] to set audio to a comfortable listening
level.
➄ Push [TRANSMIT] to set the transceiver to the
transmit condition.
➅ Use the electronic keyer or paddle to key your CW
signals.
• The P0
meter indicates transmitted CW signal strength.
■ ABOUT KEYING SPEED
■ CW SIDE TONE FUNCTION
The transceiver’s internal electronic keyer speed can
be adjusted from 6 to 60 wpm.
➥ Rotate [KEY SPEED] clockwise to increase keying
speed; counterclockwise to decrease keying speed.
When the transceiver is in the receive condition (and
the break-in function is OFF—p. 44) you can listen to
the tone of your CW signal without actually transmit-
ting. This allows you to match your transmit signal ex-
actly to another station’s. This also convenient for CW
practice. CW side tone level can be adjusted in CW set
mode (p. 27).
✔Convenient functions for transmit
Break-in function (p. 44) The break-in function automatically toggles the trans-
ceiver between transmit and receive when operating
CW. This function can be set to full break-in or semi
break-in.

 Loading...