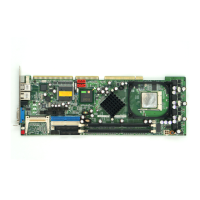
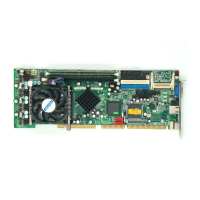
ROCKY-4786EV/EVG User Manual
Page 49
4.3.1 CPU Installation
WARNING!
CPUs are expensive and sensitive components. When you install the CPU,
please be careful not to damage it in anyway. Make sure you install it properly
and ensure that a heat sink and CPU cooling fan is properly installed before
you run the CPU Card or else both the CPU and the board will be damaged.
To install Intel 478-pin CPU onto your motherboard, follow the steps below:
Step 1: Inspect the CPU socket. Make sure there are no bent pins and make sure the
socket contacts are free of foreign material. If any debris is found, remove it with
compressed air.
Step 2: Correctly position the CPU. Make sure the pin 1 mark matches the cut edge
on the CPU socket. Carefully place the CPU on top of the socket. When properly
placed, the CPU should be easily inserted into the socket.
Step 3: Insert the CPU. To insert the CPU into the socket, first lift the lever on the side
of the CPU socket (See
Figure 4-1) and then follow the instructions below:
Step 4: Correctly orientate the CPU with the IHS (Integrated Heat Sink) side facing
upward.
Step 5: Locate the pin 1 mark on the CPU.
Step 6: Gently insert the CPU into the socket.
Step 7: Lower the lever into the locked position.Step 0:
 Loading...