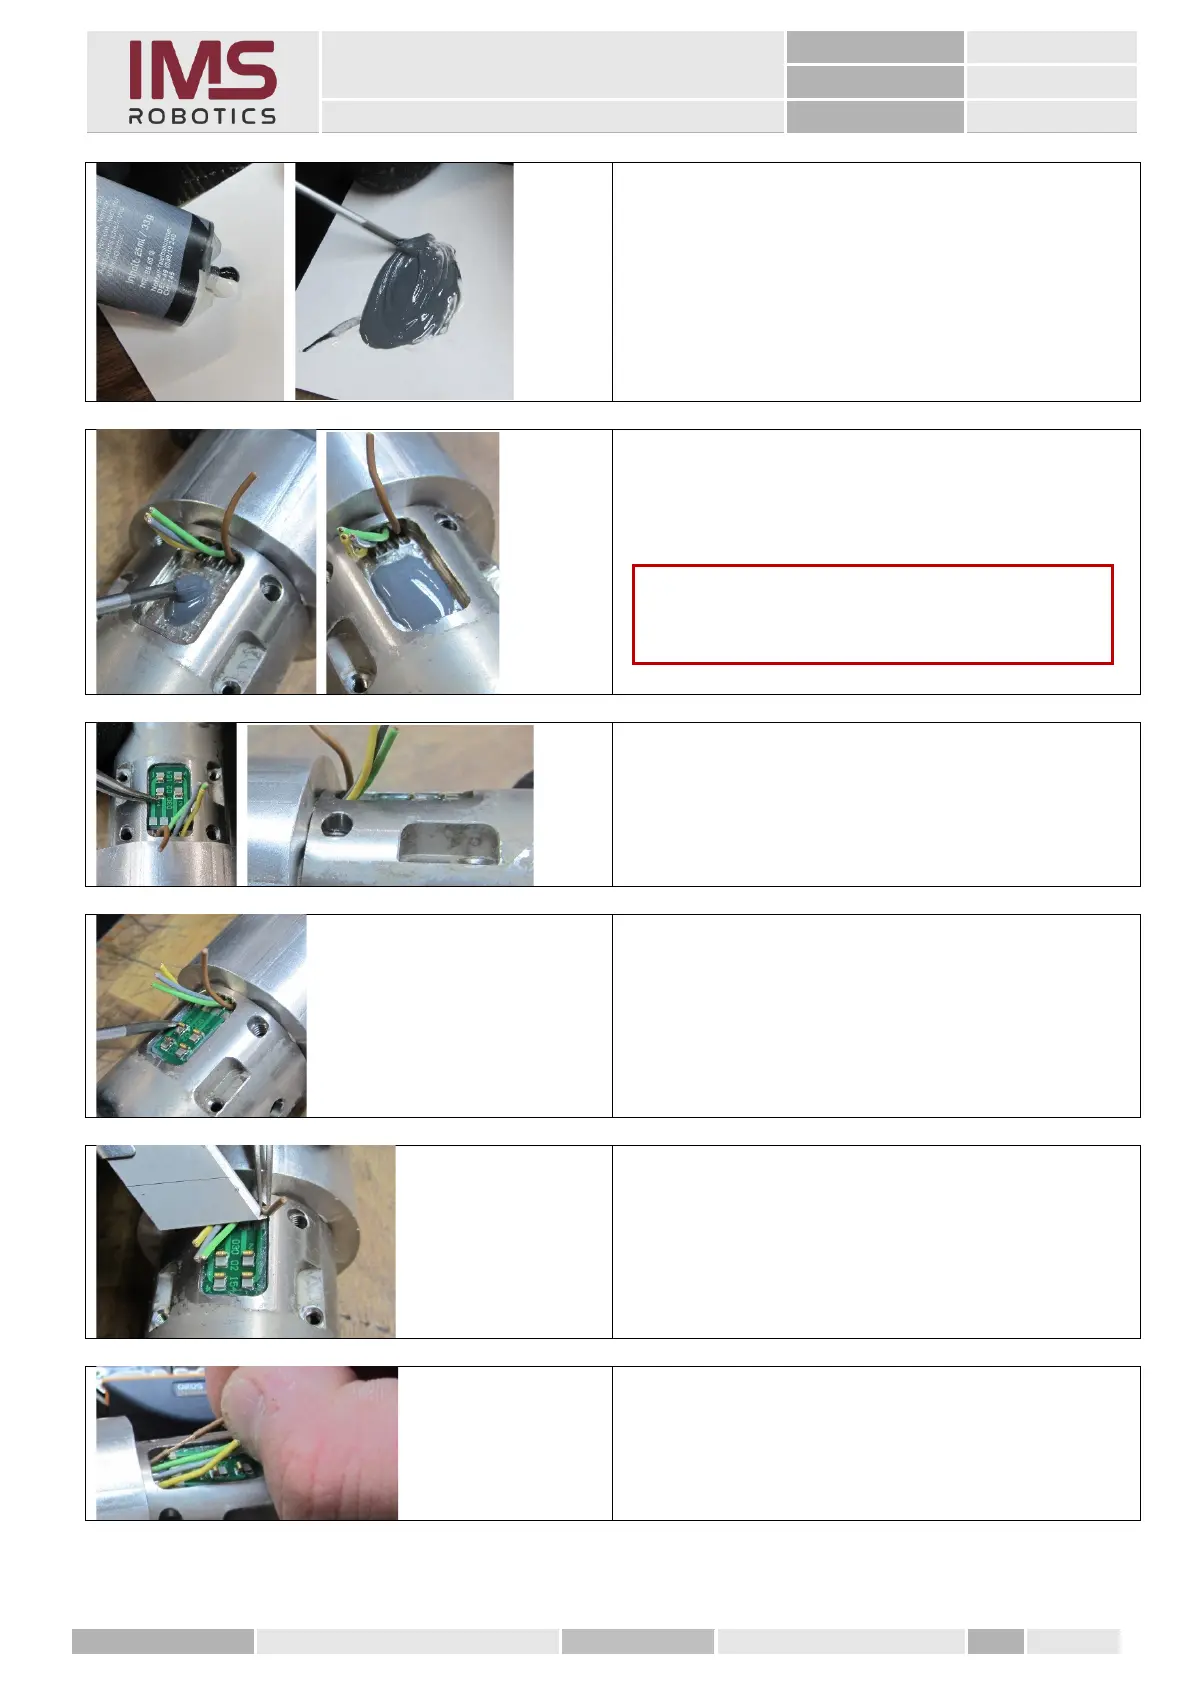
MICRO S automatic Cutter motor
1. Apply a suitable two-component
adhesive (e.g. "Toolkraft Flüssigmetall"
made by Toolkraft)
of the size of a cherry seed onto a clean
surface and mix evenly.
Processing time about 5 min.
2. Now pour the well mixed adhesive into
the slot for the spring contact PCB.
3. The PCB has to be positioned right at the
front and the spring contacts have to
protrude a bit over the air motor
housing.
4. Remove excess material after about 5
minutes, depending on the adhesive
used.
The adhesive should not smear any more
but also should not be completely firm.
You can start soldering after about 15 - 20
minutes, when the adhesive has hardened
sufficiently.
1. Carefully cut the sheathing so that the
wires are not damaged.
2. Strip only a small section and twist it.
Caution
Use the right amount of glue because the board
will float in the glue and be fixed.