232
Chapter 6
Reprogramming the Security Key
How to Reprogram the Security Key
1. Power off the printer.
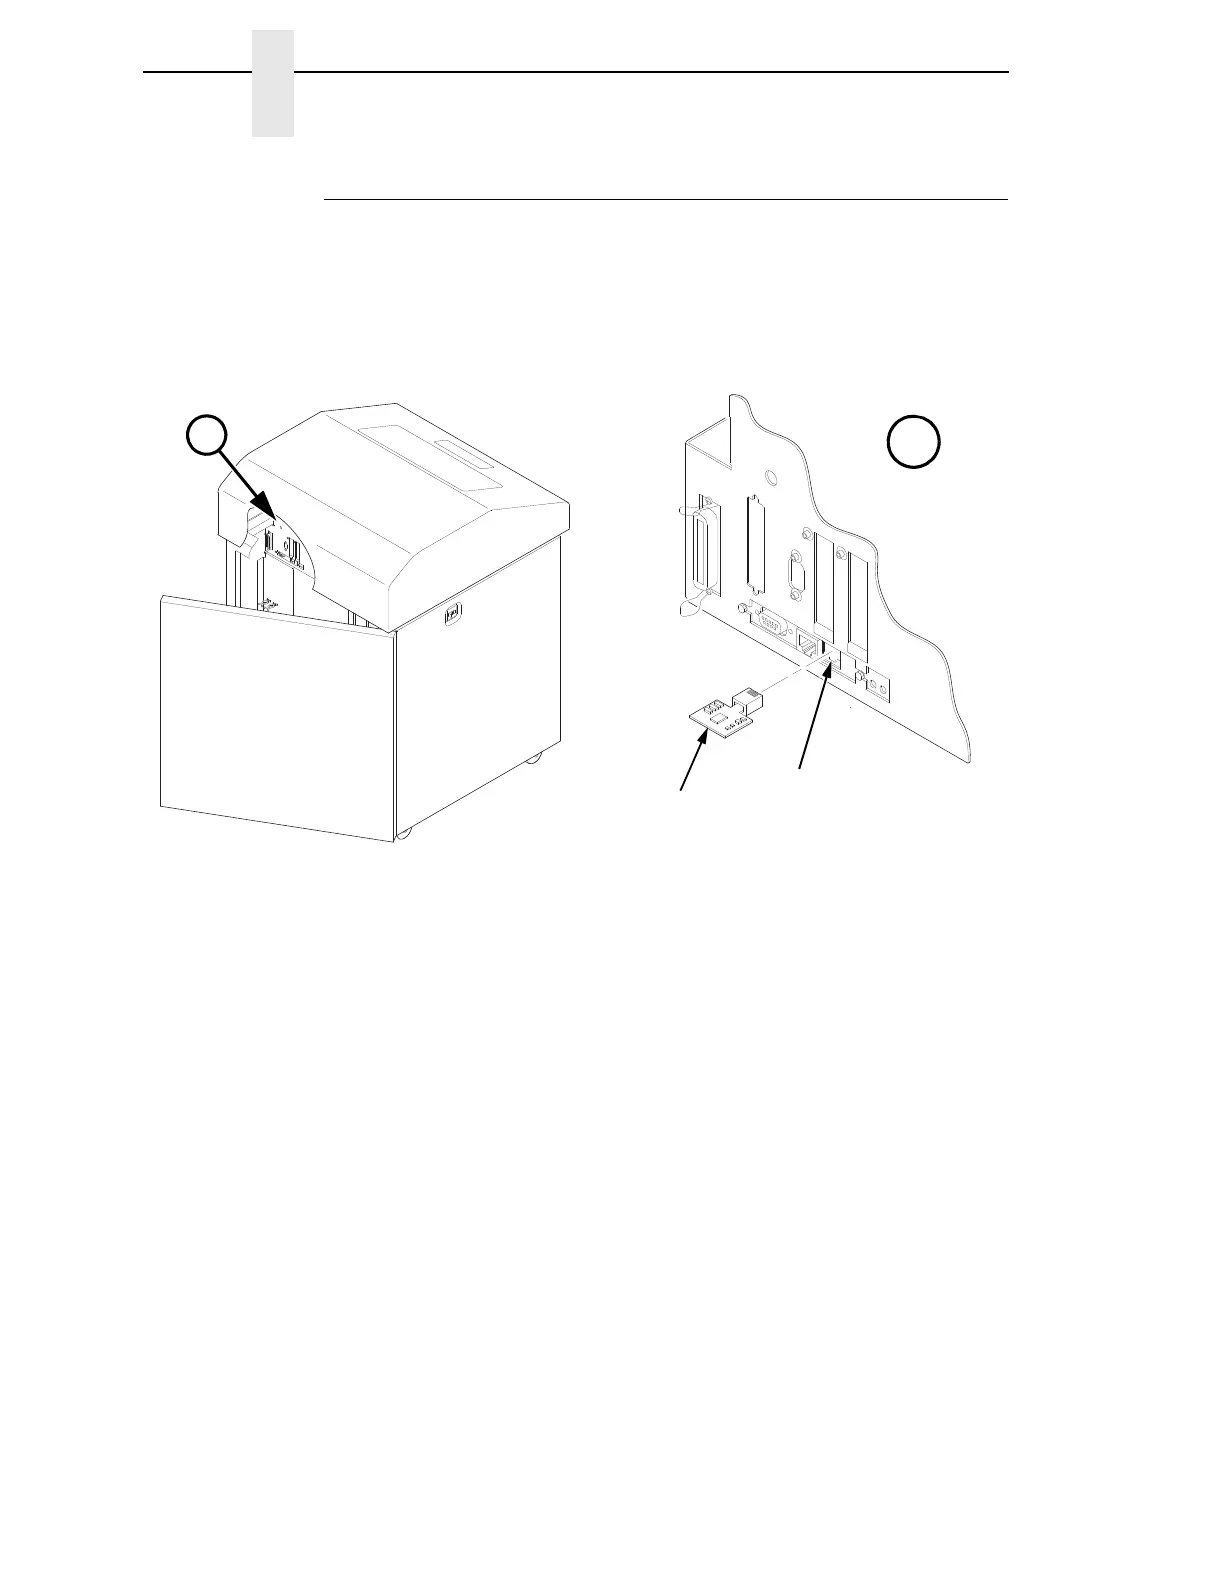
2. On cabinet models, open the rear door. On pedestal models, refer to
Figure 11 to locate the debug port at the rear of the printer.
3. Insert the SPX into the debug port as shown.
Figure 11. Inserting the SPX into the Debug Port
4. Power on the printer. The printer will begin its boot-up sequence.
5. When the printer detects a valid SPX, the control panel displays:
“NEW SPX DETECTED
PRESS ENTER”
NOTE: If an error message displays, find the message in the Message List in
Chapter 3 and follow the troubleshooting instructions.
6. Press the ENTER key to activate the reprogramming sequence. The
display will read:
“PROGRAMMING. PLEASE WAIT.”
7. When the security key is reprogrammed, the display will read:
“REMOVE USED SPX
THEN PRESS ENTER”
8. Remove the SPX from the debug port at the rear of the printer.
9. Press the ENTER key. The printer will reboot itself and you may resume
normal printing.
10. You may need to download the emulation again.
11. You may need to set additional menu parameters for any new features
that have been added or enabled. (Refer to Chapter
4.)