8
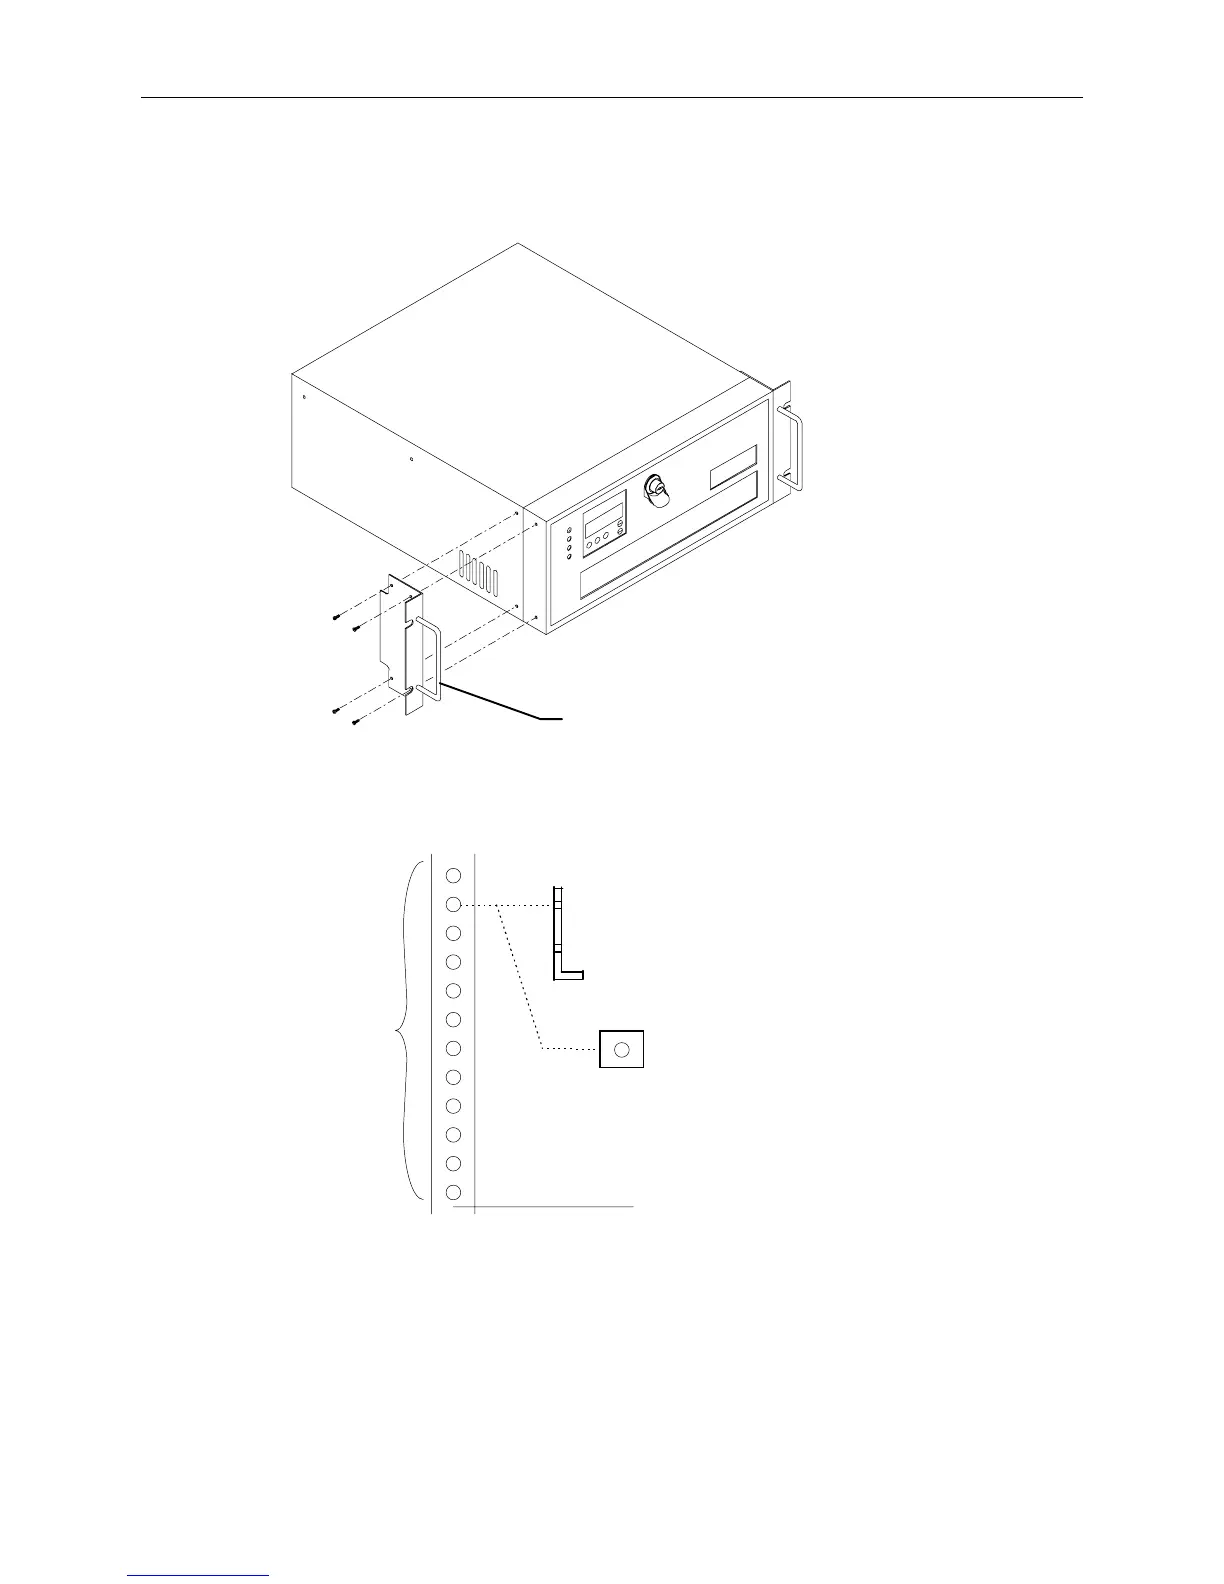
To install the InterRAID-8 cabinet into the rack:
1. Attach the handle brackets to both sides of the InterRAID-8 cabinet. Use the eight panhead screws
(four for each bracket) supplied with the InterRAID-8.
Handle Bracket
NOTE The sides of the InterRAID-8 have different hole patterns to match the pattern in each handle bracket.
2. Determine the 4 U space in which to install the InterRAID-8. The following figure shows where
the mounting shelf and tinnerman nut must be installed in a given 4 U space.
Bottom edge of
InterRAID-8 here
(12 Holes)
Mounting Shelf
(End View)
Tinnerman
Nut