16
3. Connect the cable set to the base unit and to the concentrator. Refer to the concentrator
documentation for details.
RAID Disk Drives
The box labeled “This box contains hard disks loaded with operating system software” contains up to
six disk drives. Three of them are boot drives, each labeled with a drive ID number (0, 1, 2). The boot
drives are loaded with the operating system and must be installed into the internal RAID section of the
server base unit. If additional disk drives are included in the box, they are unformatted and not labeled.
The box also contains a drive labeling sheet to be used with the unformatted disk drives. If you
received additional disk drive boxes, the disk drives will be unformatted, and should be installed into
the rack-mount InterRAID-8 cabinets.
To install the RAID disk drives:
1. Remove the disk drives from the box.
2. Open the disk drive door to the internal RAID section.
NOTE Use the key supplied in the base unit parts box to open the disk drive door. Insert the key and turn it
clockwise to unlock, counterclockwise to lock.
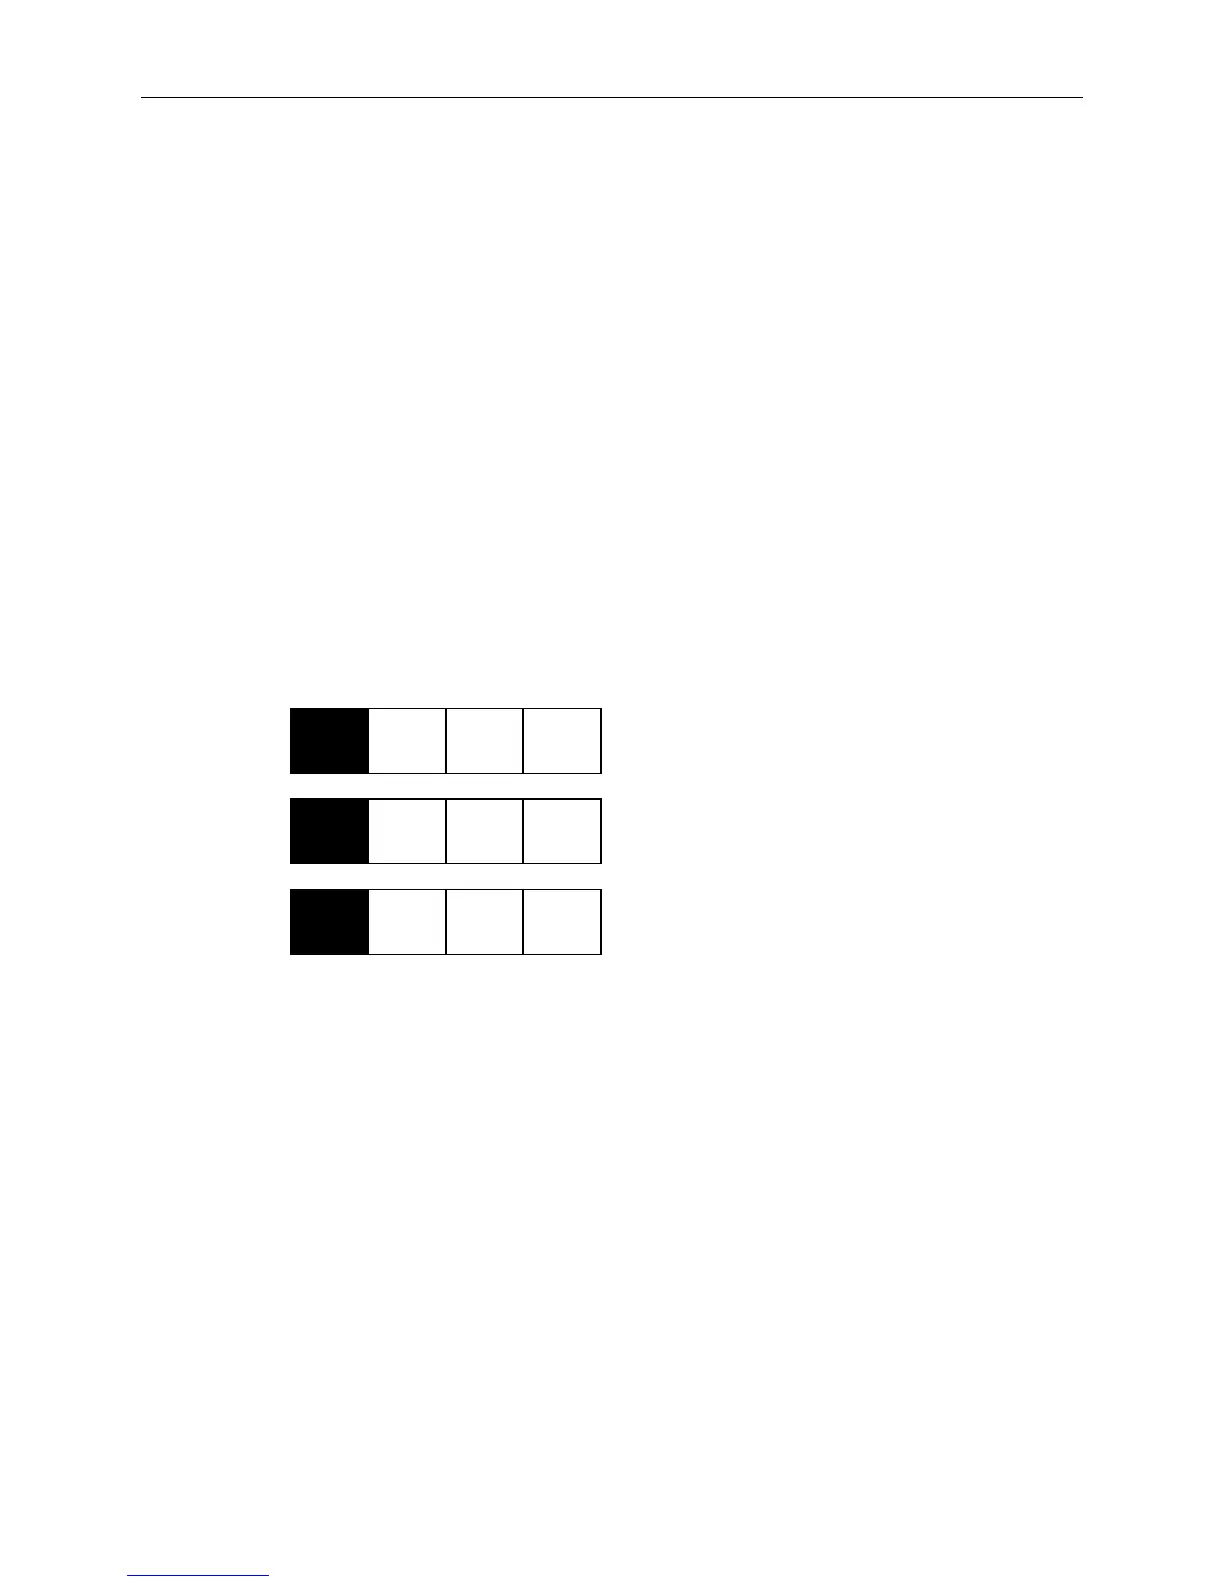
3. Remove the RAID disk drives from the drive box. Each boot drive is labeled with an adapter
number (ADP), channel number (CHN), and drive ID, as shown:
ID
0
CHN
2
ADP
0
x GB
ID
1
CHN
2
ADP
0
x GB
ID
2
CHN
2
ADP
0
x GB
4. Install the boot drives into the system’s internal RAID slots as follows: drive ID 0 into slot 1, drive
ID 1 into slot 2, and drive ID 2 into slot 3. Slots are numbered 1 to 8 starting with the right slot.
Refer to the following figure.
−
For each RAID disk drive, extend the latching clips on the disk drive and align the rails on the
side of the drive with the slot guides. The metal casing of the drive faces left. If you install
the disk drive reversed, the drives will not connect to the system.
−
Push the drive between the latching clips until it slides all the way into the slot and firmly
engages the connector.
− Close the latching clips to lock the drive in the slot.