Chapter 3 — Replacing Parts
22 EasyCoder PD41/PD42 Printer Service Manual
To replace the front panel
1 Remove the left-hand panel (For help, see “To remove the left-hand
panel” on page 27).
2 Disconnect the cables (Console PCB and LTS) from the main board
and release them from the clips and the spiral binding.
3 Disconnect the display flat cable (for the PD42 only).
4 From inside the electronics compartment, remove the two screws that
hold the front panel assembly at the top front of the center section.
5 Lift the front panel assembly up and out so the panel molding
disengages the two keyholes in the center section.
6 Replace the entire assembly or individual parts (the display PCB on the
PD42, the LTS sensor).
7 To install the front panel, reverse steps 1 to 6.
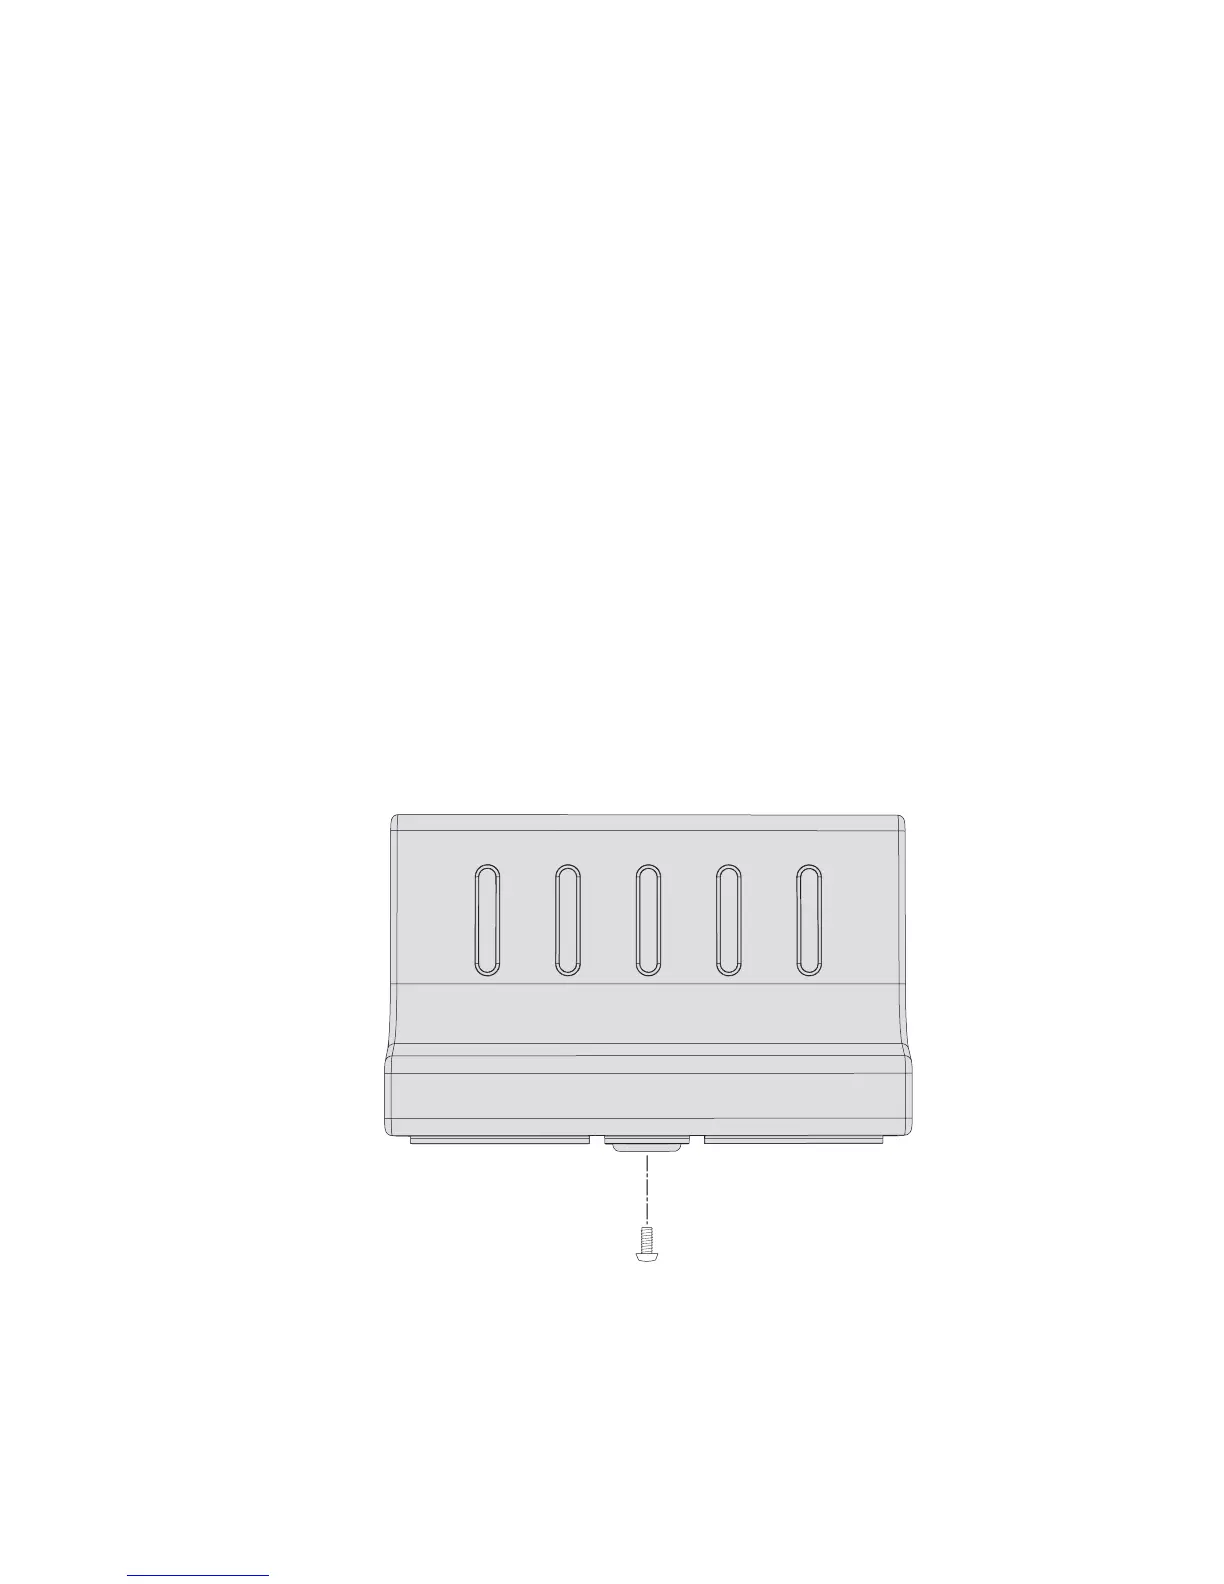
Bottom Right Panel
All models have a panel fitted to the bottom plate in front of the print
mechanism. This panel is temporarily removed when loading media for
peel-off (self-strip) operation when a rewinder (For help, see “Rewinder
Module” on page 57) is installed. It must be permanently removed before
installing an optional cutter (For help, see “Cutter” on page 61). The panel
is held in place by a knurled screw inserted beneath the bottom plate.
Bottom Right Panel With Thumbscrew