Chapter 3 — Replacing Parts
62 EasyCoder PD41/PD42 Printer Service Manual
Installing the Cutter
The installation kit contains all of the parts shown above, along with cables
for connection to the main board.
To install the cutter
1 Remove the screw that holds the front cover. Remove the front cover.
2 Remove the tear bar, which is held by two Phillips screws.
3 Attach the cutter mechanism to the printer using the two Phillips screws
included in the kit.
4 Plug the cutter cable into the connector in the center section. Secure the
cable to the bottom plate using the two cable clips included in the kit.
5 Hook the cutter cover onto the cutter mechanism and lock the cover
with the screw at the bottom.
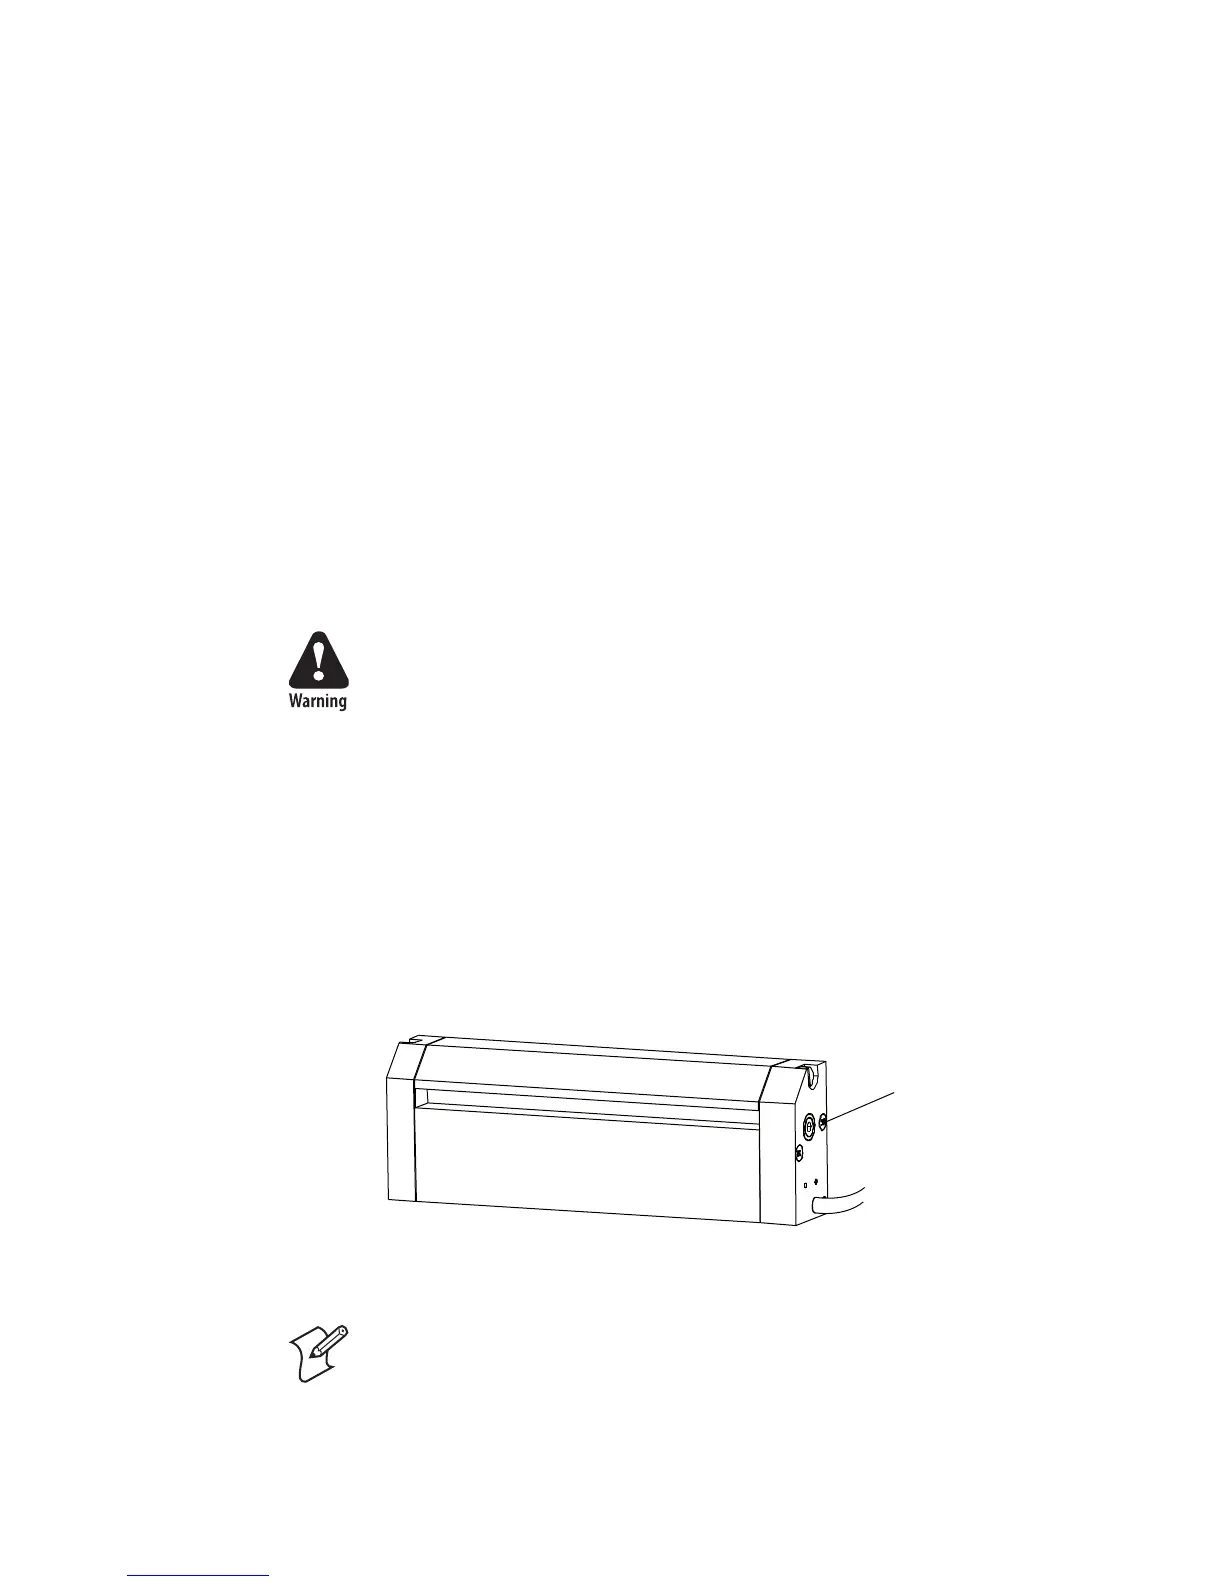
Clearing Media Jams in Cutter
To clear a media jam inside the cutter mechanism
1 Switch off the power to the printer.
2 Insert a 3 mm hexagon screwdriver in the hole on the side of the cutter
(A) and turn the cutter blade clockwise.
3 After the media jam is cleared, switch on the power to the printer, and
the cutter blade will go back to its original position.
Never insert fingers or tools into the cutter while the power is on.
Risk of personal injury or damage to the cutter if the cutter starts to
run by mistake.
Nie Finger oder Werkzeuge in die Schneidvorrichtung stecken,
während die Stromversorgung eingeschaltet ist. Falls die
Schneidvorrichtung versehentlich aktiviert wird, besteht
Verletzungsgefahr und außerdem kann die Schneidvorrichtung
beschädigt werden.
Note: It is recommended to use labels with a minimum length of 30 mm
(1.2 in).