Chapter 3 — Replacing Parts
EasyCoder PD41/PD42 Printer Service Manual 51
Printhead
To replace the printhead
1 Switch off the power to the printer.
2 Open the side door.
3 Lift the printhead by pulling out the printhead lever and flipping it
counterclockwise a quarter of a turn.
4 Remove any transfer ribbon.
5 Remove the old printhead by pulling it out straight forward.
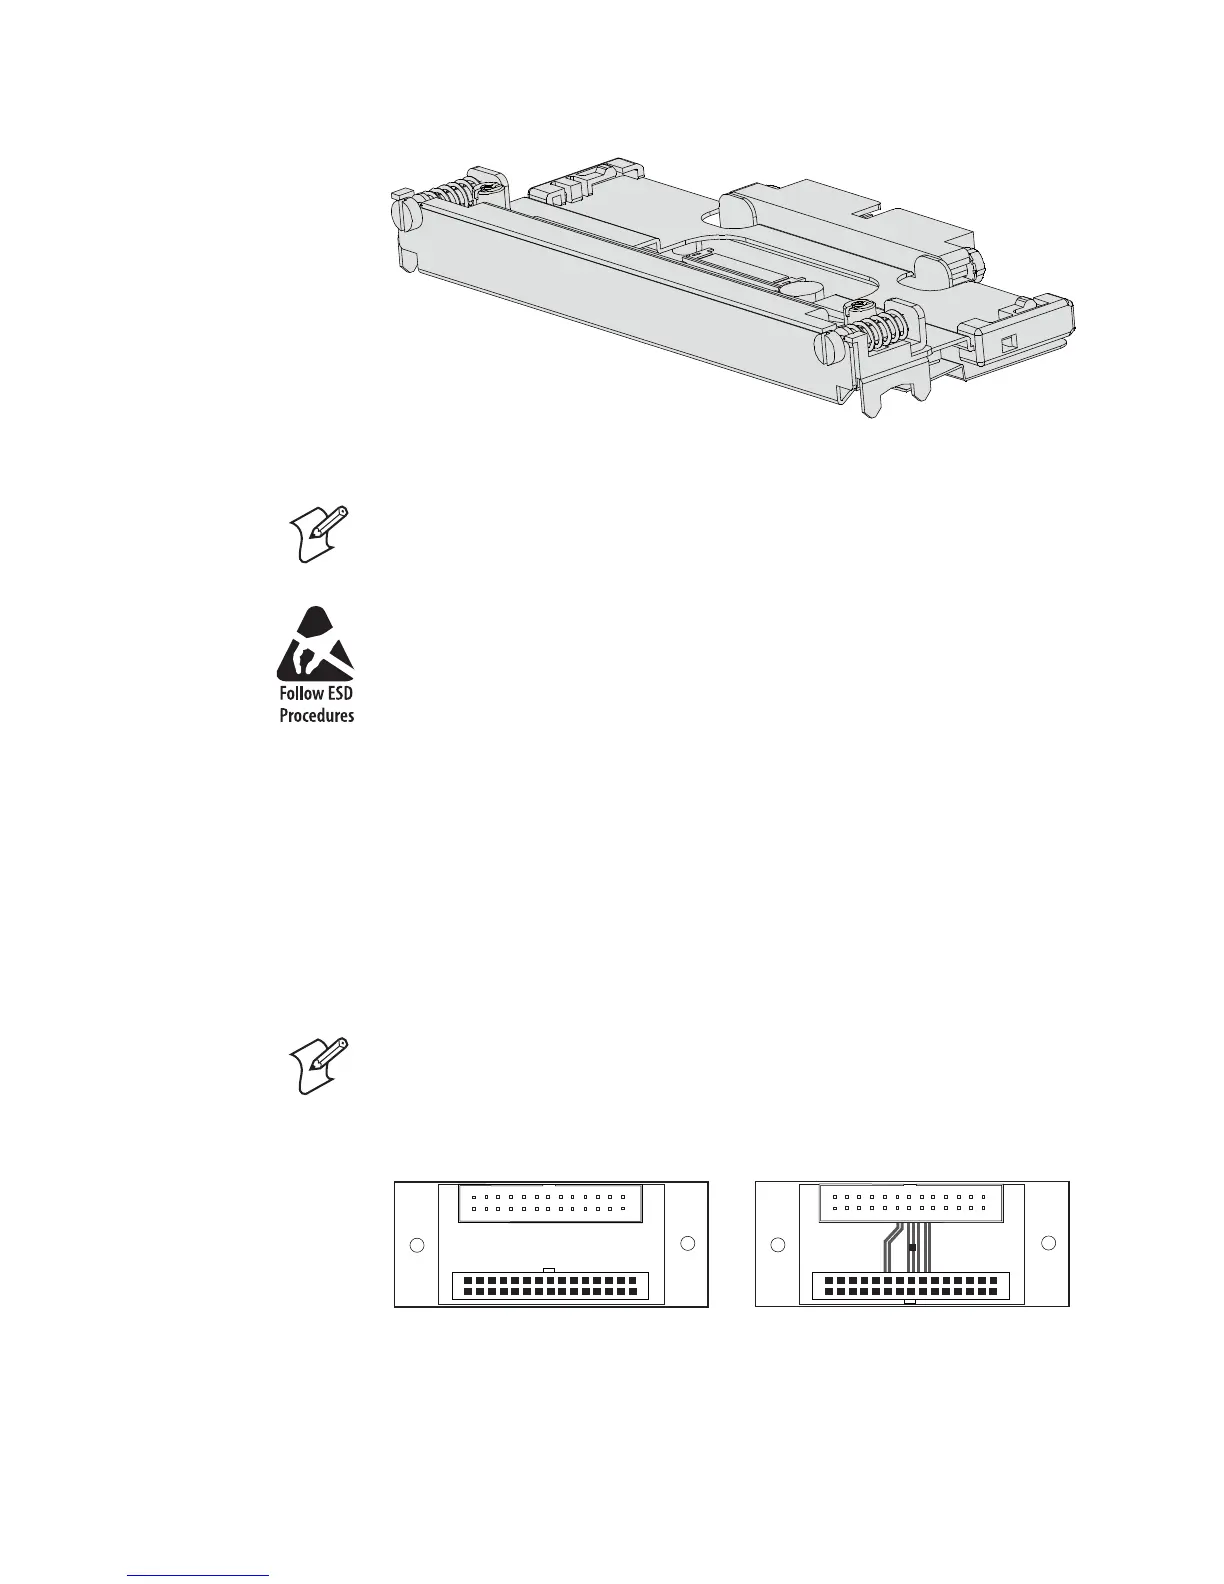
203 dpi Printhead PCB (left) and 300 dpi Printhead PCB (right)
6 To facilitate the removal of the PCB, center the balance boxes.
Note: While replacing the printhead, the power must be off. The firmware
will not detect the new printhead resistance until the printer has been
restarted.
Take precautions against electrostatic discharges by touching a
grounded object. For example, the chassis of the printer (assuming the
printer is connected to a grounded wall socket).
Note: Steps 6-9 describe how to replace the printhead’s PCB (Printed
Circuit Board), which is required if you are switching to a printhead with a
different density (for instance, going from 203 dpi to 300 dpi). If you are
just replacing a worn-out printhead, proceed to step 10.