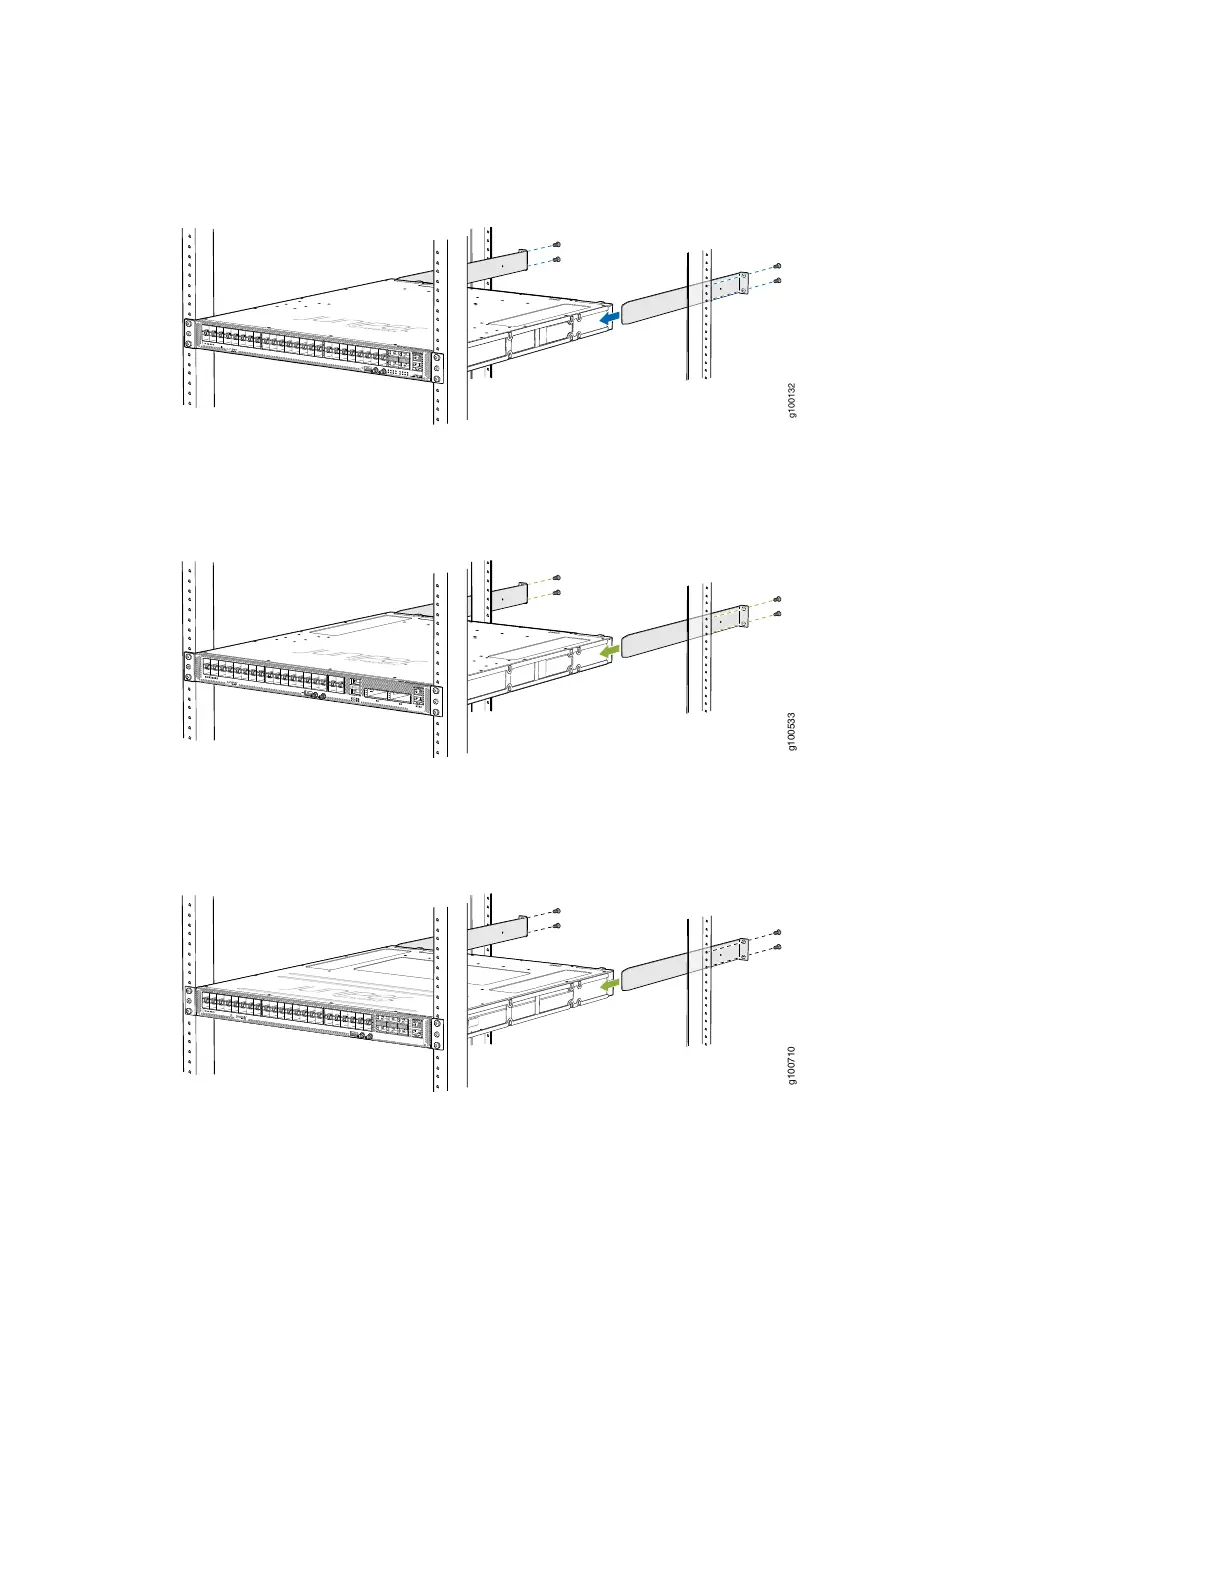
Figure 51: Install the Rear-Mounting Blades on an ACX5448 Router
Figure 52: Install the Mounting Blades on an ACX5448-D Router
Figure 53: Install the Rear-Mounting Blades on an ACX5448-M Router
9. Install mounting screws into each of the rear-mounting bracket holes aligned with the rack, starting
from the bottom, and secure them tightly.
10. Visually inspect the alignment of the chassis. If you’ve installed the chassis properly in the rack, all the
mounting screws on one side of the rack are aligned with the mounting screws on the opposite side,
and the router is level. Figure 54 on page 94, Figure 55 on page 94, and Figure 56 on page 94 show
the router fully secured and installed in a four-post rack.
93