CHAPTER 10
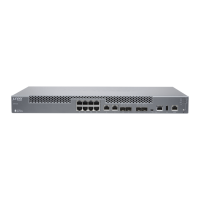
Installing the MX150
•
Installing and Connecting an MX150 on page 77
•
Mounting an MX150 on page 78
•
Mounting an MX150 on a Desk or Other Level Surface on page 78
•
Mounting an MX150 on Two Posts in a Rack on page 79
•
Mounting an MX150 on Four Posts in a Rack or Cabinet on page 81
Installing and Connecting an MX150
To install and connect an MX150:
1. Follow instructions in “Unpacking an MX150” on page 73.
2. Mount the MX150 by following instructions appropriate for your site:
•
“Mounting an MX150 on a Desk or Other Level Surface” on page 78 (using the rubber
feet provided)
•
“Mounting an MX150 on Two Posts in a Rack” on page 79 (using the mounting
brackets provided)
•
“Mounting an MX150 on Four Posts in a Rack or Cabinet” on page 81 (using the
separately orderable four-post rack-mount kit)
3. Follow instructions in “Connecting Earth Ground to an MX150” on page 85.
4. Follow instructions in “Connecting AC Power to an MX150” on page 86.
5. Perform initial configuration of the device by following instructions in “Configuring the
MX150” on page 93.
6. Set the device’s management options by following the appropriate instructions:
•
Connecting an MX150 to a Management Console on page 90
•
Connecting an MX150 to a Network for Out-of-Band Management on page 89
77Copyright © 2017, Juniper Networks, Inc.

 Loading...