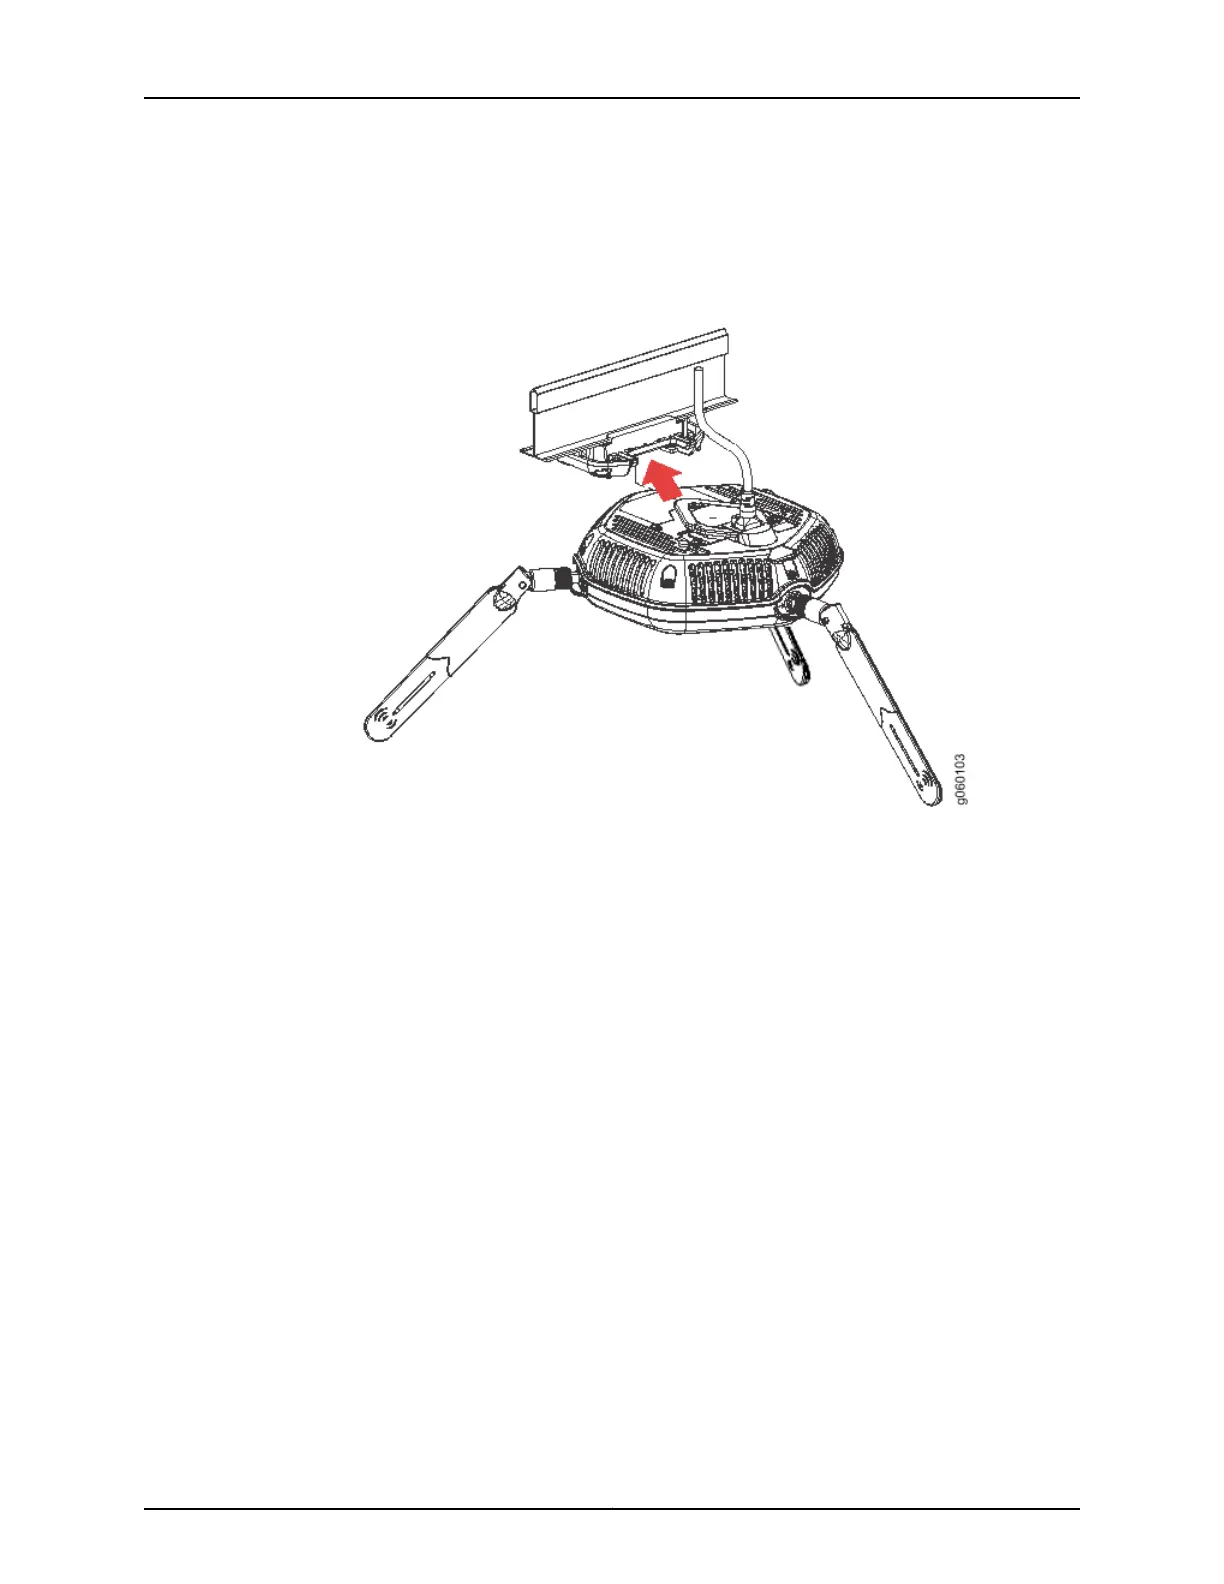
11. Press the access point forward (see Figure 8 on page 50) until it clicks into place.
Ensure that the access point is seated correctly in the bracket by gently pulling down
on the access point.
Figure 8: Aligning the Access Point with the Ceiling Bracket
12. If the access point is not properly secured, press the release button on top of the
bracket to unlock the access point. Making sure that the cable is still connected, repeat
Steps 10 and 11.
Copyright © 2012, Juniper Networks, Inc.50
WLA532E Access Point Hardware Documentation

 Loading...