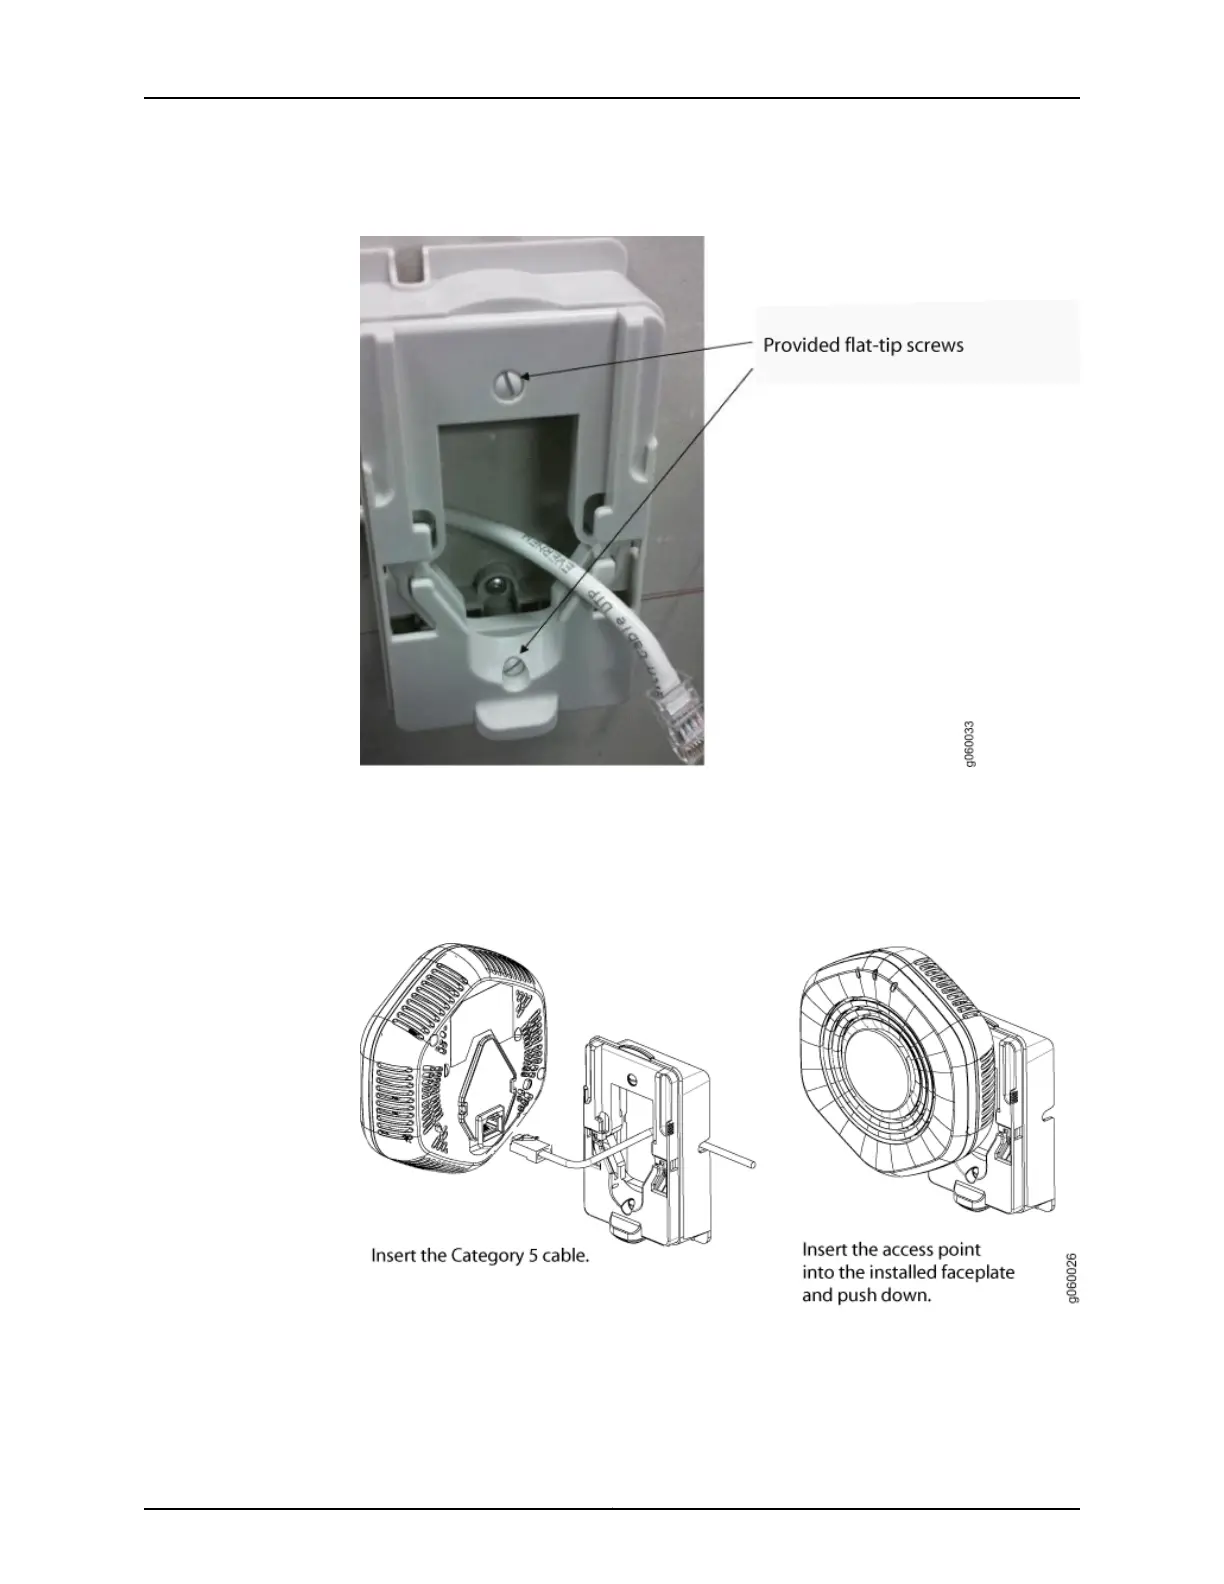
Figure 35: Faceplate Secured to the Wall-Mount Bracket
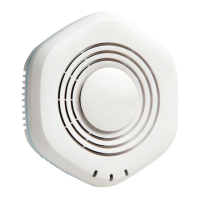
5. Plug the Category 5 cable from the wall socket into the access point.
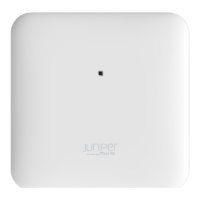
6. Align the access point with the bracket and push down on the access point until you
hear it click into place (see Figure 36 on page 68). Be sure the device is seated correctly
in the bracket by gently pulling up the access point and then pushing it down.
Figure 36: Align the Access Point with the Bracket and Push Down
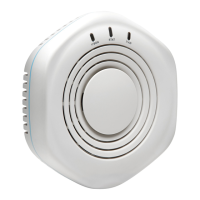
7. If the access point is not properly secured, press the release button on the bottom of
the bracket to release the device (see Figure 37 on page 69). Realign the unit, making
sure the cable is still connected, and push down until the access point clicks securely
into place.
Copyright © 2012, Juniper Networks, Inc.68
WLA532E Access Point Hardware Documentation