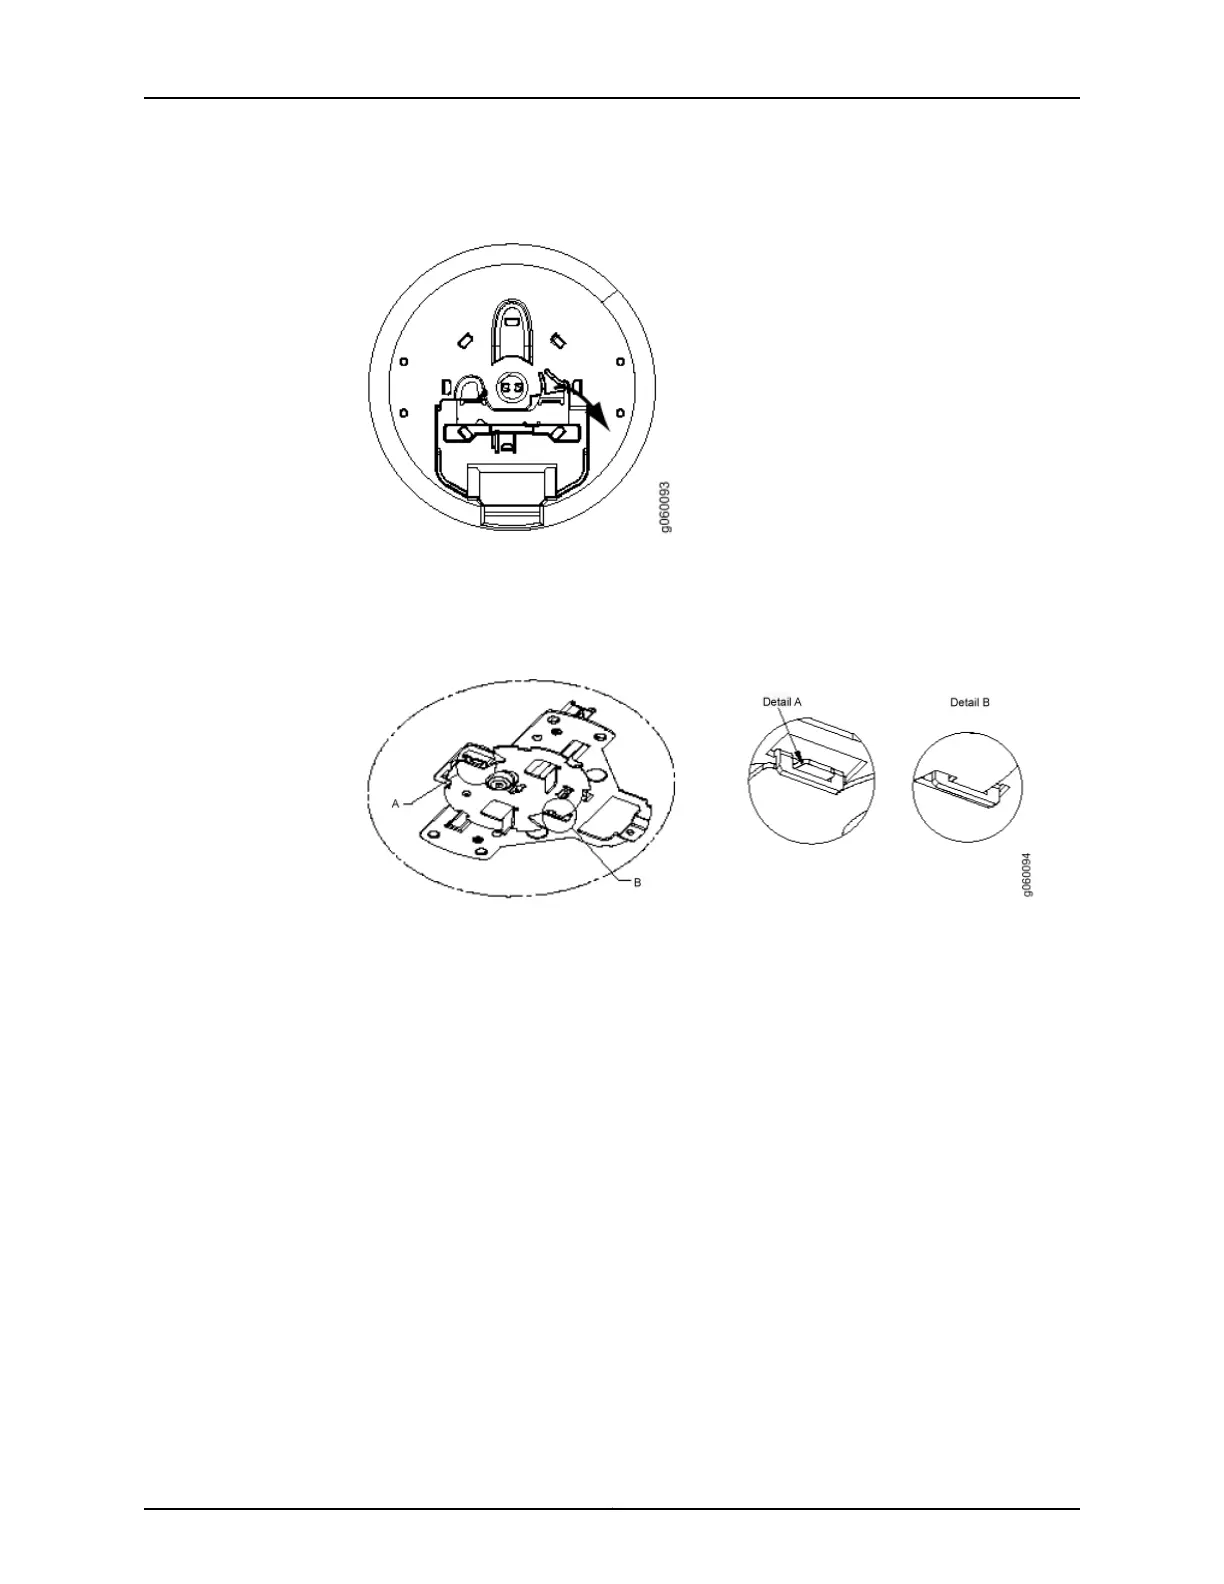
Figure 23: Rotating the Locking Bracket into a Locked Position
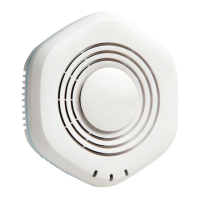
8. Check that the locking bracket tabs are locked into the WLA522 mounting bracket
(see Figure 24 on page 60). The legacy mounting bracket adapter should now be
locked onto the ceiling.
Figure 24: Locked Bracket Tabs on the WLA522 Mounting Bracket
9. Ensure that the snaps on the top of the ceiling-mount bracket are open so that the
clips can fully extend to fit onto the legacy mounting bracket adapter. The
ceiling-mount bracket is shipped in an open position so that it is ready to be clipped
over a ceiling rail. If the bracket is closed, open the snaps by pressing in and up with
your thumbs on both sides of the snaps on the bottom of the bracket (see Figure 25
on page 61) until it is fully open.
Copyright © 2012, Juniper Networks, Inc.60
WLA532E Access Point Hardware Documentation