190 Keysight E5092A ENA Series Configurable Multiport Test Set
Replacement Procedure
Replacement Procedure for E5092A-020
5-
Front Chassis Detachment
Tools required
• TORX screwdriver, T10, T15 and T20
Procedure
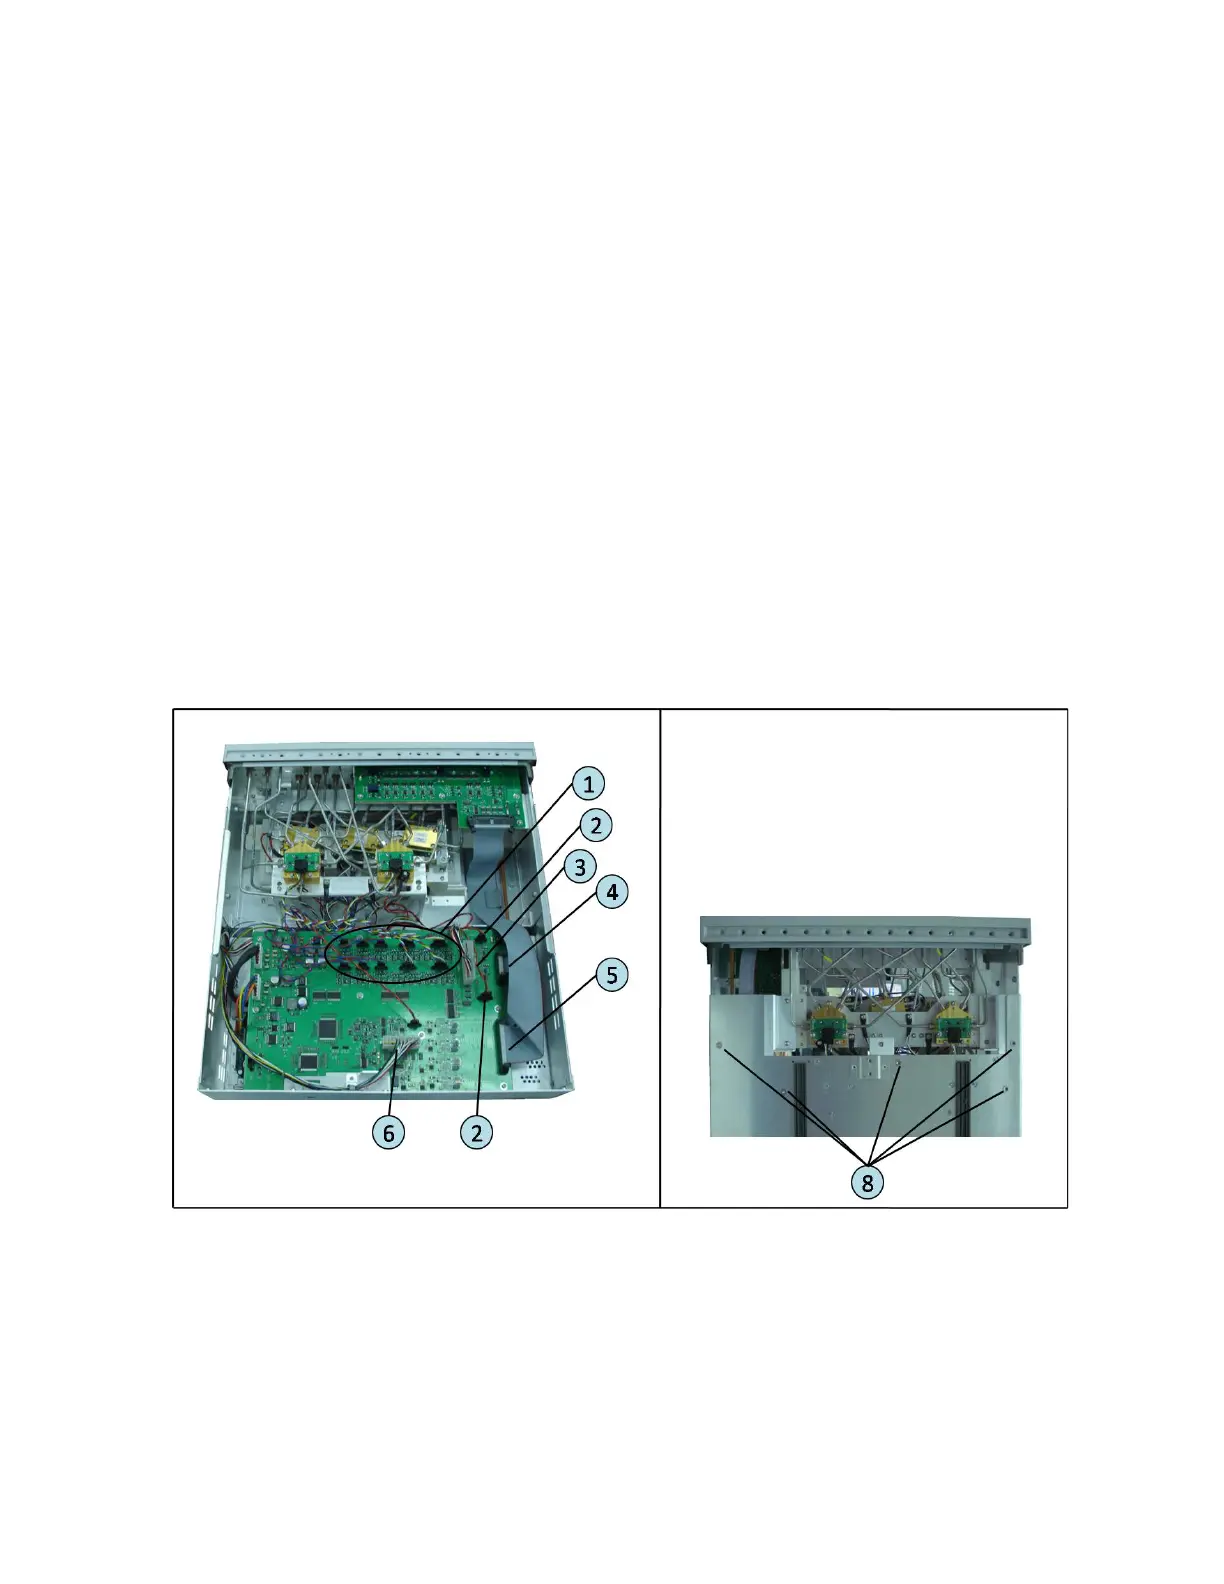
Refer to Figure 5-2 for this procedure.
Step 1. Remove the outer cover as described in “Outer Cover Removal” on page 189.
Step 2. Disconnect the connectors (item 1, 2, 3 and 6) from the A1 Switch control
board.
Step 3. Disconnect the flat cable connectors (item 4 and 5 ) from the A1 board.
Step 4. Remove the six TORX T15 screws (item 7 ) fastening the side panel.
Step 5. Remove the five TORX T10 screws (item 8 ) fastening the bottom chassis.
Step 6. Slide the front chassis forward to detach from the back chassis.
Figure 5-2 Front chassis Detachment