164
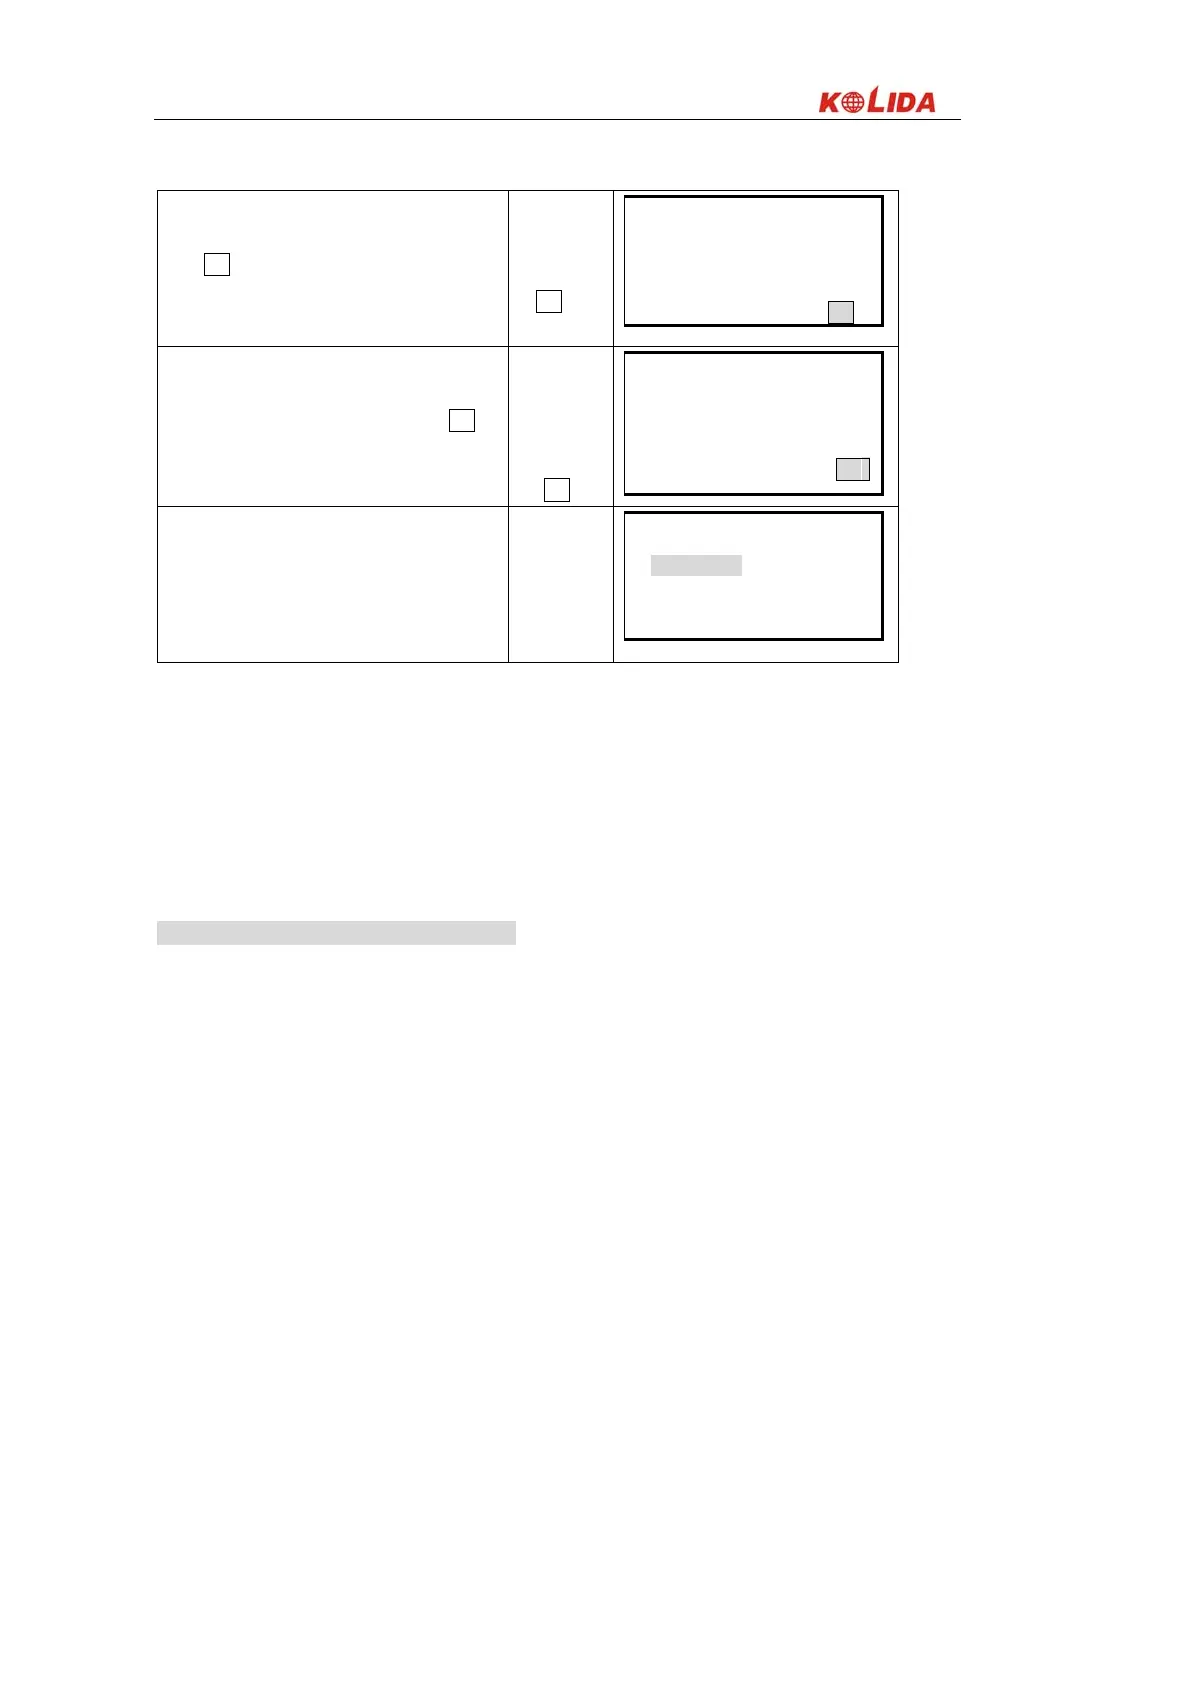
⑷ At positive position (Face left) sight at target,
press OK.
Face left,
sight at target
+
OK
Collimation
<Step-1> Front
ZA 0°21′39″
HAR 185°47′57″
OK
⑸ Rotate telescope. At the reverse position (face
right) sight at the same target precisely, press OK.
Face right
and sight at
target
+
OK
Collimation
<Step-2> Reverse
ZA 179°38′17″
HAR 5°50′57″
OK
⑹ After adjustment, it shows “set” on the screen,
the display returns to Instrument constant menu
screen.
1. V0/Axis const.
2. V0/ Adjustment
3. Collimation
4. horizontal axis
5. Instr. Const.
6. Contrast ADJ.
B:
Optical adjustment (Only for professional service technician)
1. Use the tangent screw to adjust the horizontal angle reading,
2. Take off the cover of the reticle between the eyepiece and focusing screw. Adjust the two adjusting
screws by loosening one and tightening the other. Move the reticle to aim at object A exactly.
3. Repeat inspection and adjustment until|2C|<20".
4. Replace the cover of reticle.
22.5 Vertical Index Difference Compensation
·Inspection
1. Mount and level the instrument and make the telescope parallel with the line connecting the center of the
instrument to any one of the screws. Lock the horizontal clamp screw.
2. After turning on the power, zero the vertical index. Lock the vertical clamp screw and the instrument
should display the vertical angle value.
3. Rotate the vertical clamp screw slowly in either direction about 10mm in circumference, and the error
message “b” will appear. The vertical axis has been increased to more than 3 at this time and exceed the ˊ
designated compensation range.
Rotate the above screw to its original position, and the instrument display screen will show the vertical
angle again, meaning that the vertical index difference compensation function is working.
Adjustment
 Loading...