SECTION 3 - PARTS, ASSEMBLIES & HARDWARE
1-3-6
3-6 © 2018 Konami Gaming Inc. P/N 810440
KX43
(Original Instructions)
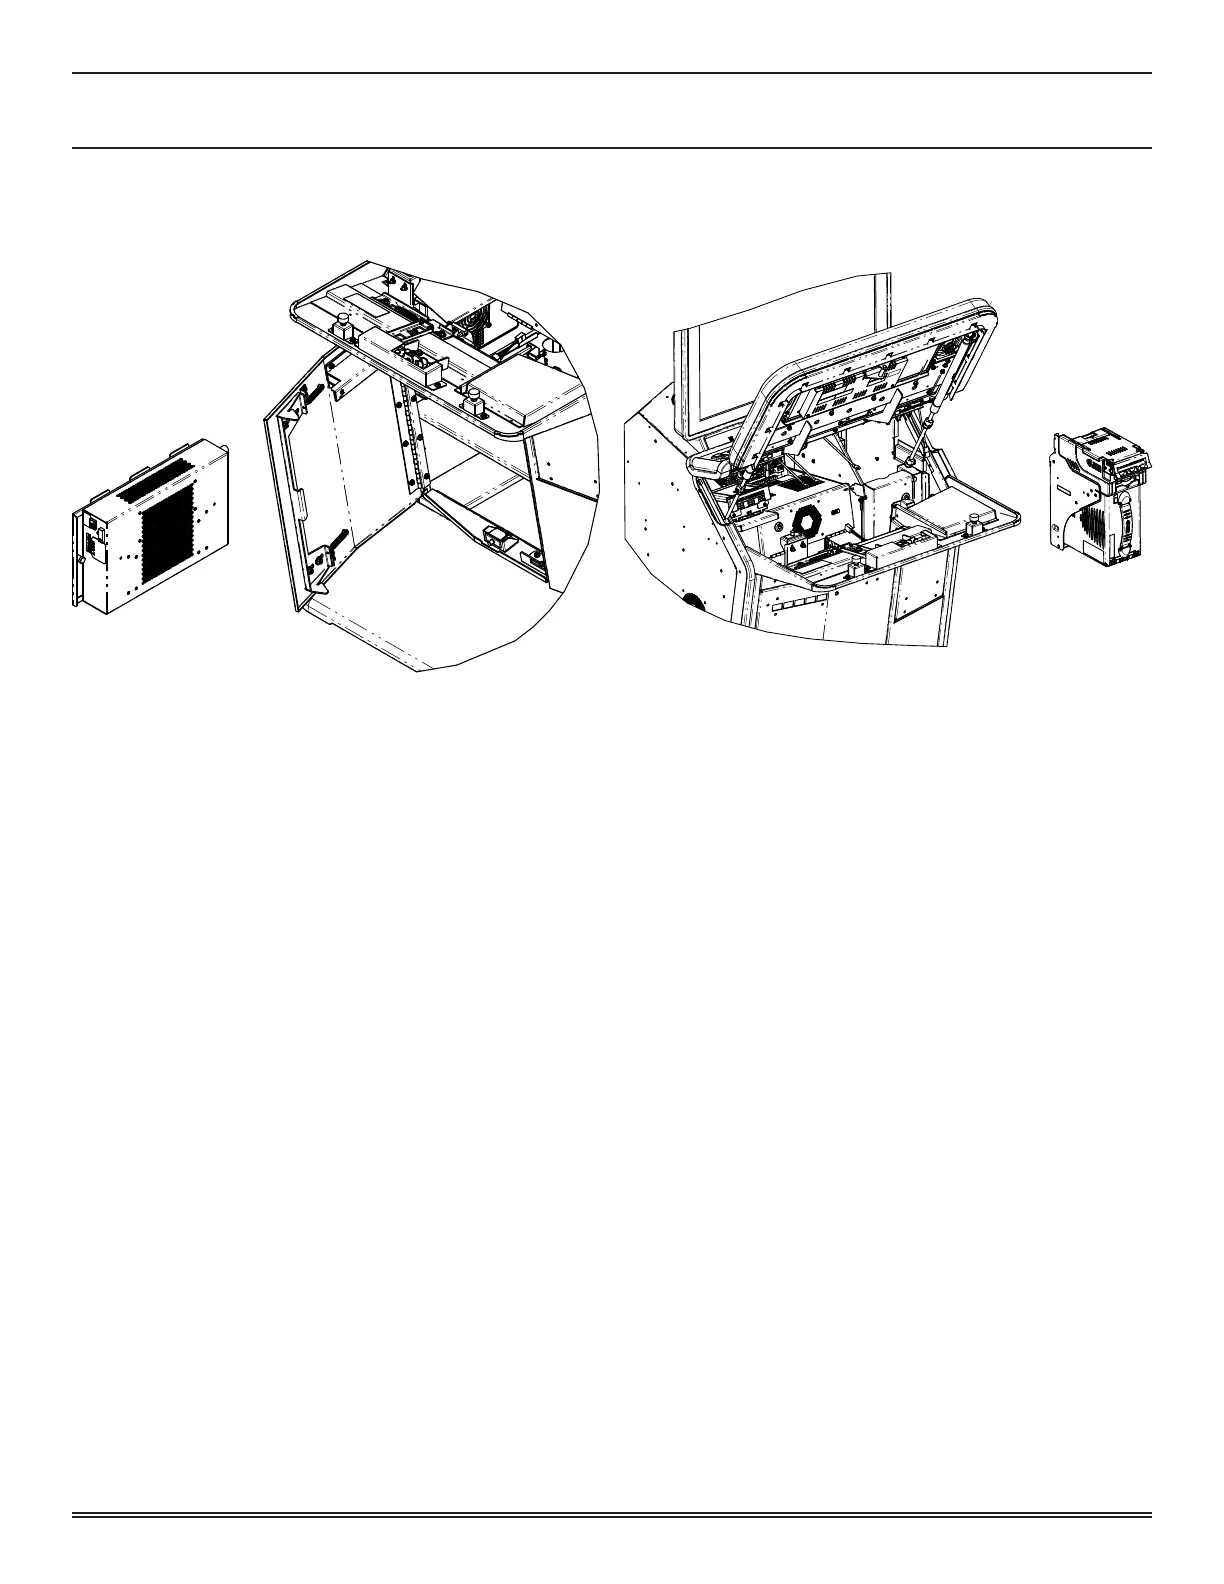
POWER SUPPLY
reMoval
1� Unlock and open the Main Deck Door and the Sub Door�
2� Turn off machine power�
3� Pull out the spring-loaded plunger and slide the Power
Supply assembly forward until it clears the mounting rails�
inStallation
1� Slide the Power Supply assembly into the mounting rails�
2� Ensure that the spring-loaded plunger is in its fully
engaged position�
3� Turn on machine power�
4� Close and lock the Main Deck Door and the Sub Door�
BILL VALIDATOR
reMoval
1� Unlock and open the Main Deck Door and the Cash Box
Door�
2� Turn off machine power�
3� Unlock and open the Bill Cassette Door�
4� Remove the Bill Cassette Box�
5� Remove the two M4 X 6 screws on the left side of the
enclosure and the four M3 X 6 screws on the back of the
Bill Validator Frame�
6� Remove the Bill Validator�
inStallation
1� Install the Bill Validator�
2� Secure with the four M3 X 6 screws on the back of the
Bill Validator Frame and the two M4 X 6 screws on the
left side of the enclosure�
3� Install the Bill Cassette Box�
4� Close and lock the Bill Cassette Door�
5� Turn on machine power�
6� Close and lock the Main Deck Door and the Cash Box
Door�