124 WM-OM-E Rev I
Persistence Time
You can control the duration of persistence by setting a time limit, in seconds, after which
persistence data will be erased: 0.5 s, 1 s, 2 s, 5 s, 10 s, 20 s, or infinity.
Locking of Traces
The instrument gives you the choice of constraining all input channels to the same mode, saturation
level, persistence time, and last trace display, or setting these for each input channel individually.
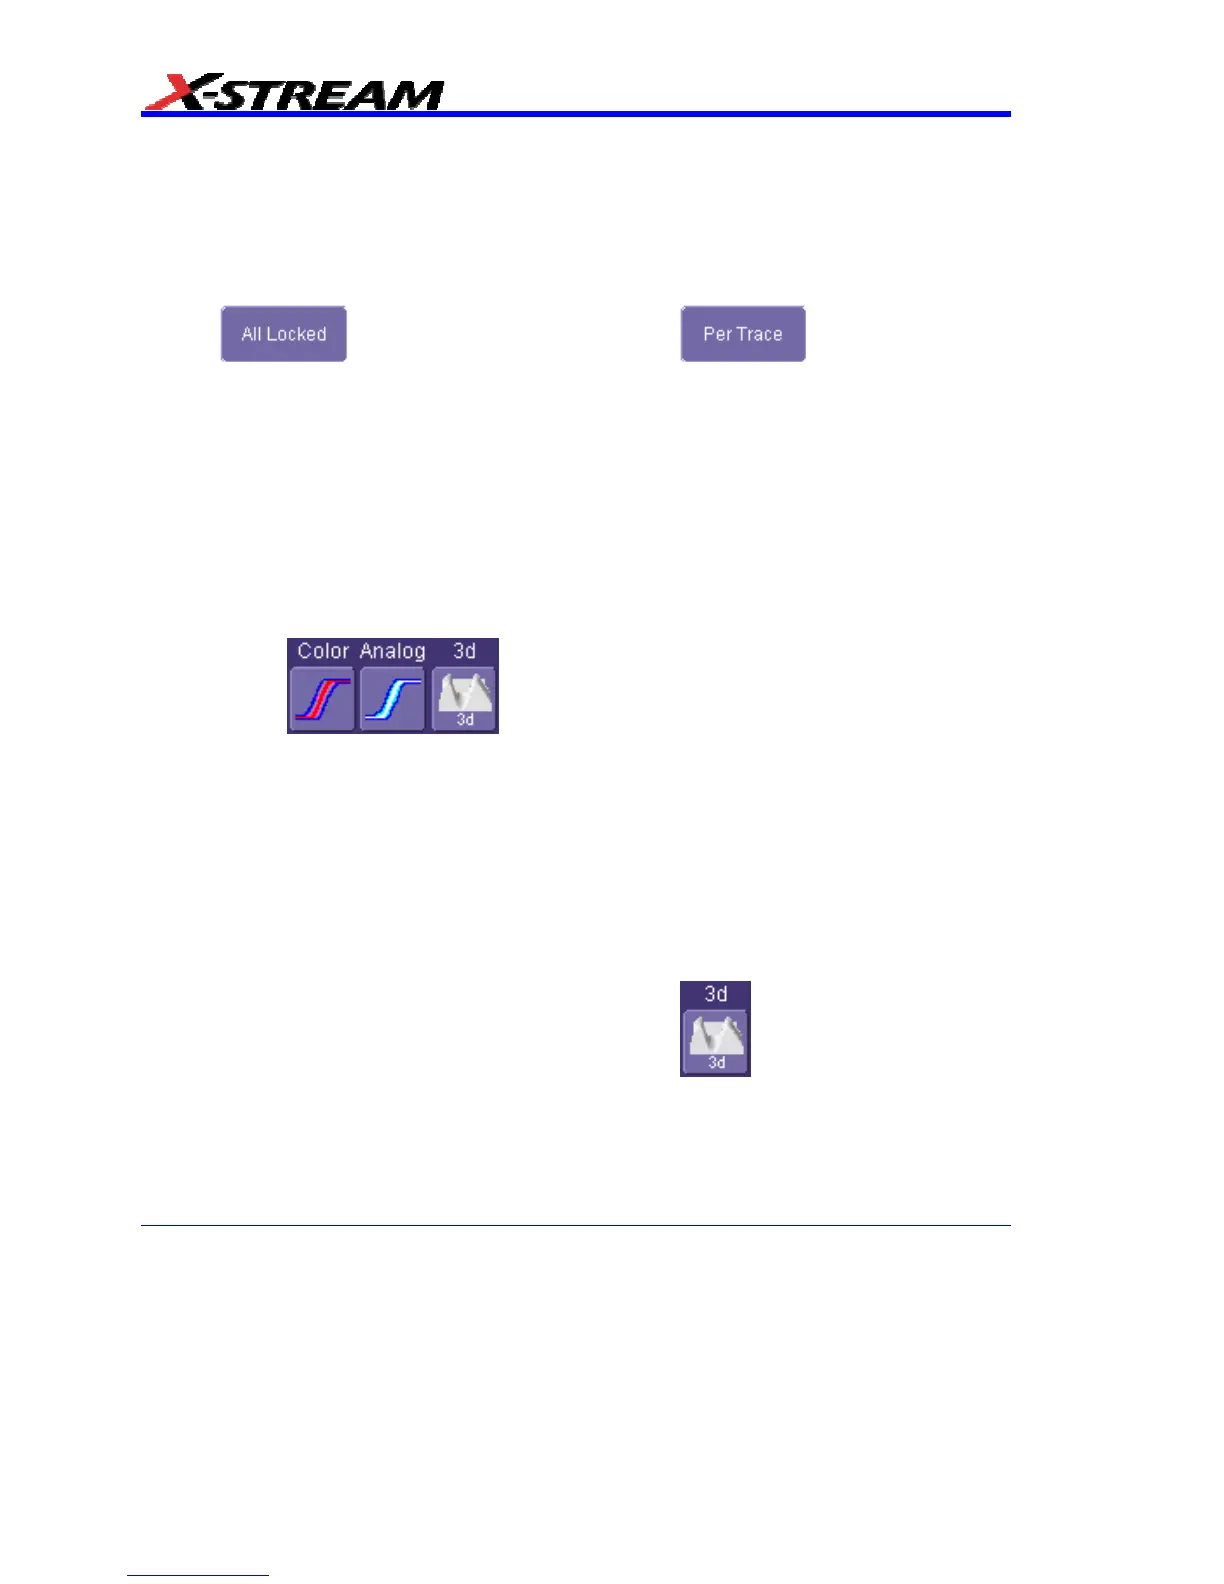
Choose
to constrain input channels. Choose to set up input
channels individually.
To Set Up Persistence
1. In the menu bar touch Display, then touch Persistence Setup... in the drop-down menu.
2. Touch the Persistence On checkbox. If Per Trace is selected, touch the Reset All button
to return all input channel setups to their default settings.
3. Touch the All Locked button if you want to set the same mode, saturation level,
persistence time, and last trace display for all input channels. Touch the Per Trace button
to set these for each input channel individually.
A. If you selected All Locked, touch one of the mode buttons
.
B. Then touch the Show last trace checkbox if you want the last trace displayed.
C. Touch inside the Saturation data entry field and enter a whole number integer,
using the pop-up numeric keypad.
D. Touch inside the Persistence time data entry field and make a selection from the
pop-up menu.
4. If you selected Per Trace, for each input channel touch its tab, then make selections of
mode, saturation level, persistence time, and last trace display in the same way as for All
Locked.
5. To create a 3-dimensional view, touch the 3d button
. Then
A. Touch inside the Saturation data entry field and enter a whole number integer,
using the pop-up numeric keypad.
B. Touch inside the Persistence time data entry field and make a selection from the
pop-up menu.