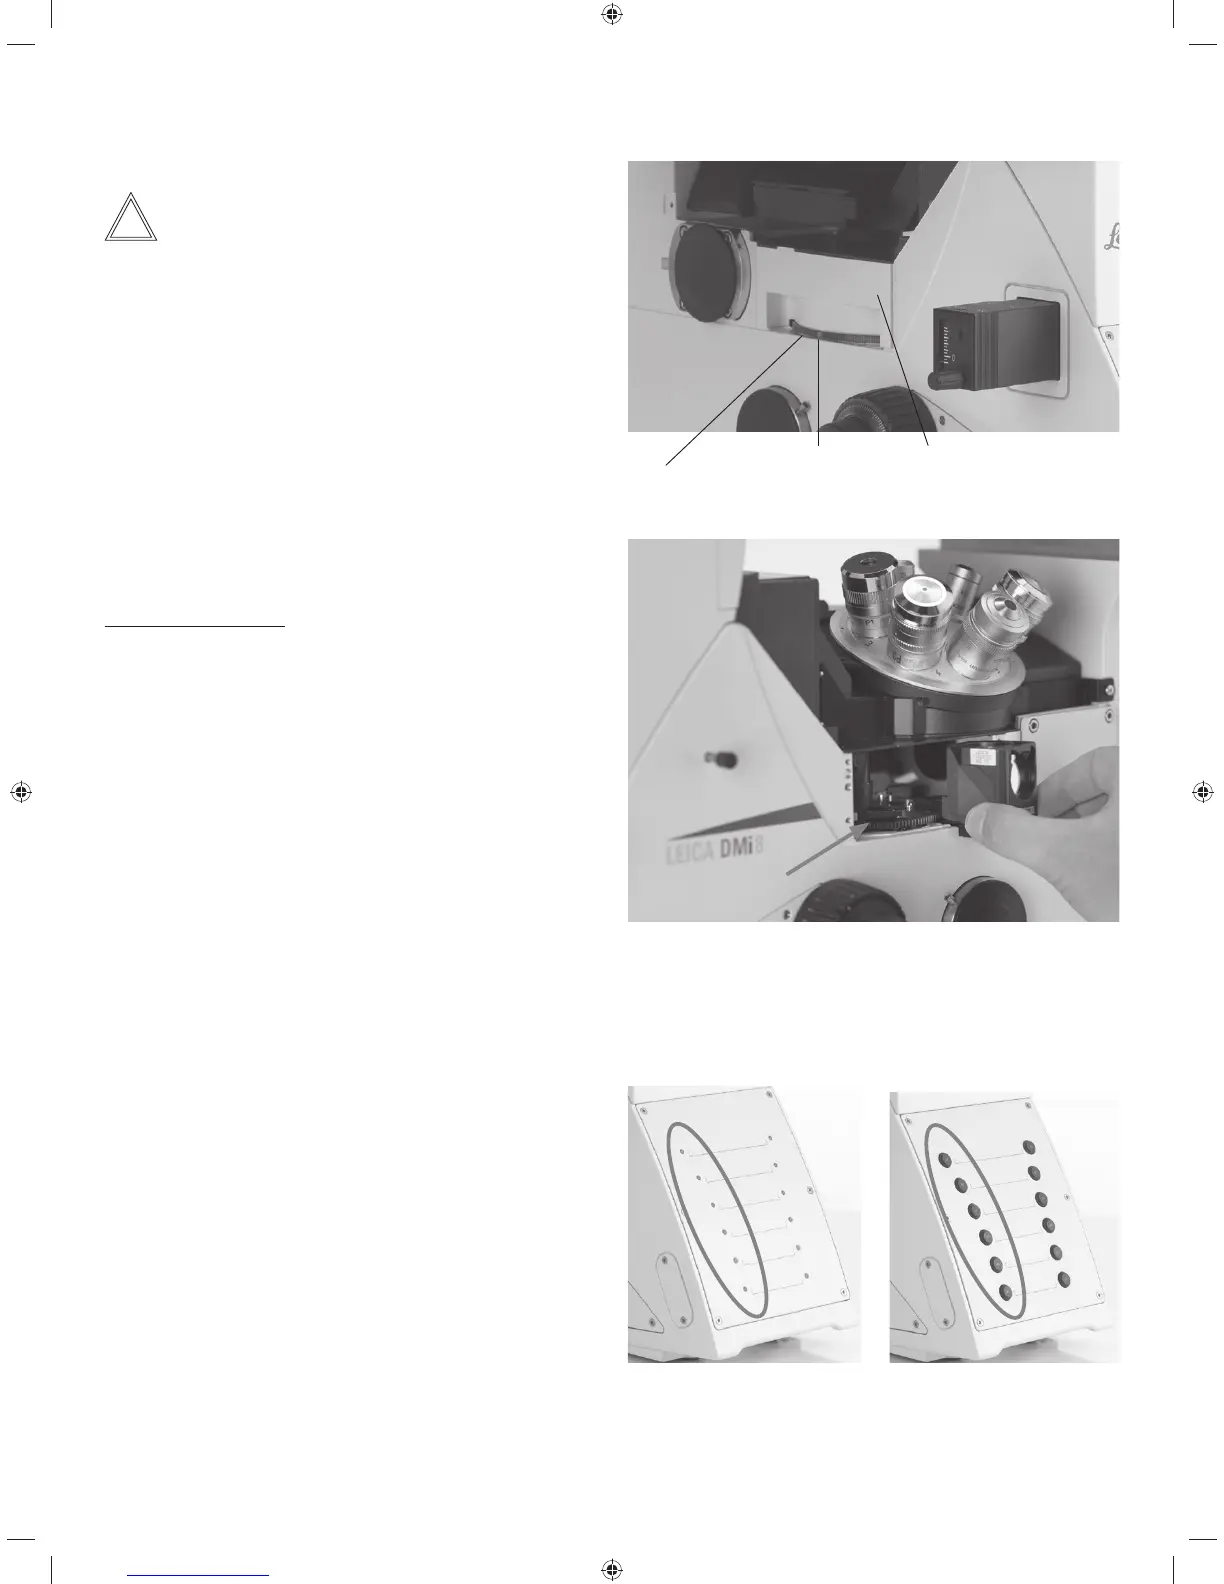
5. OPERATION - FILTER
5.11.2 Fluorescence Cubes
Note:
Observe the Installation Manual when equipping the fluo
turret or replacing individual filter cubes.
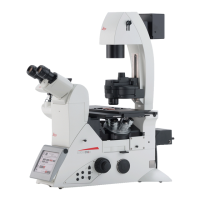
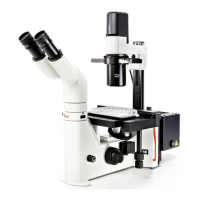
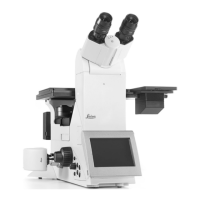
Leica DMi8 with manual fluorescent turret disk
t5IFfilter cubes are swiveled manually into the beam path
by turning the fluorescent turret disk.
t"DPMPSNBSLPOUIFFEHFPGUIFEJTLJOEJDBUFTUIFDVS-
rent filter cube. If the shipped configuration is changed by
inserting another filter cube, note the color of the position
where the filter cube was inserted so you can allocate it
later.
Changing filter cubes:
t3FNPWFUIFDPWFSGSPNUIFnVPSFTDFOUUVSSFUEJTL5IF
cover is secured in place by a magnetic holder and can
be detached from the front.
t1VMMUIFmMUFSDVCFGPSXBSEUPSFNPWFJUBOETMJEFUIFOFX
filter cube straight into the receptacle.
t1VUUIFDPWFSCBDLJOQMBDF
t6TJOHBNPUPSJ[FEnVPSFTDFODFUVSSFUEJTLXJUI-*%-FJDB
Radio Frequency Identification Device), there is an auto-
matic full rotation of the turret to read out the filter. For
additional instructions, see the chapter entitled “Leica
RFID Module” o S. 65
Leica DMi8 with manually encoded fluorescent turret disk
t5IFmMUFSDVCFTBSFTXJWFMFENBOVBMMZJOUPUIFCFBNQBUI
by turning the fluorescent turret disk.
The LED allocated to the filter cube and located on the
front side of the microscope is illuminated.
Leica DMi8 with motorized fluorescent turret disk and front
operating panel with function keys
t$POmHVSFBmMUFSDVCFCZQSFTTJOHUIFDPSSFTQPOEJOHmM-
ter cube changer button on the keypad of the front side of
the microscope.
The LED of the filter cube changer button is illuminated.
CoverColor mark
Knurled ring for setting the filter cube
Empty position for mounting a filter cube. The filter cube is pushed in
from the front evenly until it clicks into place.
For encoded fluorescence
nosepiece disk
For motorized fluorescent
turret disk
63