Watch the procedure. A video of the installation and removal process is available:
• YouTube:
https://youtube.com/playlist?list=PLYV5R7hVcs-DoEcxrm2zKNpaKOdZ3f8Qc
• Youku: https://list.youku.com/albumlist/show/id_59636516
Procedure
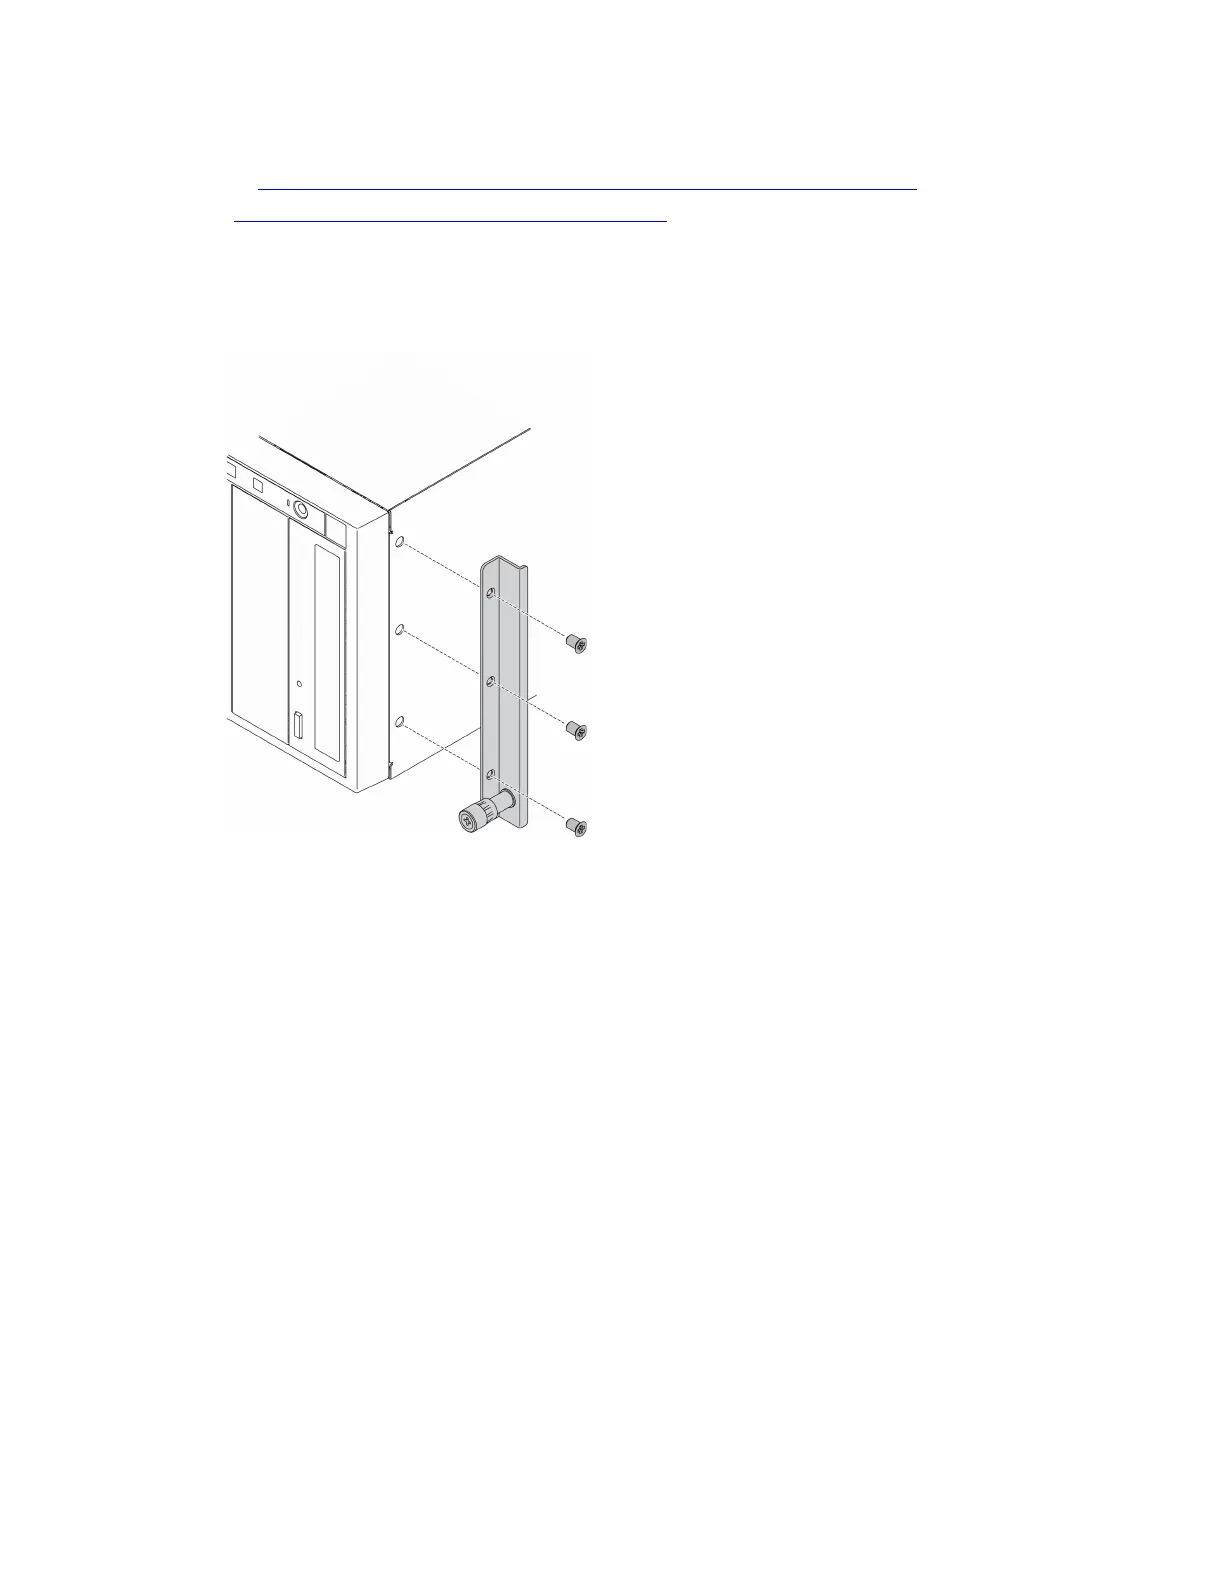
Step 1. Align the holes in the right EIA bracket with the corresponding holes on the top of the chassis; then,
use a screwdriver to install the three screws to secure the right EIA bracket
Figure 55. Right EIA bracket installation
Step 2. Align the holes in the left EIA bracket with the corresponding holes on the bottom of the chassis;
then, use a screwdriver to install the three screws to secure the left EIA bracket.
Chapter 4. Hardware replacement procedures 89

 Loading...


