Diagnostic aids 3-15
5025-2xx, 4xx
Input Tray Tests
Feed Tests
Any installed input tray can be tested. The pages fed through the printer are blank.
To run the Feed Test:
1. Select INPUT TRAY TESTS from Diag Menu, and press Select ().
2. Select Feed Tests, and press Select ().
3. Select the tray to be tested. Choices are installed trays, including Tray 1, Tray 2, MP Feeder.
4. Select Single or Continuous, and press Select ().
• Single—a single sheet of blank paper is fed, and the test stops.
• Continuous—sheets are fed continuously, until Stop ( ) is pressed.
Sensor Test (not available on all printers)
This test is used to verify that the sensors are working correctly for an individual input tray.
1. Select INPUT TRAY TESTS from Diag Menu, and press Select ().
2. Select Sensor Tests, and press Select ().
3. Select the tray where you want to test the sensors.
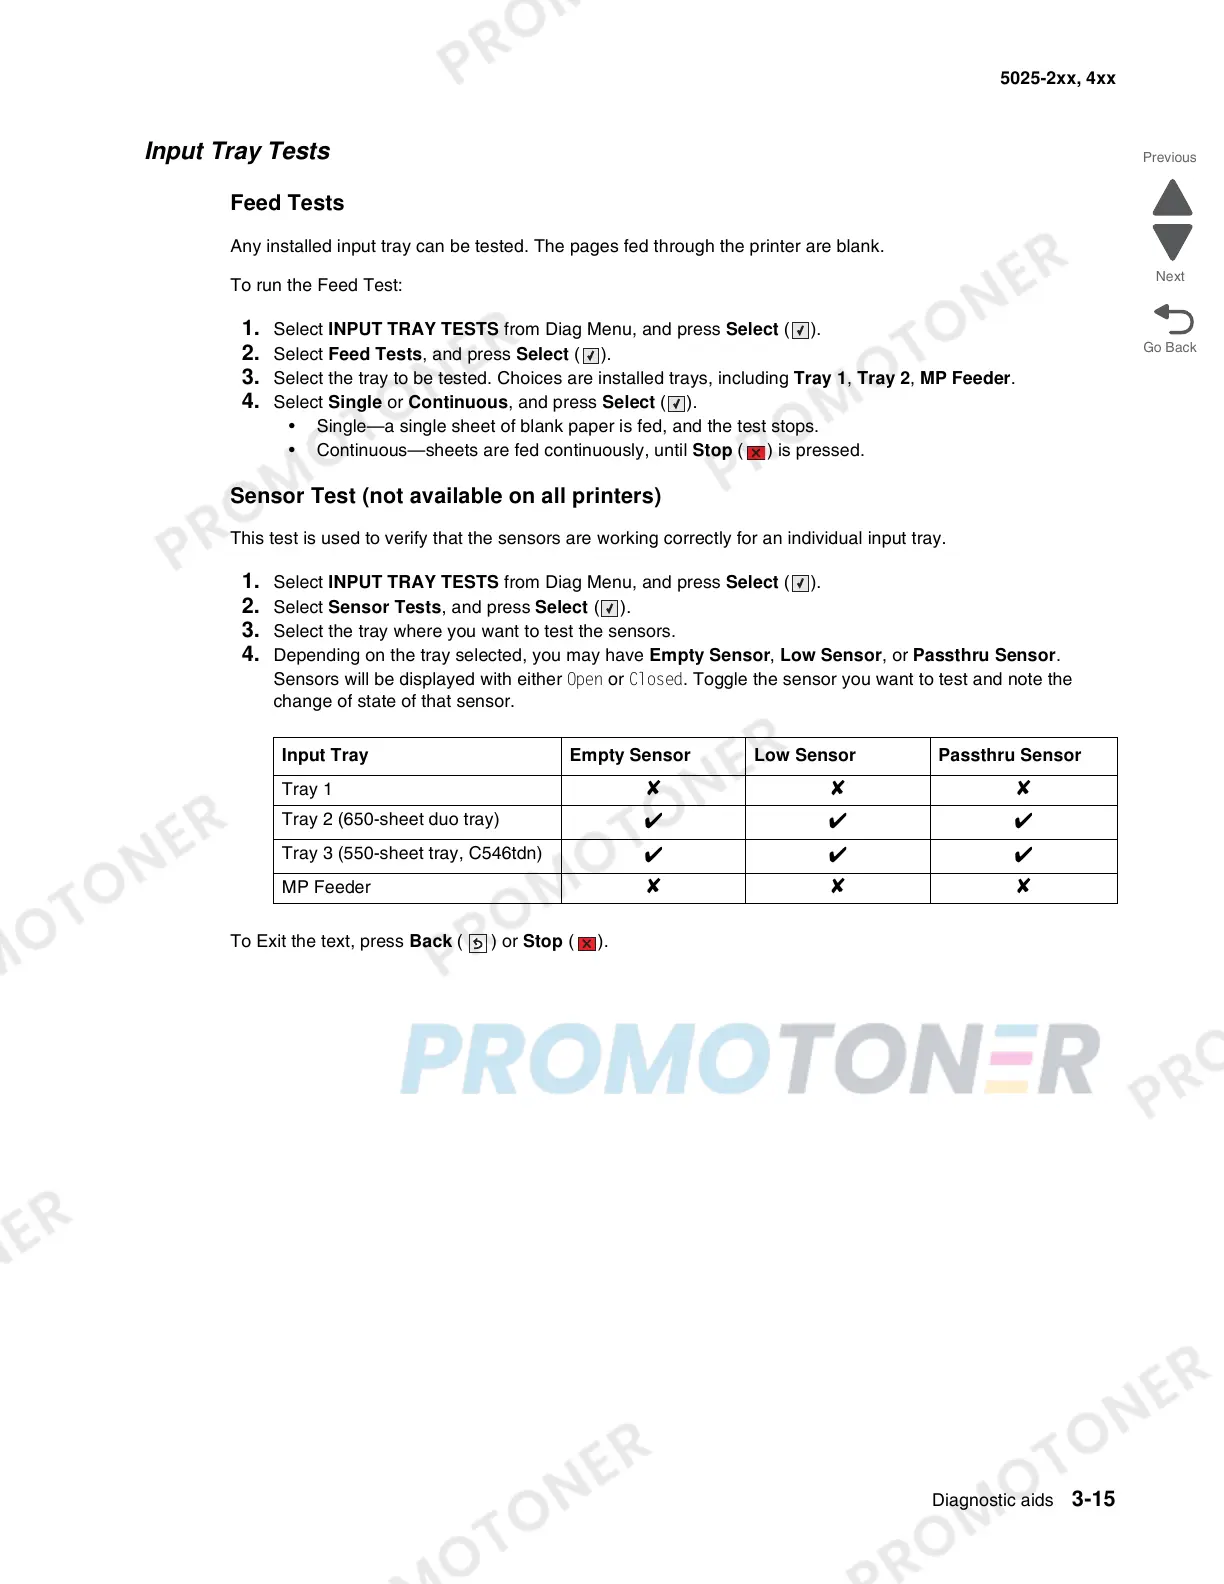
4. Depending on the tray selected, you may have Empty Sensor, Low Sensor, or Passthru Sensor.
Sensors will be displayed with either Open or Closed. Toggle the sensor you want to test and note the
change of state of that sensor.
To Exit the text, press Back () or Stop ().
Input Tray Empty Sensor Low Sensor Passthru Sensor
Tray 1
✘✘✘
Tray 2 (650-sheet duo tray)
✔✔✔
Tray 3 (550-sheet tray, C546tdn)
✔✔✔
MP Feeder ✘✘✘