4-6 Service Manual
5025-2xx, 4xx
Left cover assembly removal
See “Left cover assembly” on page 7-3 for the part number.
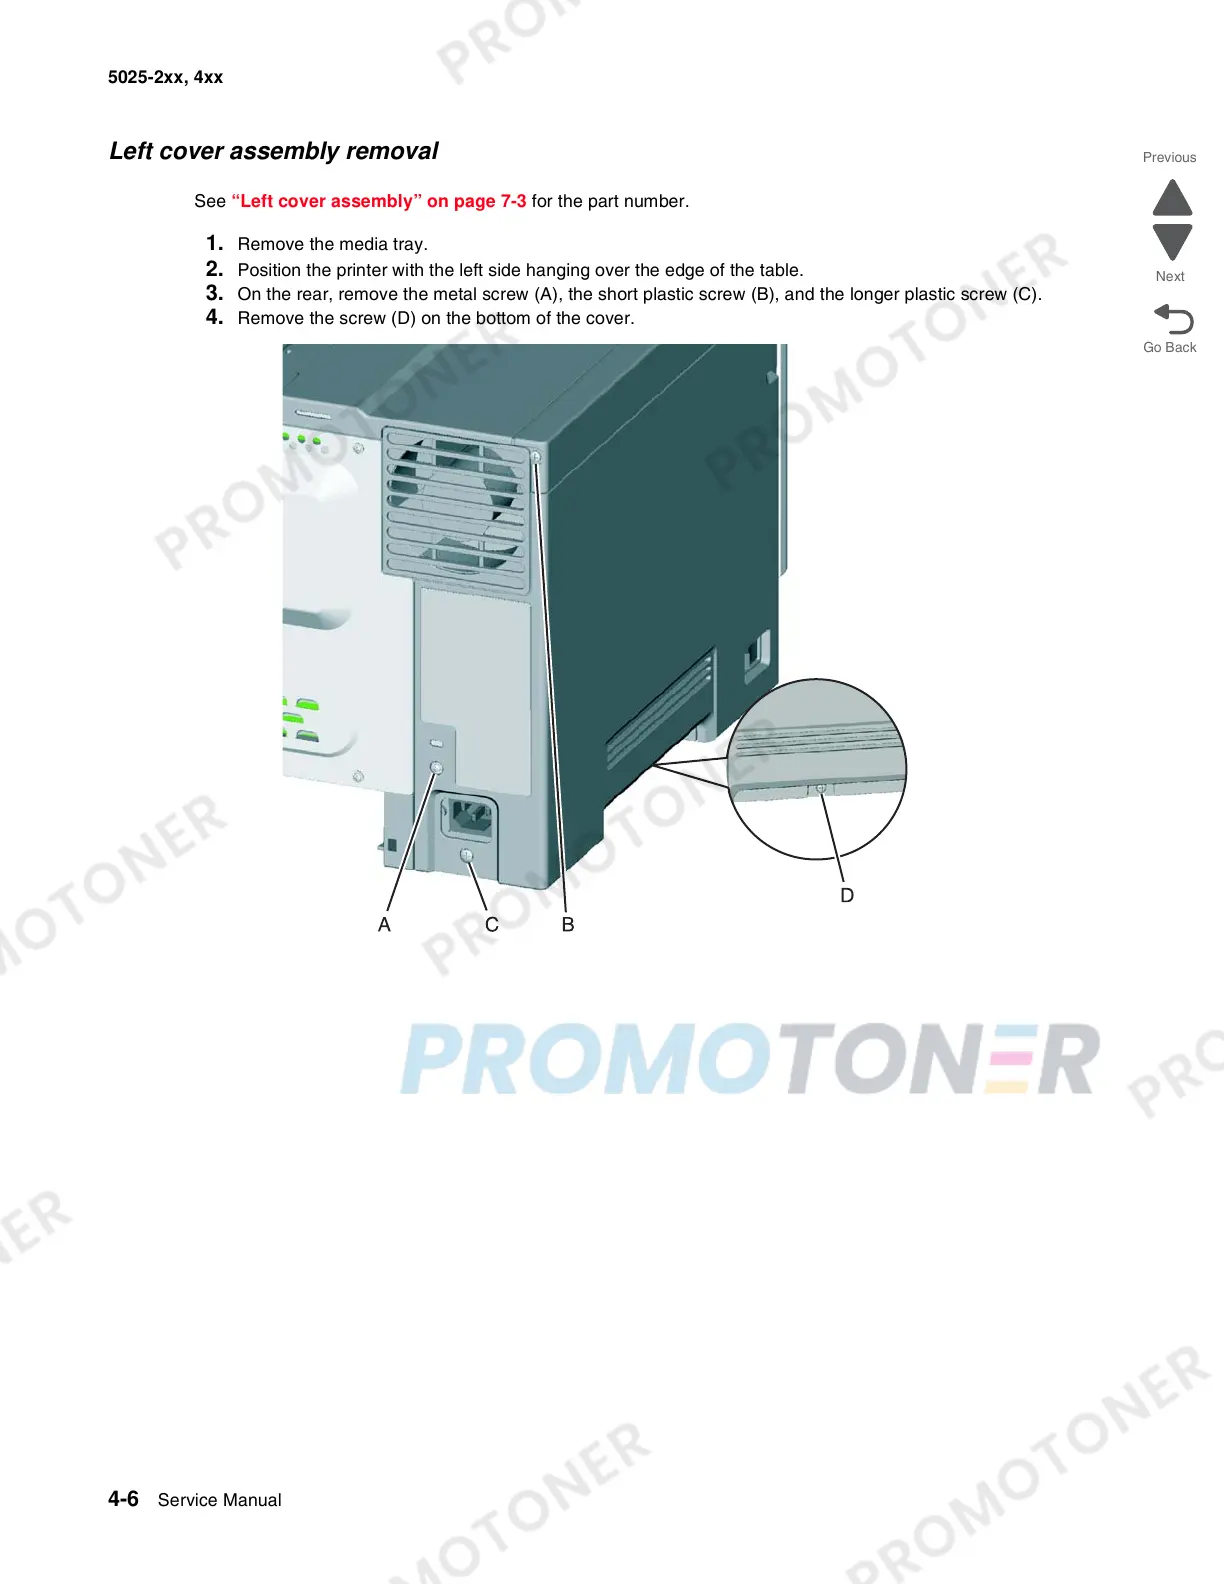
1. Remove the media tray.
2. Position the printer with the left side hanging over the edge of the table.
3. On the rear, remove the metal screw (A), the short plastic screw (B), and the longer plastic screw (C).
4. Remove the screw (D) on the bottom of the cover.