2-44 Service Manual
5025-2xx, 4xx
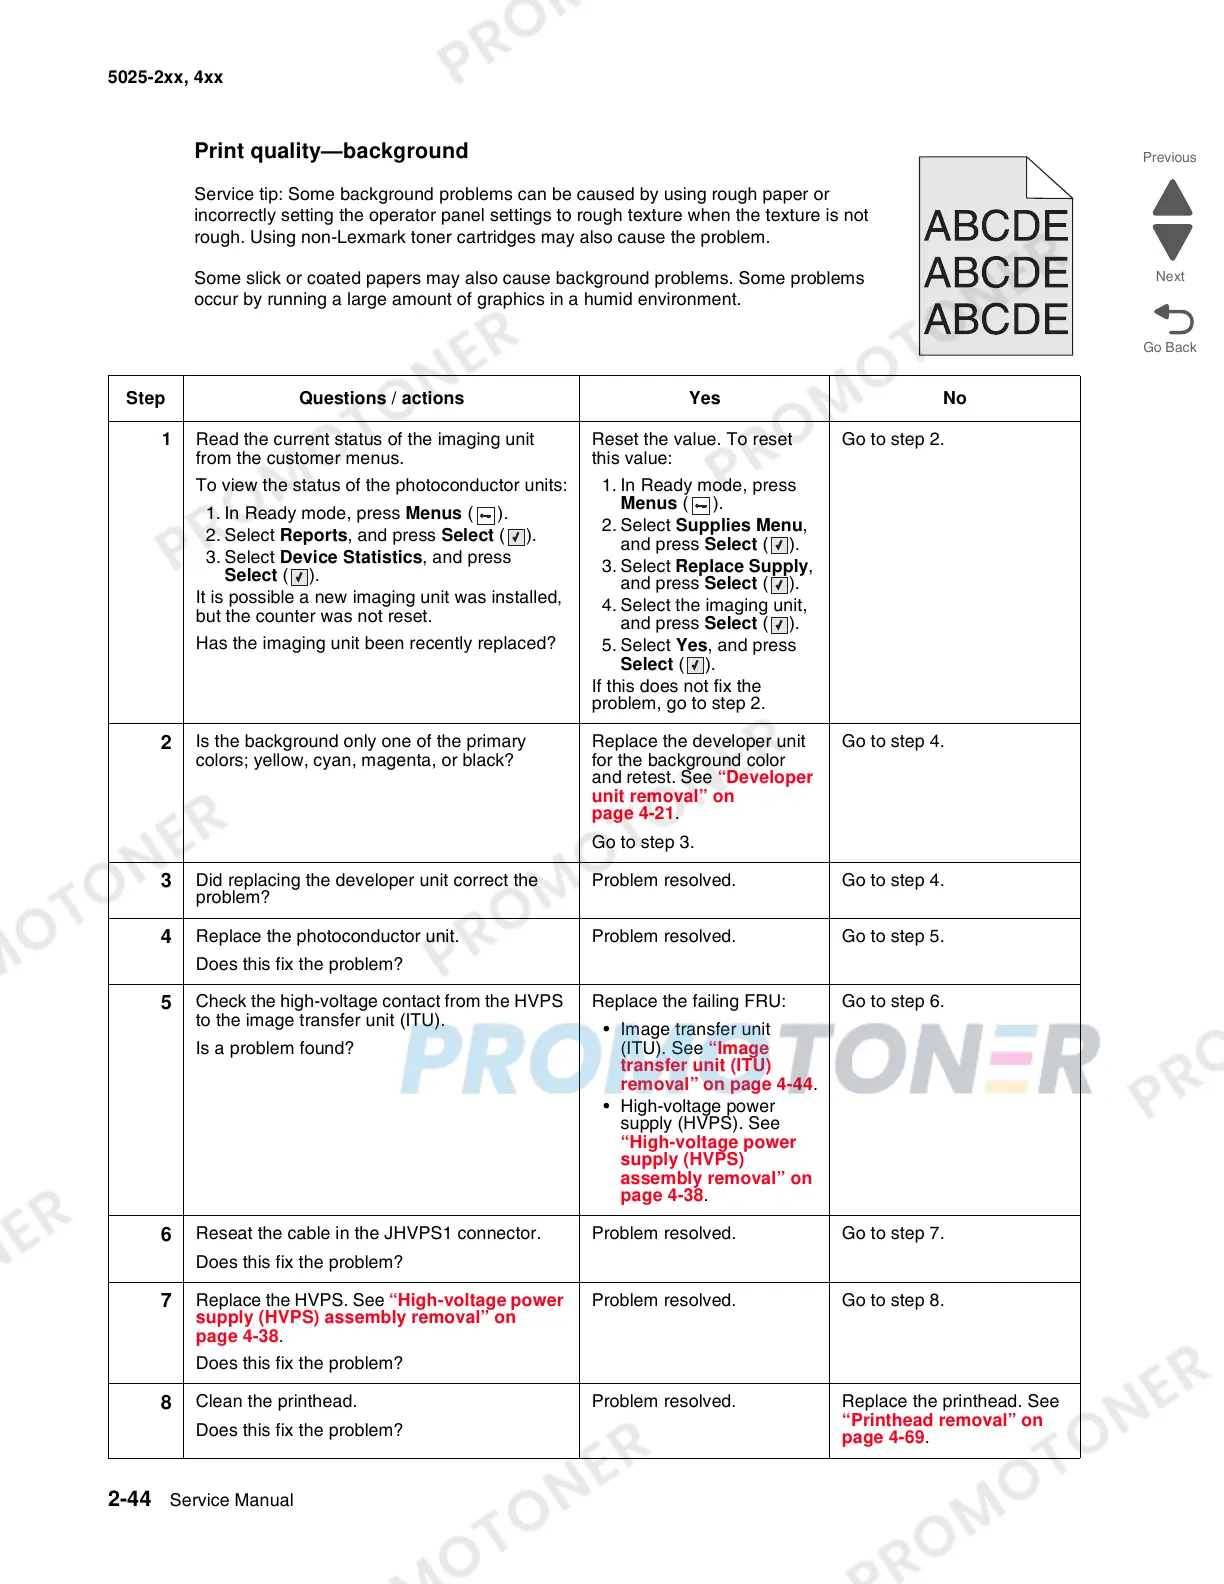
Print quality—background
Service tip: Some background problems can be caused by using rough paper or
incorrectly setting the operator panel settings to rough texture when the texture is not
rough. Using non-Lexmark toner cartridges may also cause the problem.
Some slick or coated papers may also cause background problems. Some problems
occur by running a large amount of graphics in a humid environment.
Step Questions / actions Yes No
1 Read the current status of the imaging unit
from the customer menus.
To view the status of the photoconductor units:
1. In Ready mode, press Menus ().
2. Select Reports, and press Select ( ).
3. Select Device Statistics, and press
Select ().
It is possible a new imaging unit was installed,
but the counter was not reset.
Has the imaging unit been recently replaced?
Reset the value. To reset
this value:
1. In Ready mode, press
Menus ().
2. Select Supplies Menu,
and press Select ().
3. Select Replace Supply,
and press Select ().
4. Select the imaging unit,
and press Select ().
5. Select Yes, and press
Select ().
If this does not fix the
problem, go to step 2.
Go to step 2.
2
Is the background only one of the primary
colors; yellow, cyan, magenta, or black?
Replace the developer unit
for the background color
and retest. See “Developer
unit removal” on
page 4-21.
Go to step 3.
Go to step 4.
3
Did replacing the developer unit correct the
problem?
Problem resolved. Go to step 4.
4
Replace the photoconductor unit.
Does this fix the problem?
Problem resolved. Go to step 5.
5
Check the high-voltage contact from the HVPS
to the image transfer unit (ITU).
Is a problem found?
Replace the failing FRU:
• Image transfer unit
(ITU). See “Image
transfer unit (ITU)
removal” on page 4-44.
• High-voltage power
supply (HVPS). See
“High-voltage power
supply (HVPS)
assembly removal” on
page 4-38.
Go to step 6.
6
Reseat the cable in the JHVPS1 connector.
Does this fix the problem?
Problem resolved. Go to step 7.
7
Replace the HVPS. See “High-voltage power
supply (HVPS) assembly removal” on
page 4-38.
Does this fix the problem?
Problem resolved. Go to step 8.
8
Clean the printhead.
Does this fix the problem?
Problem resolved. Replace the printhead. See
“Printhead removal” on
page 4-69.