4-56 Service Manual
4060-xxx
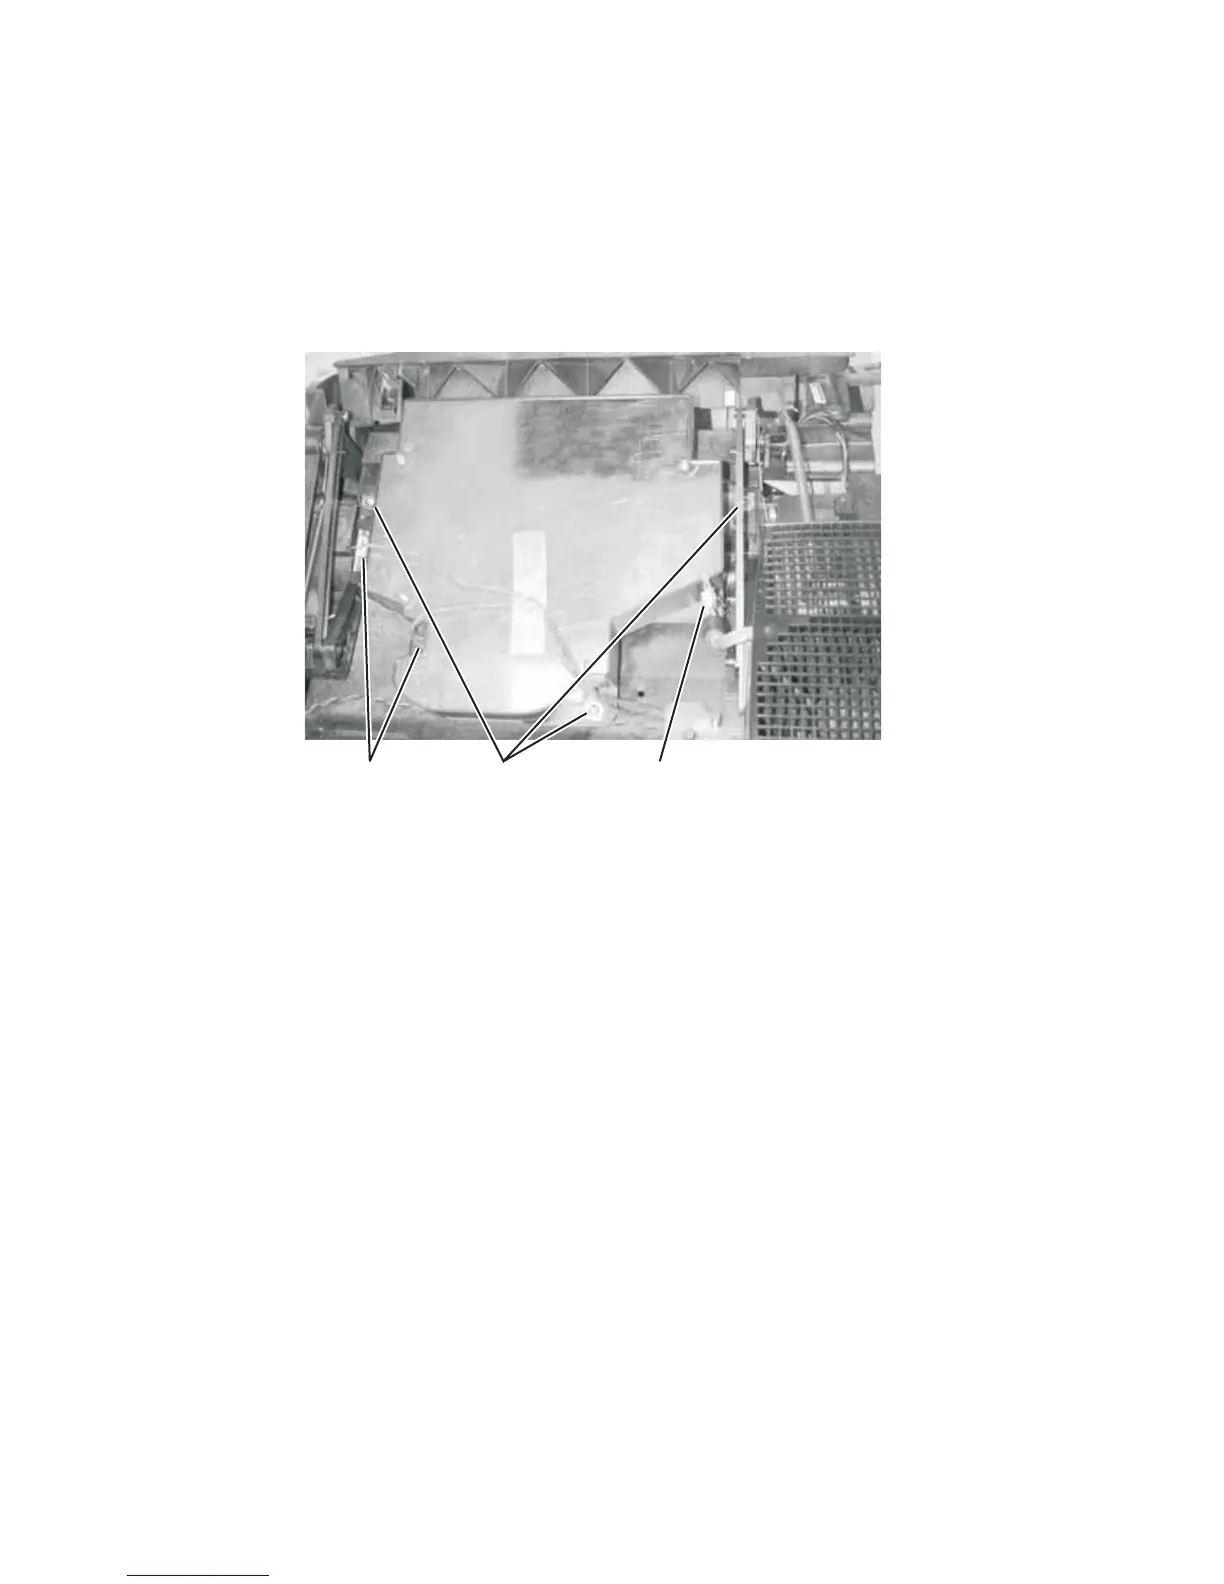
Printhead removal
1. Remove the laser assembly cover. See “Laser cover removal” on page 4-14.
2. Disconnect the printhead cables (A) from the printhead assembly.
3. Remove the printhead mounting screws (B) and remove the printhead.
Note: Do the “Printhead assembly adjustment” on page 4-3 whenever you remove or replace the
printhead assembly or loosen the mounting screws.
Note: The 000/010 machine type printhead is shown. Cables for the 200/210 and for the 400/410
machine type are different. See “Printhead 1 (000/010)” on page 7-10, “Printhead 2 (200/210)” on
page 7-11, and “Printhead 3 (400/410)” on page 7-12.
B
425
A A