*DISM 50ft. extension cable (PN 995-0020-00) is available for purchase from Link4:
(714) 524-0004; sales@link4controls.com
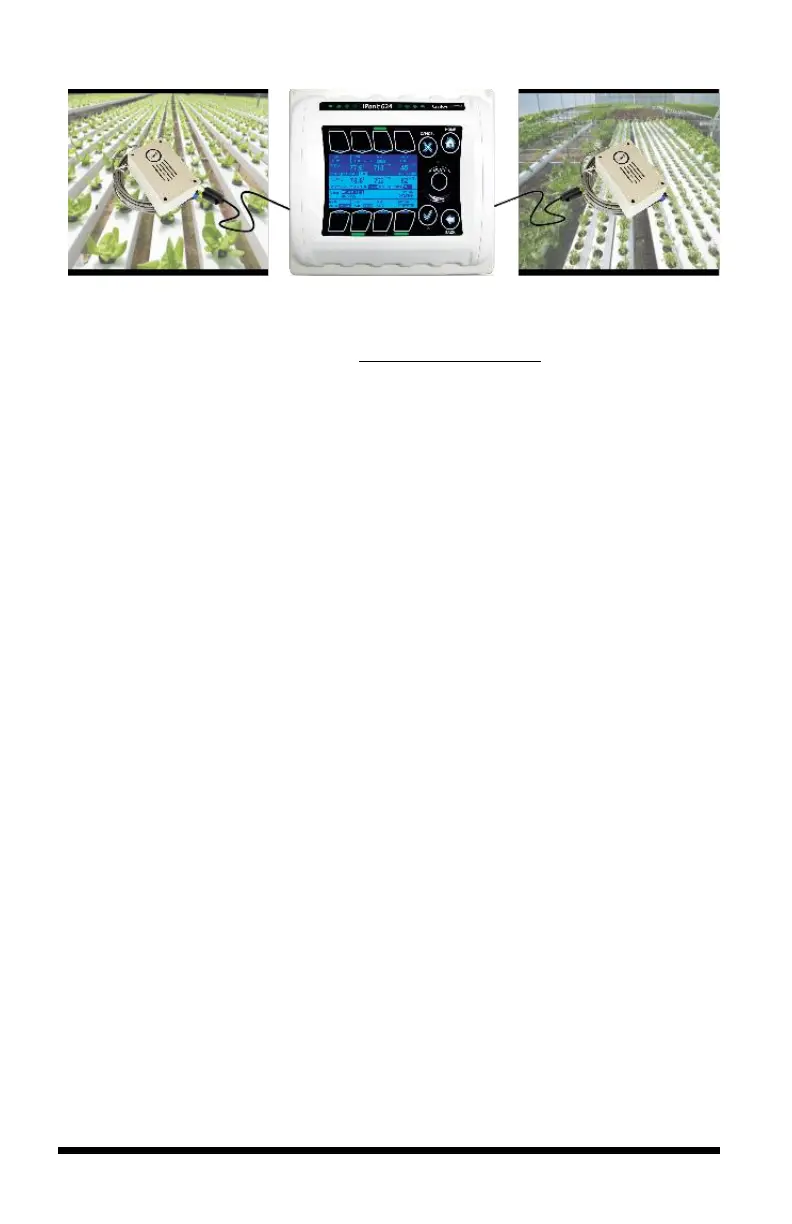
Install the iPonic® 624 Controller
Choosing Location
Find a location outside the grow room to mount your iPonic 624 controller. The
following factors should be taken into consideration:
- secure and easily accessible;
- have a sturdy surface to hold the weight of the controller and the
additional weight of the equipment power cords;
- away from direct sunlight and grow lights;
- dry area with no condensation, moisture, humidity, rain and extreme
temperatures; and
- have at least ten inches of workspace below the controller.
Mounting the iPonic
®
624 Controller
There are four (4) mounting holes on the outside of the iPonic 624 enclosure to
help you attach it to a suitable surface. Make sure you use appropriate tools.
The iPonic 624 controller comes with a 115 VAC power cord. Make sure there is
an outlet within approximately six (6) feet of the controller. It is highly
recommended that you use an outlet that is not shared with another high-voltage
equipment. You must disconnect all equipment from the iPonic 624 controller
before its initial start-up.