4D-Nucleofector
®
Manual
|
21
2.11.2 Loading samples
Load the 96-well Nucleocuvette
®
Plate (Figure 2.24) into the
sample tray (Figure 2.28)
Figure 2.28: 96-well Unit sample tray. Watch the orientation of the plate.
(Well A1 is placed in the upper left position).
Make sure that the plate is oriented properly: the plate
needs to be oriented in a way that well A1 is placed in the
upper left corner.
Please note that all Nucleofection
®
Strips must be inseted
into the plate frame to run an experiment – even if only a
fraction of the wells are used or defined.
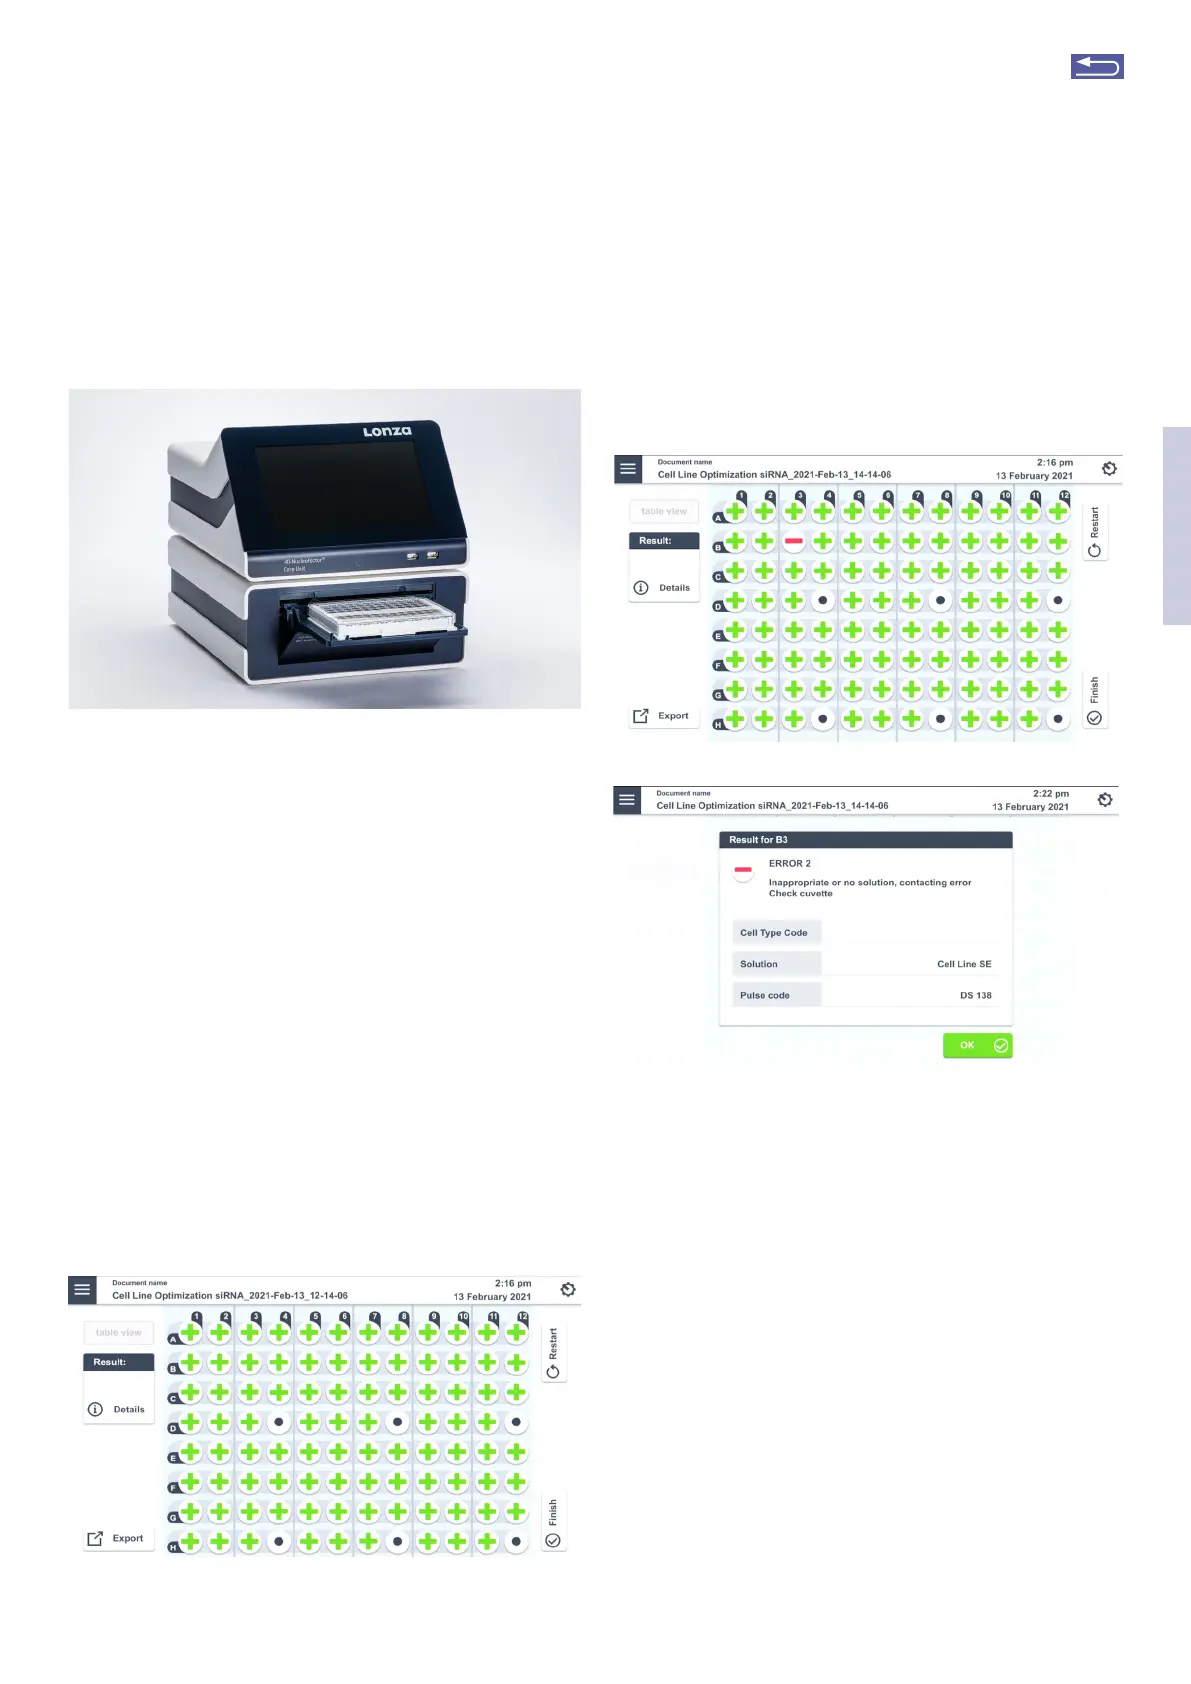
2.11.3 Running the experiment
1. After loading the samples, press “Stat” to run the
experiment (Figure 2.27).
The progress of the experiment is indicated by changing
the symbols of the well positions. (for color codes, see
chapter 4).
2. When the experiment is complete, a result file
summarizing the Nucleofection
®
Process will be
displayed (Figure 2.29).
Figure 2.29: Example of a result file.
3. The result file will be saved automatically by the
system and can be reopened as described in chapter
2.13.2.2. Selecting a well will display futher informa-
tion of the result. Tapping the “Details” button will
open a description for this well, including details
about the setup and result.
Figure 2.30: Detail screen for experiment results. (A) Selection of well is
indicated by blue circle. (B) Clicking on “Details” button reveals futher
information on the well.
4. Press “Stat” to stat the same experiment again
or “Back” to return to the “Set up Experiment”
screen and define a new experiment.
A
B
2
Return to TOC