LulzBot
TM
TAZ User Manual
4.
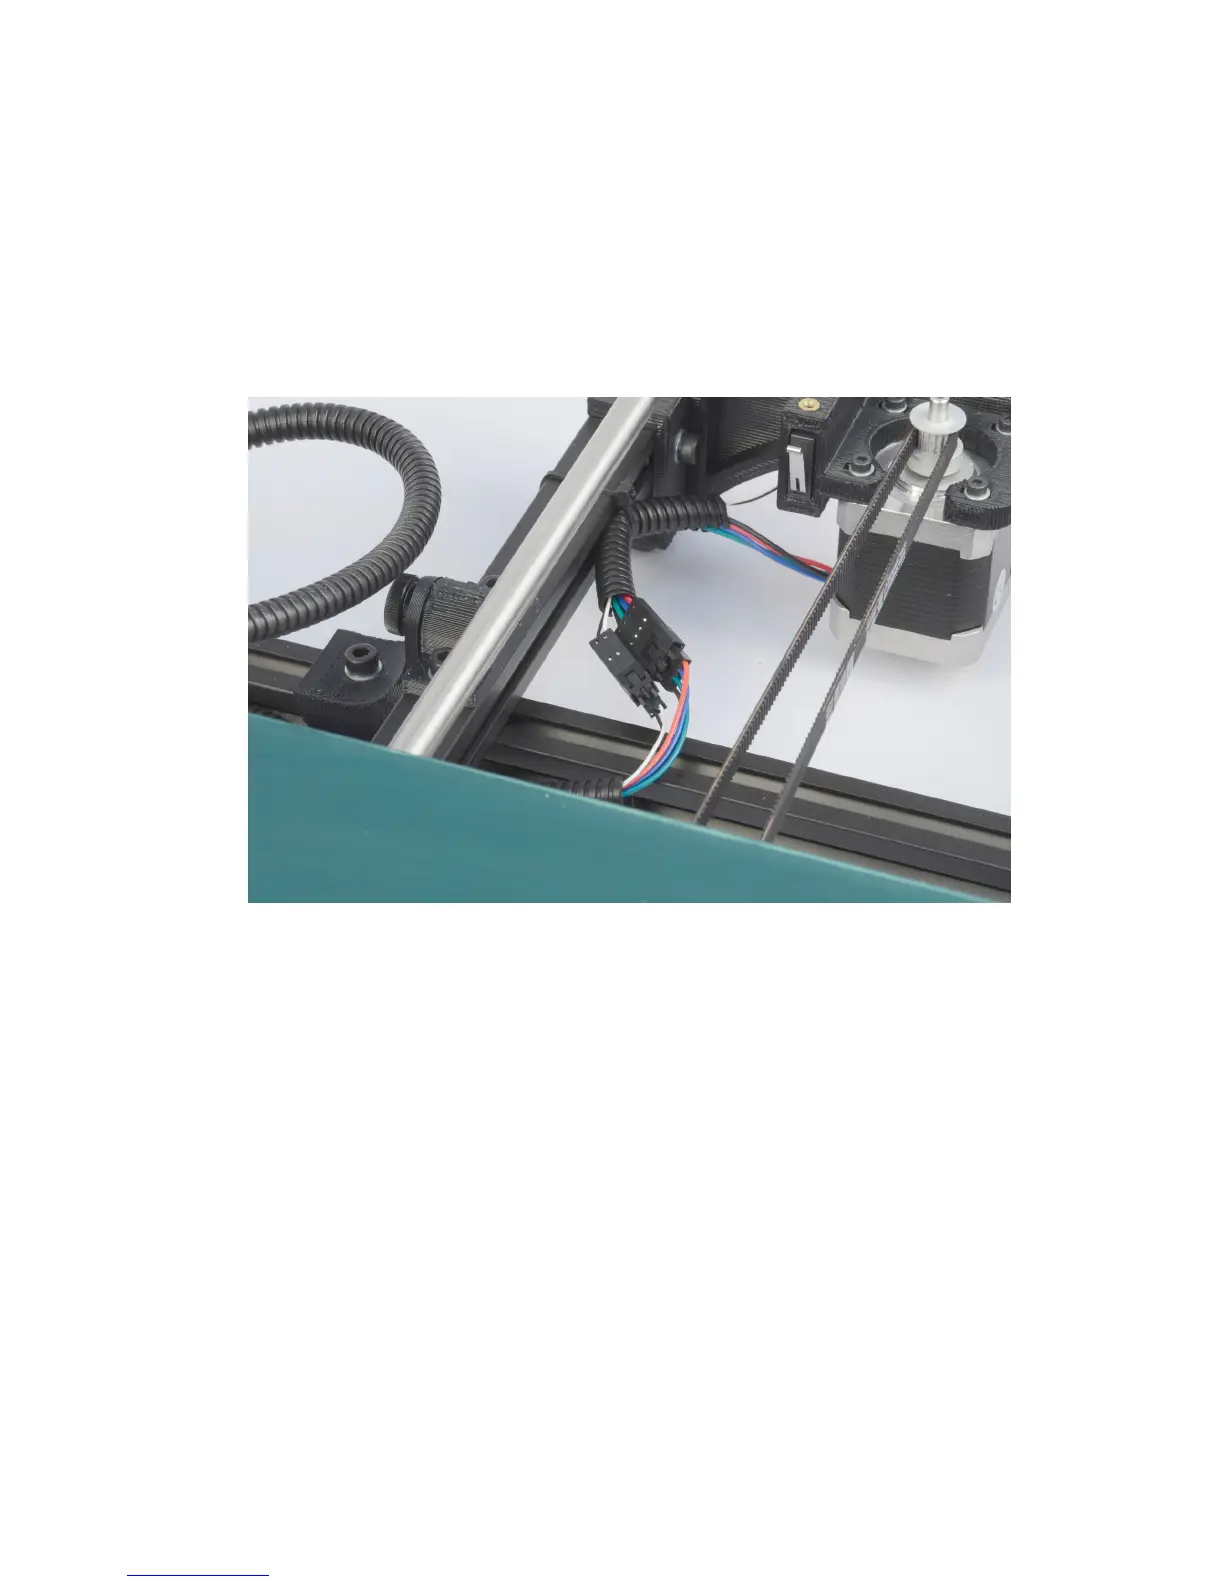
The final step of installing the Y axis is connecting the print surface
connectors and Y axis connectors. Pull the print bed completely to
the front of the printer to get access to the Y axis connectors. You
will find matching male and female 4 pin stepper motor connectors
and two pin end stop connectors. Connect the matching male and
female connectors (Fig. 1.5, page 17); make sure the connector lock
clicks to be sure that the connection is secure.
Figure 1.5: Connect the two connectors found at the rear of the Y axis
5.
Locate the two connectors to the left of the print bed. Connect the
matching female and male large two pin heat bed connectors and the
small two pin connectors (Fig. 1.6, page 18).
6.
Locate the two small black zip ties that are included in the documents
bag (Fig. 1.7, page 18). Wrap the two zip ties through the slot,
located on the left rear of the aluminum bed plate, and around the
print bed wires (Fig. 1.8, page 19). Tighten the zip ties snug so the
wire cannot move freely. Cut off the excess end of the zip ties with
the needle nose pliers included in the tool bag.
17