EasyManuals Logo

LulzBot TAZ User Manual

LulzBot TAZ
120 pages
To Next Page IconTo Next Page
To Previous Page IconTo Previous Page
Page #15 background imageLoading...
Page #15 background image
LulzBot
TM
TAZ User Manual
Figure 1.2: Remove the four Y axis bolts
3.
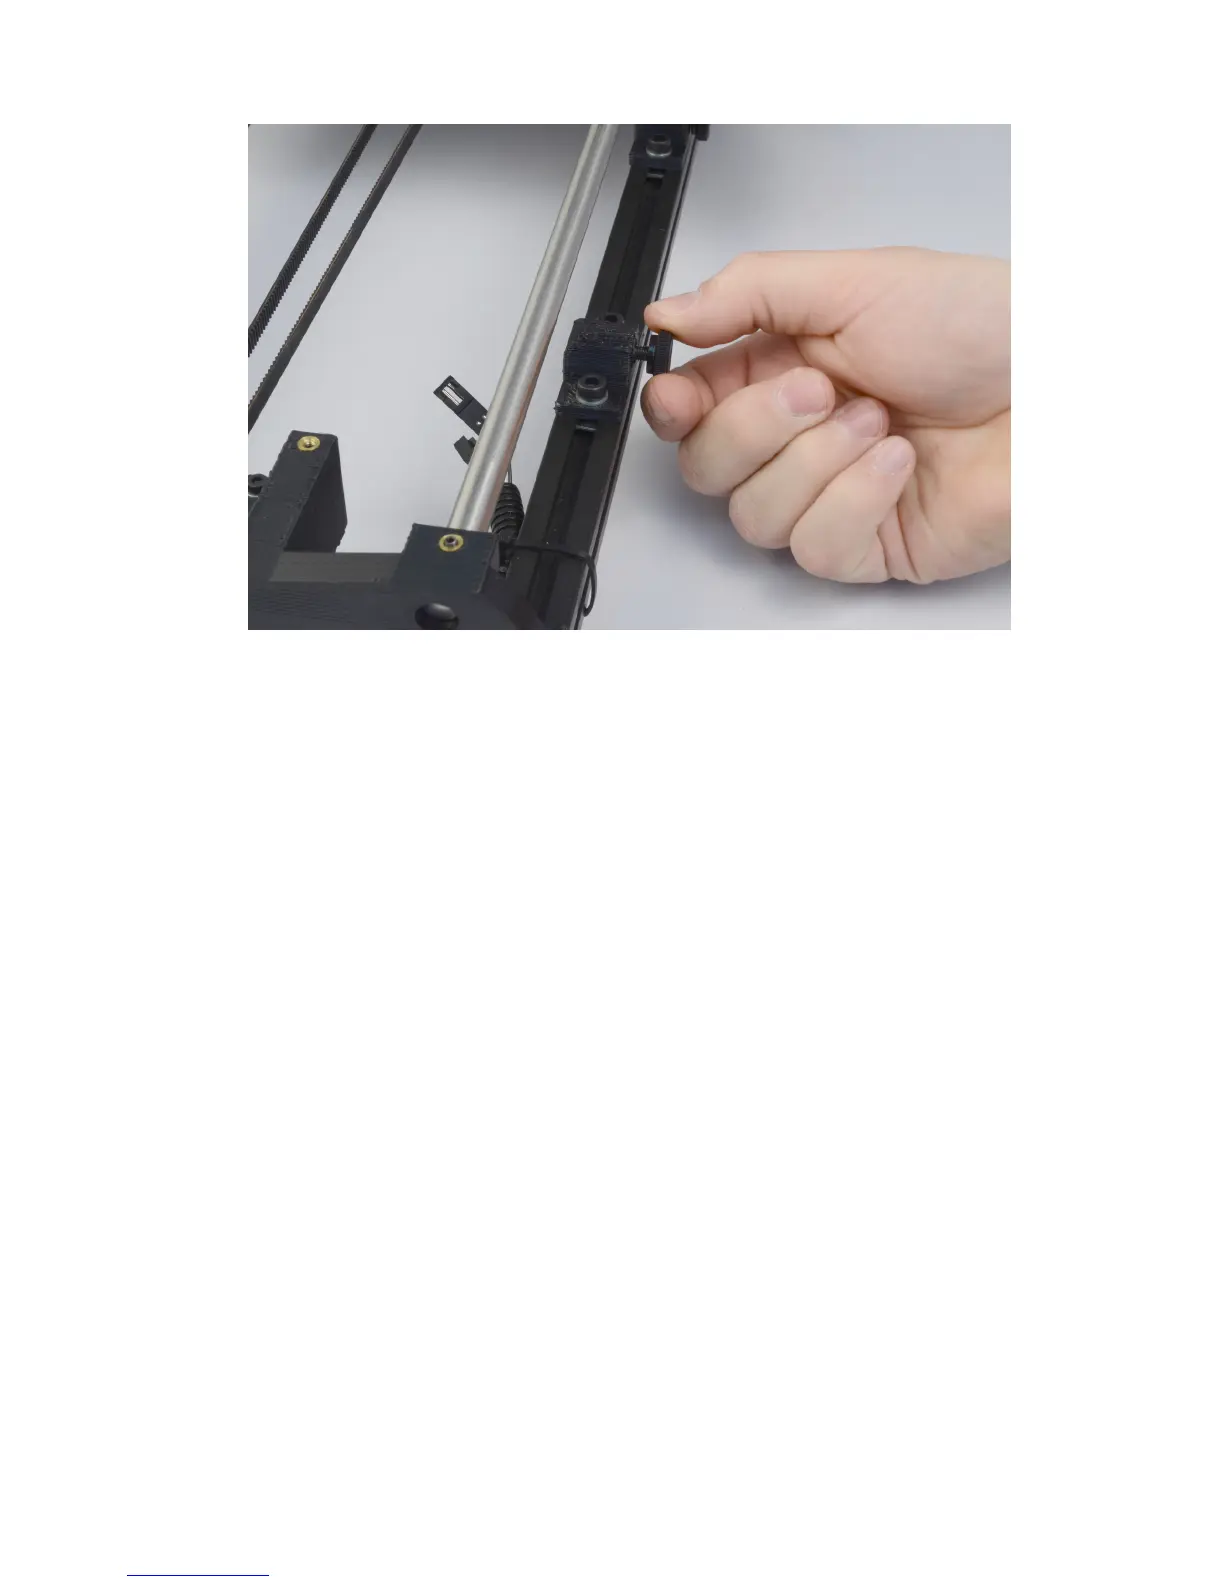
On the TAZ frame locate the four Y axis mount brackets shown in Fig.
1.3 (pg. 16). With the print surface facing up and the stepper motor
end of the Y axis facing back, slide the Y axis assembly in between
the Y axis mount brackets. The four Y axis mount brackets will line
up with the Y axis bolt holes on the Y axis assembly. Thread the four
Y axis bolts through the brackets, into the Y axis assembly (Fig. 1.4,
page 16). Before completely tightening the Y axis bolts make sure
the Y axis aluminum bars are pushed down against the TAZ frame
lower bars. You can do this by slightly tilting the printer, on the side
edge, enough to lift the feet of the Y axis off of the table. The weight
of the Y axis will seat it against the TAZ frame. While the printer is
slightly tilted tighten the four Y axis bolts. The printer can be now
be set flat on the table.
15

Table of Contents

Other manuals for LulzBot TAZ

Questions and Answers:

Question and Answer IconNeed help?

Do you have a question about the LulzBot TAZ and is the answer not in the manual?

LulzBot TAZ Specifications

General IconGeneral
Nozzle Diameter0.5 mm (standard), interchangeable
Print SpeedUp to 200 mm/s
Max Hotend Temperature300°C
Max Heated Bed Temperature120°C
ConnectivityUSB
Supported MaterialsPLA, ABS, HIPS, PVA, PETG, Nylon, TPE, TPU, PC, wood-filled
Print SurfacePEI-coated borosilicate glass bed
Bed LevelingAutomatic
Operating System CompatibilityWindows, macOS, Linux
Power Requirements100 - 240 VAC
Print TechnologyFused Deposition Fabrication (FDM)

Related product manuals