LulzBot
TM
TAZ User Manual
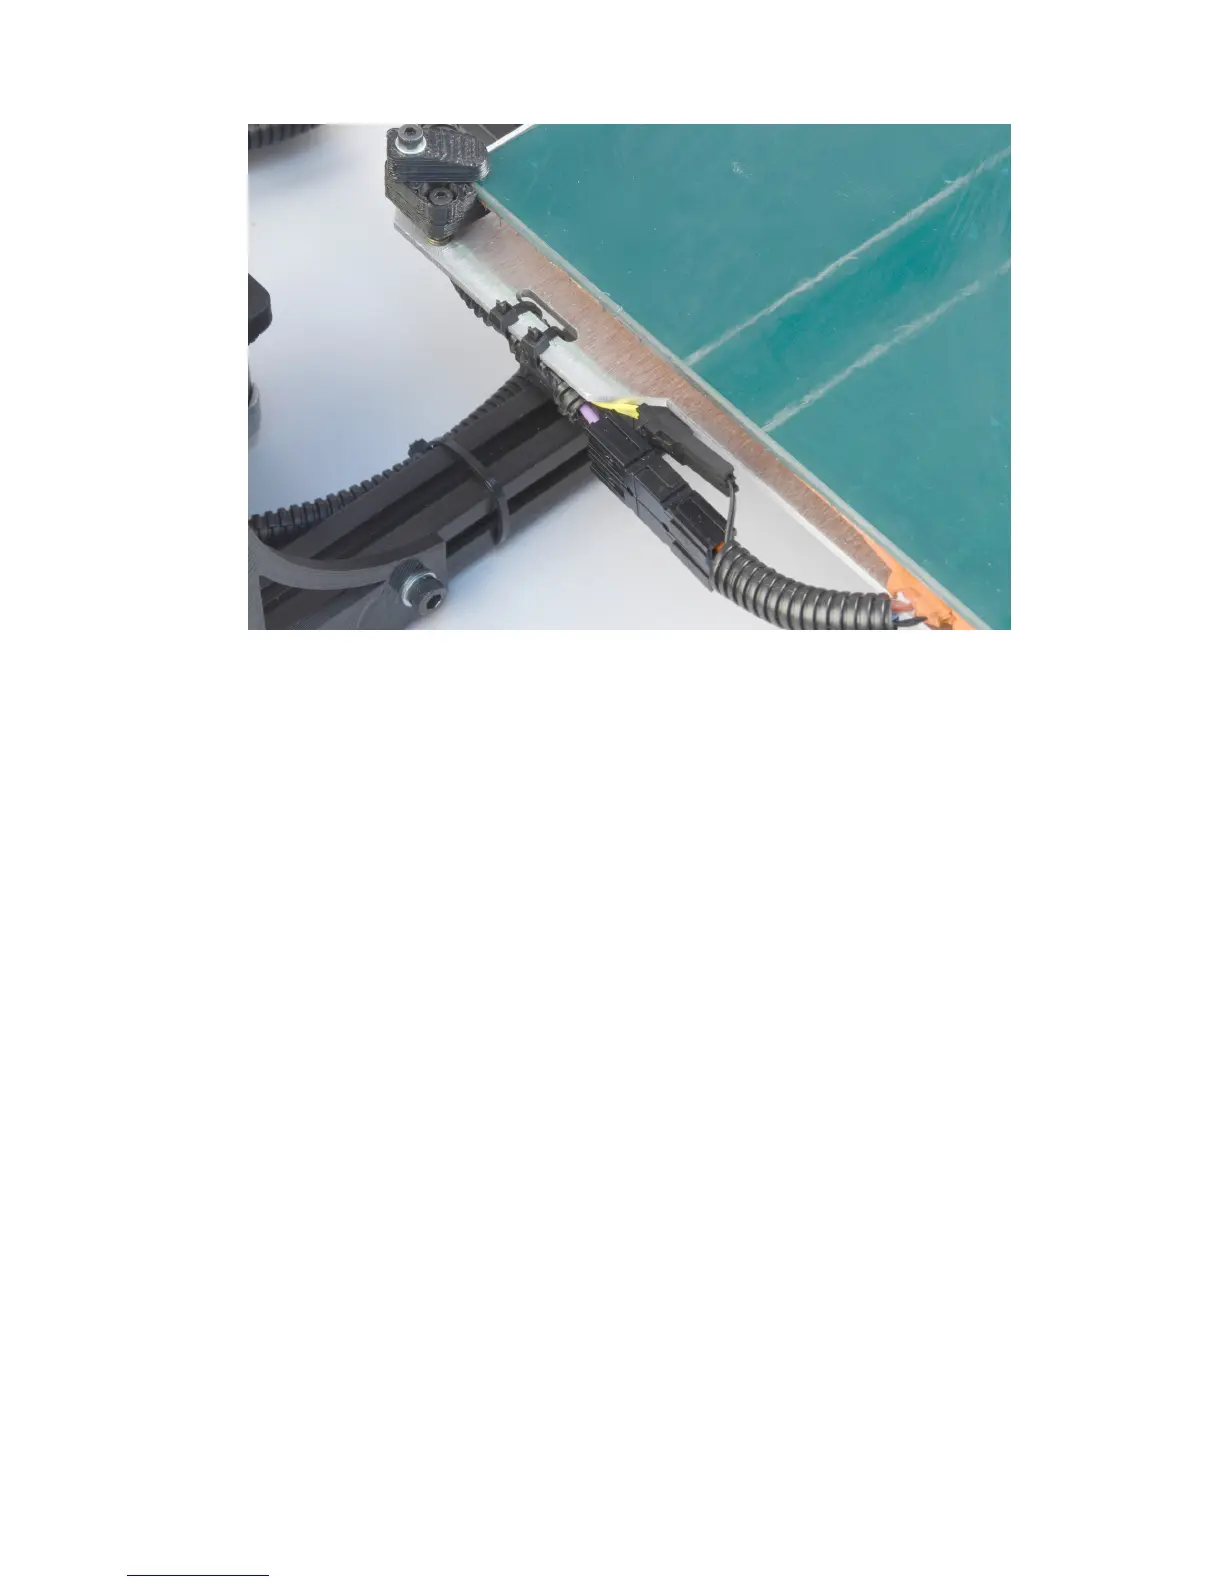
Figure 1.8: Tightly wrap the zip ties around the bed wires and through the
strain relief slot
7.
Now that the Y axis is mounted you should set your printer on a
stable, flat, and level surface large enough for extra space around the
printer. Make sure your printer work space is clear of anything that
could obstruct the movement of the printer. Make sure there are no
flammable fabrics or liquids near the printer space. It is also best to
not put your printer near a drafty window or air conditioner vent.
8. Unwrap the power supply and USB cables.
MAKE SURE THE POWER SUPPLY IS COMPLETELY UN-
PLUGGED BEFORE MOVING ON TO THE NEXT STEP.
9.
Locate the power supply and USB receptacles along the back of the
TAZ electronics enclosure (Fig. 1.9, page 20). Locate the power supply
and the included AC power cable (Fig. 1.10, page 21). Locate the
DC power cable plug on the power supply. Connect the DC locking
plug into the DC connector on the TAZ electronics enclosure (Fig.
1.11, page 21). The plug is keyed which may require rotating the plug
until the keys line up and the plug can be pushed in. Once you have
19