Workstation 5 Field Service Guide 4-7
Remove and Replace the Workstation 5 FRUs
The Power Supply
The Power Supply
The procedure describes how to remove and replace the Workstation 5 power
supply.
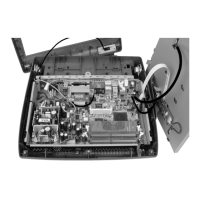
1. See page 4-2 to remove the Workstation 5 cover and LCD/Touchscreen
Assembly.
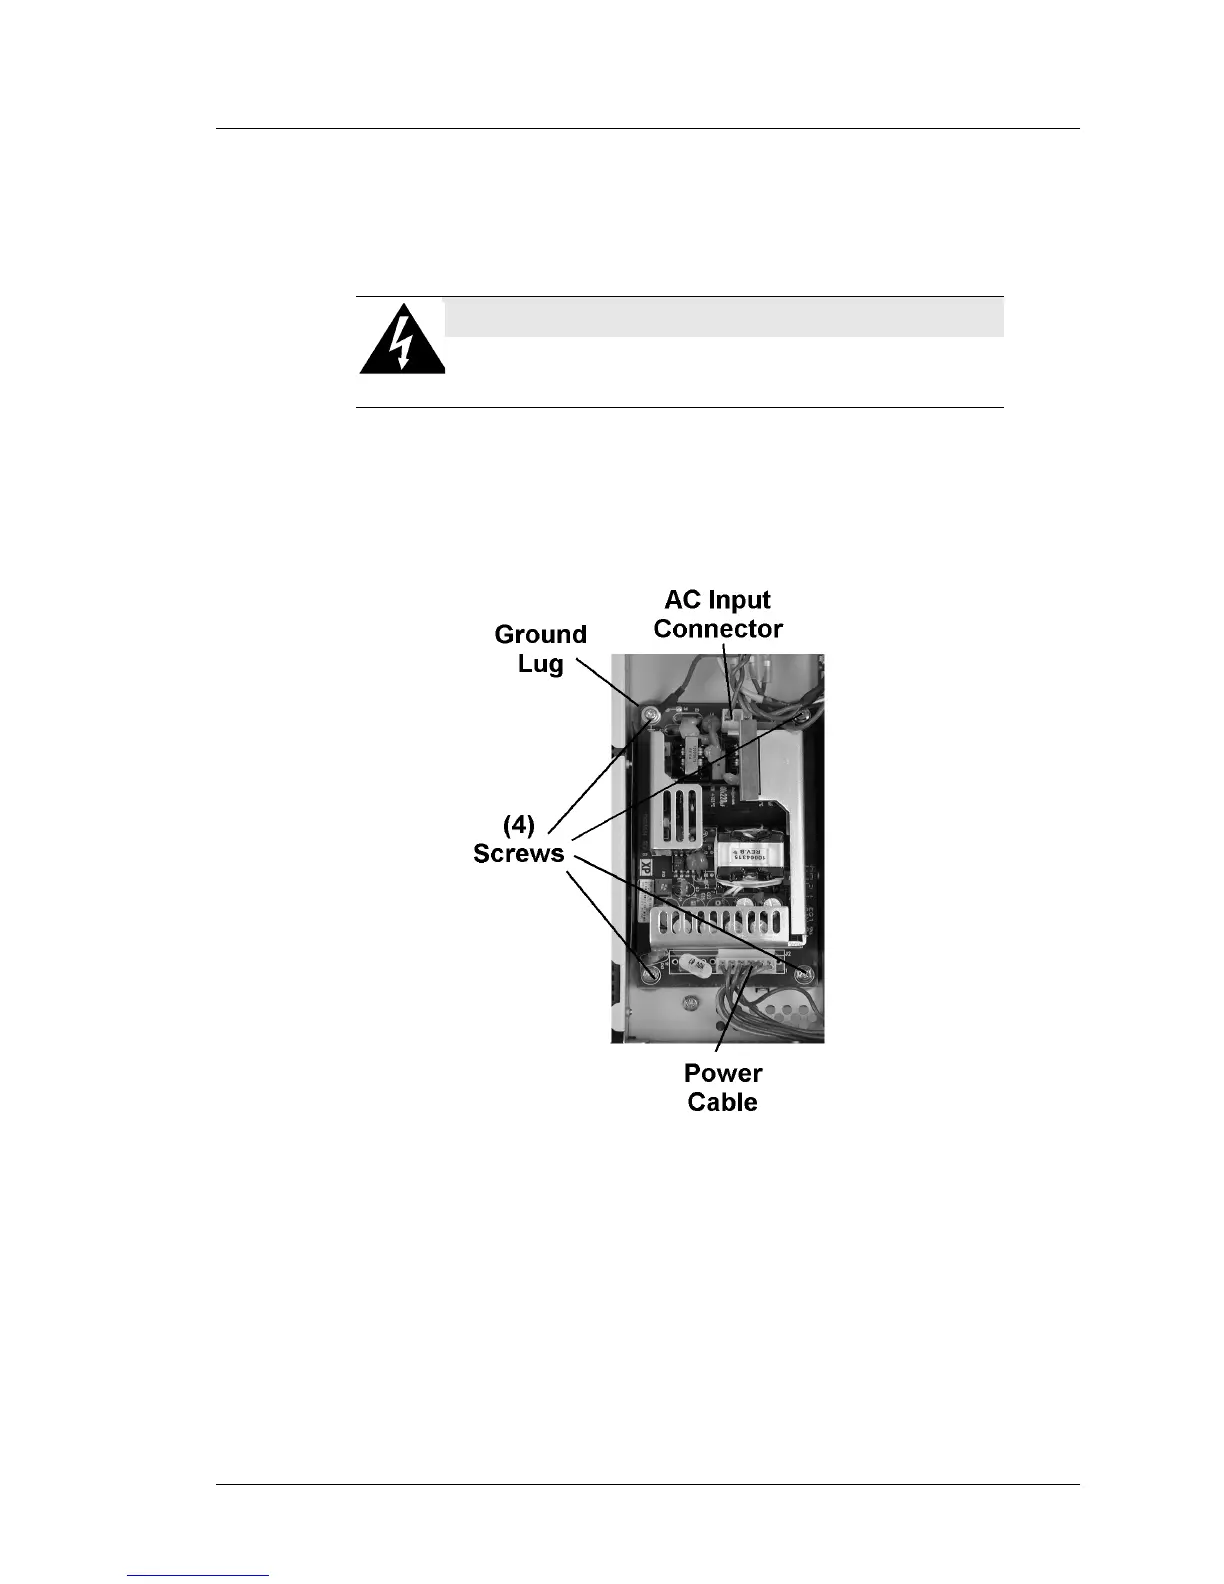
2. Refer to Figure 4-6 and remove the AC input cables and ground lug from
the power supply board.
Figure 4-6: Remove/Replace the Workstation 5 Power Supply
3. Remove the System Board Power Cable.
4. Remove four screws from the power supply board.
5. Inspect the power supply tray. Remove any foreign materials.
6. Install the replacement power supply, install and fasten the four screws
including the AC input cable ground lug. A magnetized screwdriver is a
must.
7. Install the system board power cable.
SHOCK HAZARD
Be sure the AC Power Cable is disconnected from the unit
before proceeding.