OM-253 906 Page 80
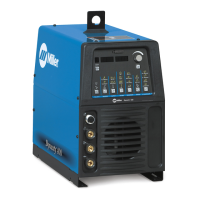
7-9. Welding Power Source Troubleshooting
Trouble Remedy
No weld output; unit completely in-
operative.
Place line disconnect switch in On position (see Section 5-11).
Check and replace line fuse(s), if necessary, or reset circuit breaker (see Section 5-11).
Check for proper input power connections (see Section 5-11).
No weld output; meter display On. Check, repair, or replace remote control.
Unit overheated. Allow unit to cool with fan On (see Section 4-4).
Check voltmeter/ammeter Help displays.
Erratic or improper weld output.
Use proper size and type of weld cable (see Section 5-16).
Clean and tighten all weld connections.
Check volt sense lead. Straighten any coiled cables.
No 115 volts AC output at single
receptacle.
Reset supplementary protector CB1 (see Section 5-8).
No 24 volts AC output at Remote 14
Feeder receptacle.
Reset supplementary protector CB2 (see Section 5-7).
When remote control is connected to
unit output is always on.
Check remote control switch and potentiometer resistances.
Notes
 Loading...