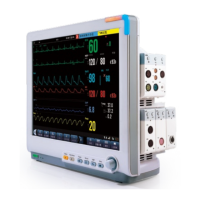
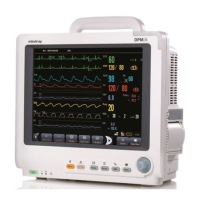
3-16
3.3 Power On Test
This test is to verify that the patient monitor can power up correctly. The test is passed if the
patient monitor starts up by following this procedure:
1. Insert two batteries in the battery chamber and connect the patient monitor to the AC
mains, the AC mains LED and battery LED light.
2. Press the power on/off switch to switch on the patient monitor. The operating status
LED lights up, and the technical and physiological alarm lamps light blue and red
respectively.
3. After the start-up screens are displayed, the system sounds a beep indicating the self test
on alarm sounds is passed. At the same time, the alarm lamp turns from yellow to red,
and then turns off together with the technical alarm lamp. This indicates that the self test
on alarm lamps is passed.
4. The patient monitor enters the main screen and start-up is finished.
3.4 Module Performance Tests
3.4.1 ECG Tests
ECG Performance Test
Tool required:
Fluke Medsim 300B patient simulator recommended
Follow this procedure to perform the test:
1. Connect the patient simulator with the ECG module using an ECG cable.
2. Set the patient simulator as follows: ECG sinus rhythm, HR=80 bpm with the amplitude
as 1mV.
3. Check the ECG waves are displayed correctly without noise and the displayed HR value
is within 80 ± 1 bpm.
4. Disconnect each of the leads in turn and observe the corresponding lead off message
displayed on the screen.
5. Set that the simulator outputs paced signals and set [Paced] to [Yes] on the monitor.
Check the pace pulse marks on the monitor screen.