Structure and Assembly/Disassembly 9-89
9.3.38.8 Turbine Support Bracket
The disassembly tool: cross-headed screwdriver (M3, M4).
See Chapter 9.3.37.6 for details.
9.3.38.9 The Motor of Electrical Ascending/Descending Mechanism
The disassembly tool: M5, M6 Inner hexagon spanner
1. See 9.3.16, 9.3.17, 9.3.18 and 9.3.19, 9.3.20, 9.3.21 and 9.3.22 for details.
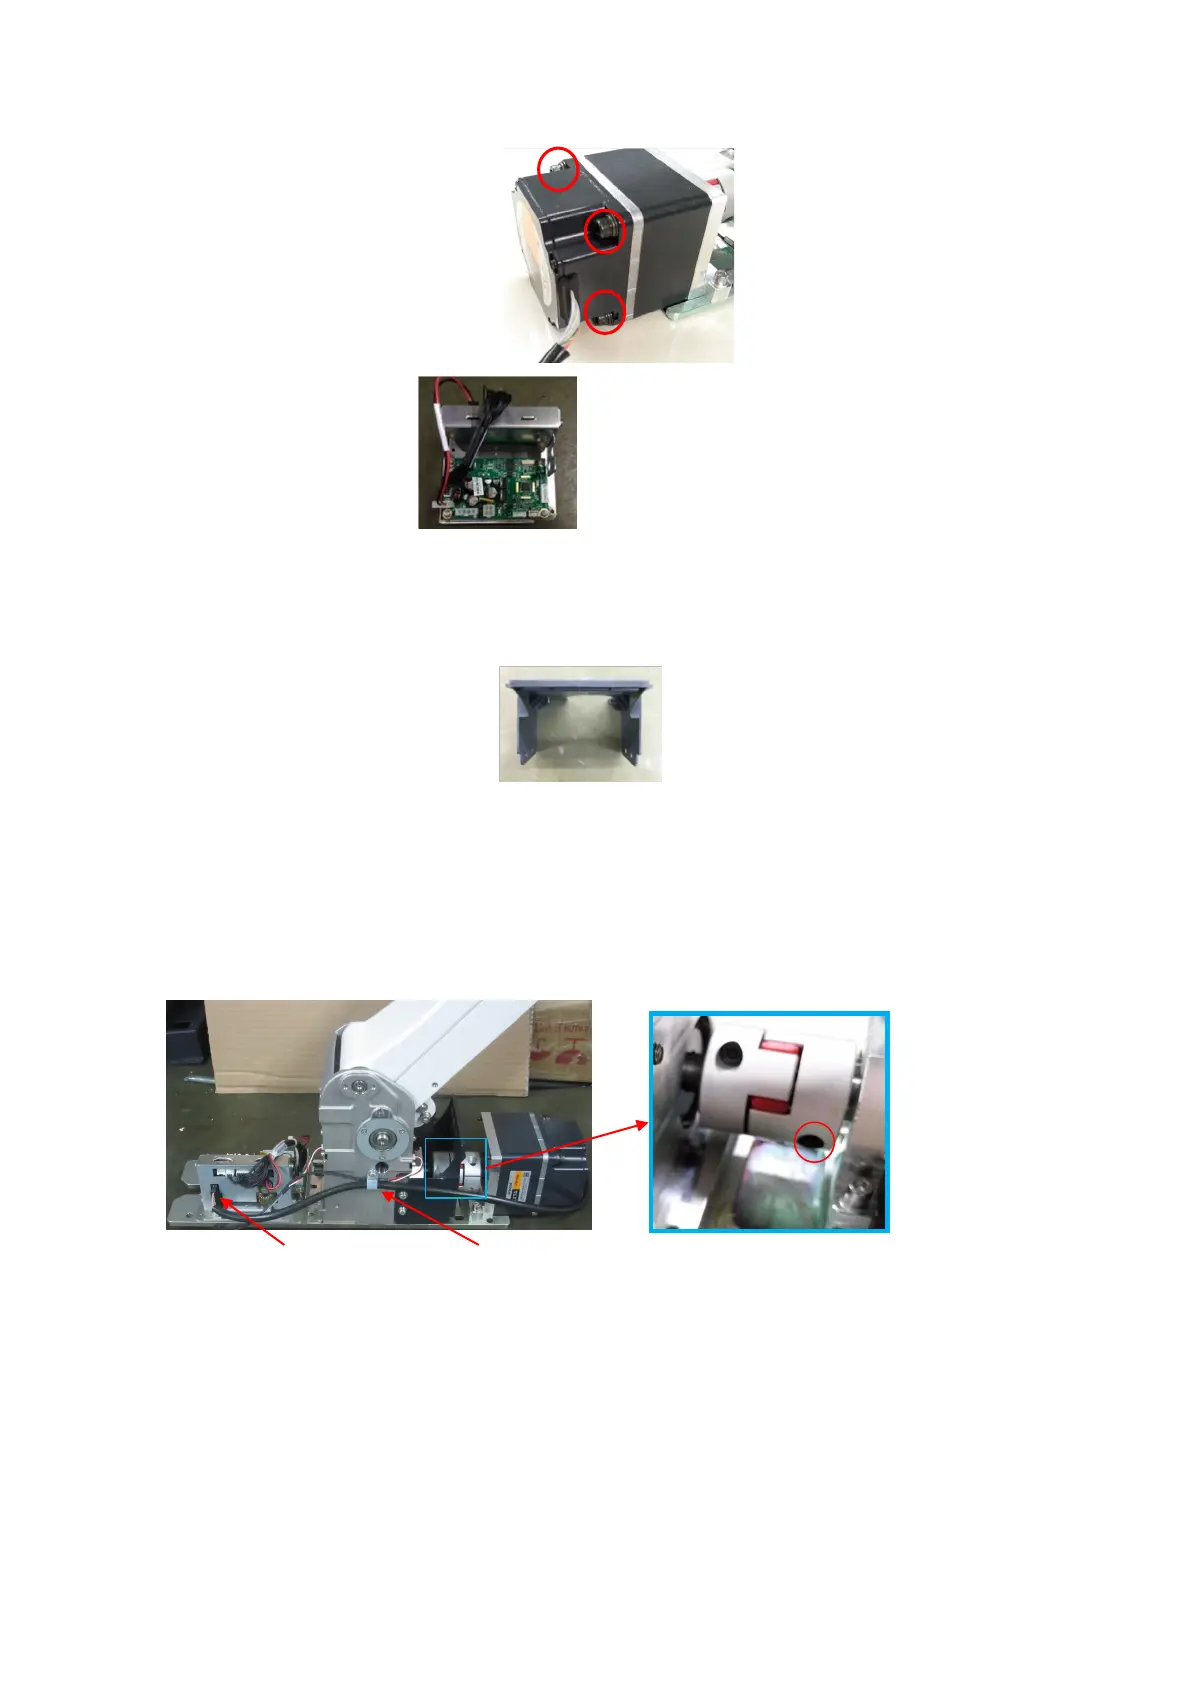
2. Unscrew one small combination screw M4 X12 from the UC-1.5 with the screwdriver (M3, M4).
Pull the cable of the brushless DC motor from the lift control PCBA assembly. Use M5 inner
hexagon spanner to unfasten 1 screw on the coupling.
3. Use M6 inner hexagon spanner to unfasten 4 fixing screws (with the pad) to remove the
motor-driven lift mechanical assembly (MOTOR brushless DC 24V 50 W reduction ratio).
ixing knob UC-1.5
able of the brushless DC motor
urbine support bracket
he lift control PCBA assembly (FRU)

 Loading...


