2.4.4
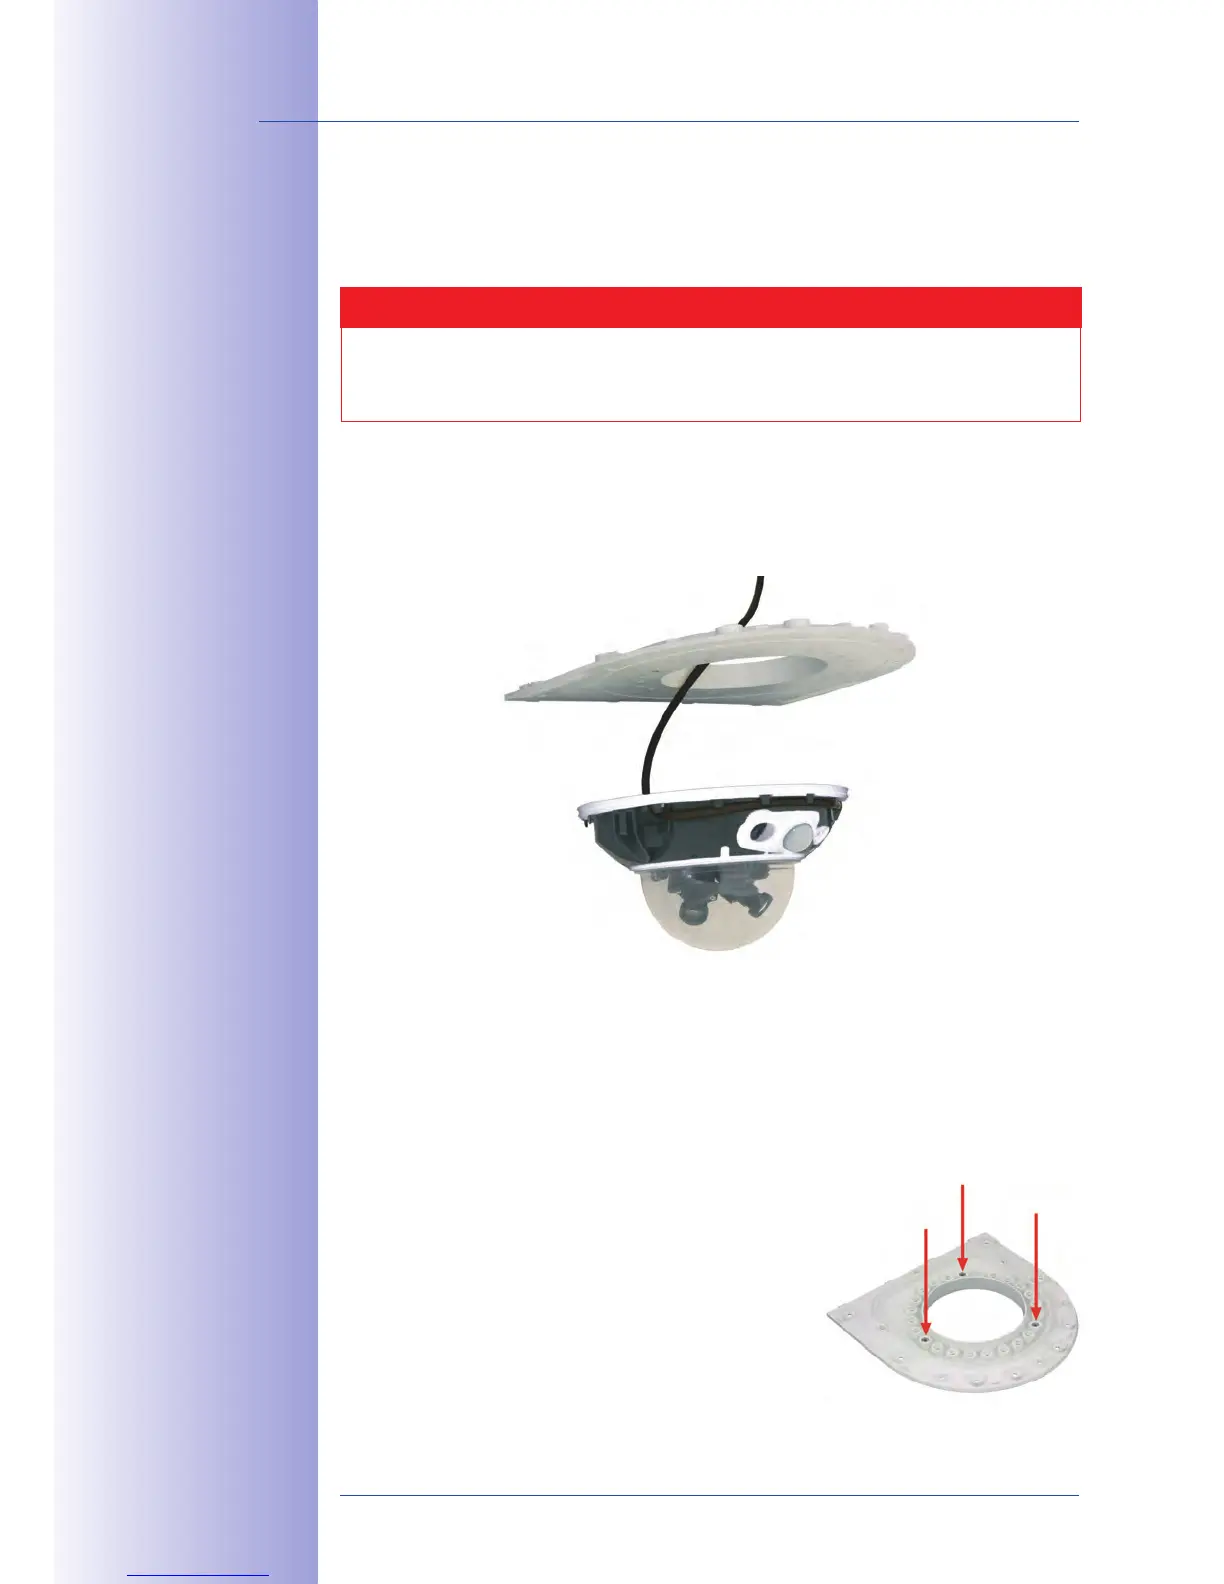
In order to mount the camera to the bottom plate, use three of the supplied M4x25 Allen
screws ,
and the corresponding hex nuts.
Caution
When fastening the Allen screws using the 3 mm Allen wrench, make sure that
you do not scratch the camera dome!
Please
1.
of the D14D
that is delivered with the wall mount. Guide the
from below (smooth side) through the round
opening of the bottom plate.
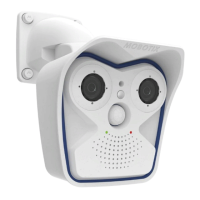
Position the camera on the underside of the bottom plate so that the PIR sensor
2.
points in the desired direction and the hole in the housing to the right of the PIR
sensor is situated above a hole in the bottom plate.
Insert the
3. into the corresponding hole of the bottom plate. Then
use one M4x25 Allen screw and a
and
lightly
fasten the
screw.
4.
Turn the bottom plate over and identify the number
of the hole that has just been screwed in (example:
PIR is pointing ahead > Hole has the number 1).
Insert the remaining into the other
holes with the same number (1, in this case) and use
the two other M4x25 Allen screws with the washers
to mount the camera to the bottom plate.
Mount the camera
housing to the bottom
plate before mounting
the bottom plate itself
PIR sensor of the
camera looks straight
ahead: Position 1