4-24 Troubleshooting
5. Remove four screws securing Exciter Module, and four screws securing Receiver
Module to the SCM, and disconnect both modules from the SCM.
6. Remove the six screws securing the SCM casting to the SCM board.
7. Ensure that the correct SCM board is being installed. Fasten the board into the casting
with the six screws.
8. Plug back the Exciter Module and the Receiver Module into the respective connectors
on the SCM. Tighten the screws and slide the transceiver assembly back into the station
(along the guide rails) to mate with the connector on the backplane.
9. Reconnect all the cables.
10. Fasten the transceiver assembly into the unit using the two screws.
11. Restore power to the station.
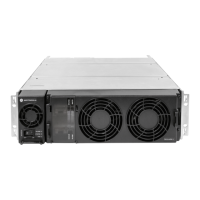
4.3.15 Troubleshooting Chart
Follow the procedures in the troubleshooting charts below to isolate the cause of SCM problems.
The following assumptions should be taken note of before carrying out the troubleshooting
procedures.
• Depot Repair Centres will have a golden MTR3000 base station/repeater
• Depot Repair Centres will not replace BGA devices
• Depot Repair Centres will not have capability to program FPGA
• Audio Flow Chart is based on the usage of CPS. Factory will use the controller’s 12M,
schematics and flow charts to perform troubleshooting.
Note
Do not slam the transceiver assembly against the backplane or push any harder than
necessary to seat the connector.
Note
1. Reference Designator with/without M suffix are identical in the design
2. Factory should reprogram FPGA with test fixture prior to replacing the device
3. Factory should replace the failure device prior to replacing the controller
4. Transmitter output refers to PA RF output. Test equipment that is capable of
demodulating the signal is required to perform this test.
 Loading...