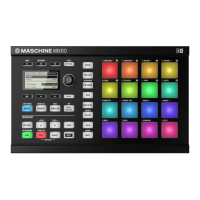
2. Press and hold SCENE to enter Scene mode (or pin it by pressing SCENE + CONTROL).
3. Press for example pad 2 to select Scene slot 2.
4. Press F2 (DUPL) to duplicate this Scene slot.
5. Press F3 (DELETE) to remove this new Scene.
→ The Scene is removed. Scenes to the right of the removed Scene are shifted one slot to
the left to fill the gap.
8.4 Playing Live
At last we come to the real point of the Scenes: playing your song!
Creating a Studio Track or Performing Live
If you are composing a studio track that you plan to export as is, you can assign your Scenes to
Sections in the Arranger view and arrange your song so that your whole track can be played in
one go from the very first Scene to the very last one. For more information on arranging your
song and using Sections, refer to: ↑9, Creating an Arrangement.
If you are preparing a track for a live performance, you will probably want to trigger different
Scenes using the pads. To help with this MASCHINE provides some useful tools.
8.4.1 Jumping to Other Scenes
MASCHINE provides you with two additional settings to fine-tune the jumps between the cur-
rent Scene and the next Scene:
▪ The Perform Grid setting lets you choose the point at which the playhead has to leave the
current Scene. It can be at the very moment at which you select another Scene, or at a set
interval: on the next eight note, quarter note, etc., or even at the end of the Scene.
▪ The Retrigger allows you to set whether the playhead will start from the point equivalent to
where the playhead leaves the current Scene or from the beginning of the next Scene. The
former (default setting) ensures that the global groove of your track is not interrupted!
Creating Scenes
Playing Live
MASCHINE MIKRO - Getting Started - 118

 Loading...