If you are not connected to the access point network but to the same network as the
access point, enter the IP address that is assigned to the access point. If you do not
know the IP address, see Find the IP address of the access point when you cannot
use routerlogin.net on page 27.
A login window displays.
If your browser does not display the login window but displays a security message
and does not let you proceed, see Log in to the access point after initial setup on
page 30.
3. Enter the access point local device password.
The local device password is the one that you specified. The local device password
is case-sensitive.
The BASIC Home page displays.
4. Select BASIC > Wireless.
The Wireless Network page displays.
5. Select an SSID Isolation radio button:
•
Enable. All SSIDs are isolated. That is, WiFi clients that are connected to different
SSIDs are prevented from communicating with each other. This is the default
setting. (Communication over the Internet remains possible.)
•
Disable. WiFi clients that are connected to different SSIDs can communicate with
each other.
6. Click the Apply button.
Your settings are saved.
Enable or disable a WiFi radio
The access point has internal WiFi radios that broadcast signals in the 2.4 GHz and
5 GHz bands. By default, they are on so that you can connect over WiFi to the access
point. When both WiFi radios are off, you can still use an Ethernet cable for a LAN
connection to the access point. If you turn both WiFi radios off, WPS is also disabled.
You can also turn a WiFi radio on and off based on a schedule. (See Add a WiFi schedule
for a radio on page 197.)
IMPORTANT: If the smart connect feature is enabled (which it is by default), you can
only enable or disable both radios simultaneously. That means that you cannot enable
or disable each radio individually.
User Manual70Basic WiFi and Radio Features
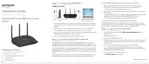
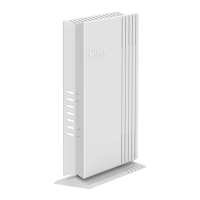
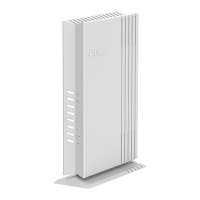
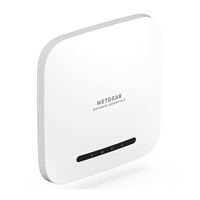
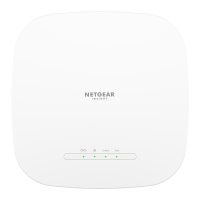
WiFi 6 AX1800 Dual Band Wireless Access Point WAX204
 Loading...