PROPlus / PRO Series Automated Dispensing Systems
73www.nordsonefd.com info@nordsonefd.com +1-401-431-7000 Sales and service of Nordson EFD dispensing systems are available worldwide.
How to Use Trig Marks in a Step & Repeat Program
When dispensing on multiple workpieces in an array, you can use the Camera Trigger, Trig Mark, and Rectangle
Adjust commands to ensure correct dispensing onto any workpieces that are slightly turned, as shown in the
example below. If the XY orientation of a workpiece is slightly turned, the system automatically adjusts the program
offsets to compensate.
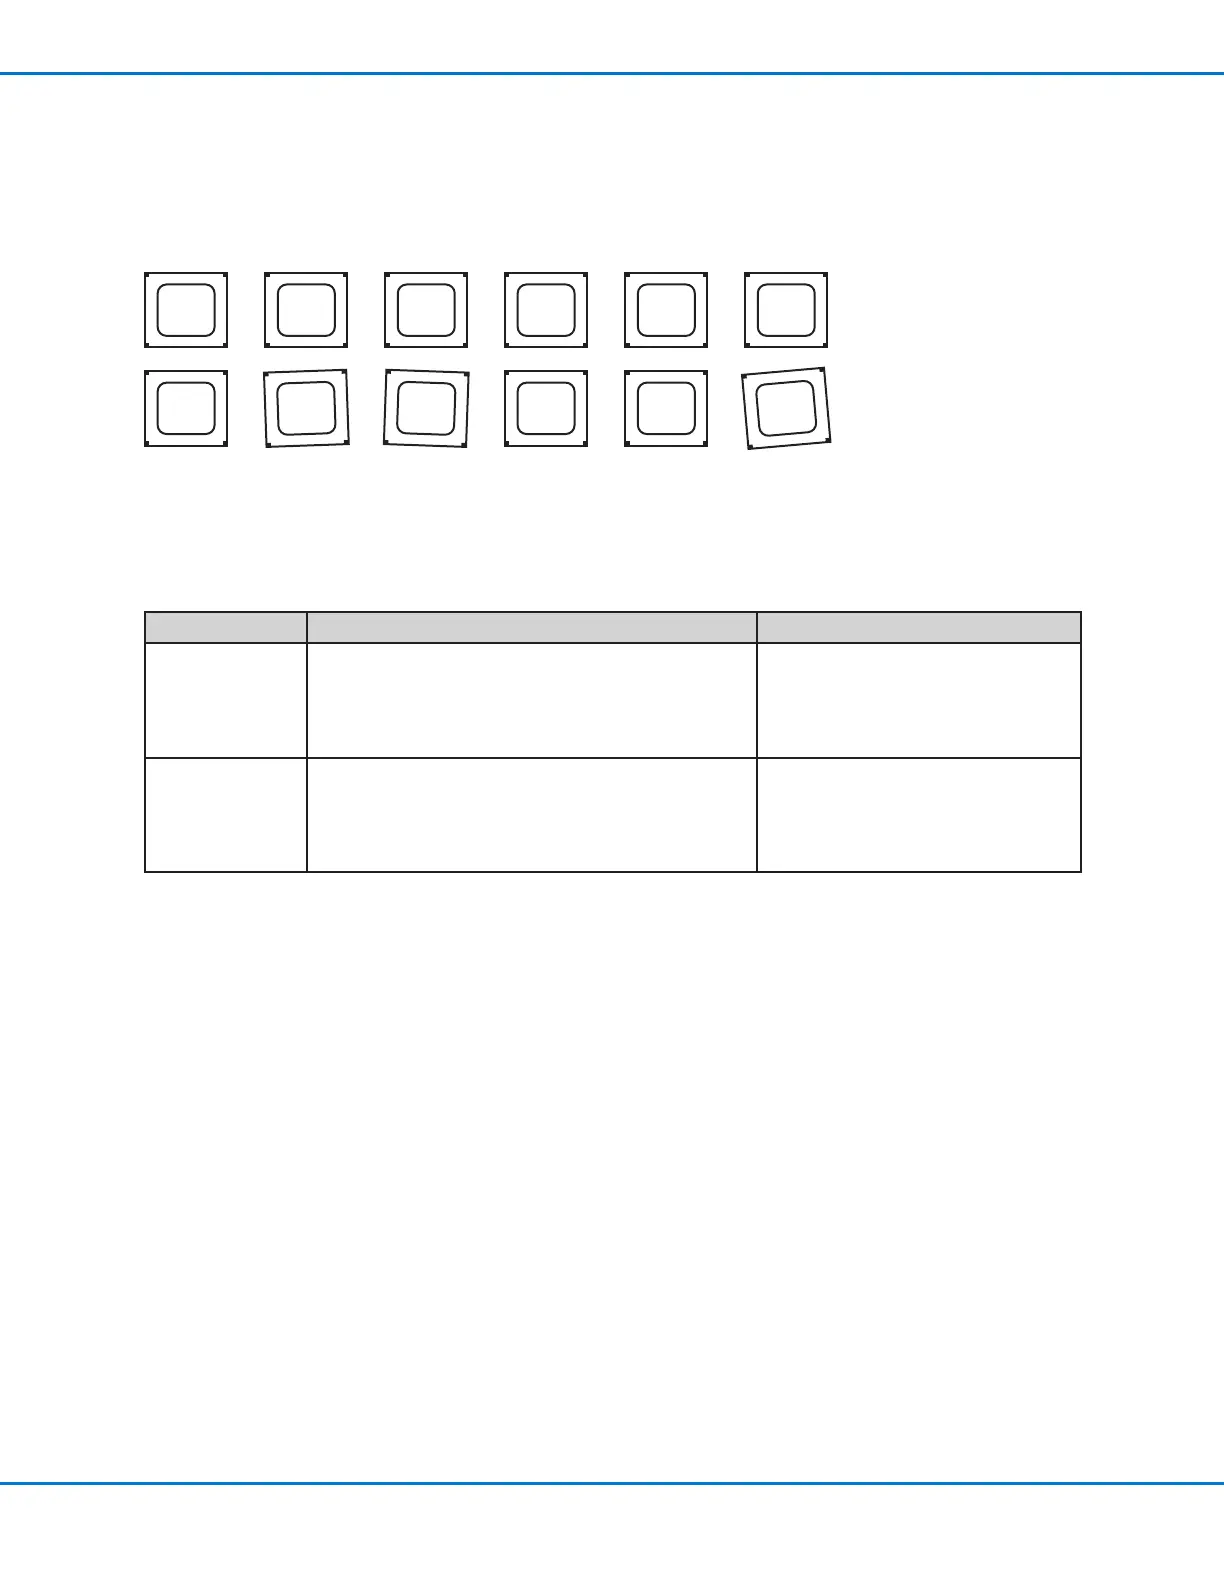
Example of workpieces that are slightly turned in an array; use the Camera Trigger, Trig Mark, and Rectangle Adjust commands to
cause the system to check the XY orientation of each workpiece in an array and to automatically adjust the dispensing path for the
turned workpieces.
There are two ways you can use this capability; select the best method for your application:
Method Number Comments Refer to:
Method 1
• Requires more programming time
• Requires more time for the system to search for the
marks
• Most accurate
“Method 1: Using Eight Trig Marks
(Highest Accuracy)” on page74
Method 2
• Requires less programming time
• Requires less time for the system to search for the
marks
• Less accurate
“Method 2: Using Two Trig Marks
(Faster)” on page80
NOTES:
• Use the Camera Trigger, Trig Mark, and Rectangle Adjust commands only in a Step & Repeat program (for
dispensing onto an array).
• When the Camera Trigger, Trig Mark, and Rectangle Adjust commands are used, the Step & Repeat parameter for
path must be set to S Path.
 Loading...