Scanning Methods
-102-
z Scanning Methods
This section explains the basic operation of the scan function. In scan mode, you can use five scan
functions, scan to e-mail, scan to USB memory, scan to network computer, scan to local computer and
PC scan. You can select these functions after pressing <SCAN> key.
Reference
z The scan function supports the Continuous Scan mode. For details on the [Continue Scan] functions, refer to
"Enabling Continuous Scan Mode (Continuous Scan)" P. 76.
Scan to E-mail
You can scan a document and attach it to an
e-mail.
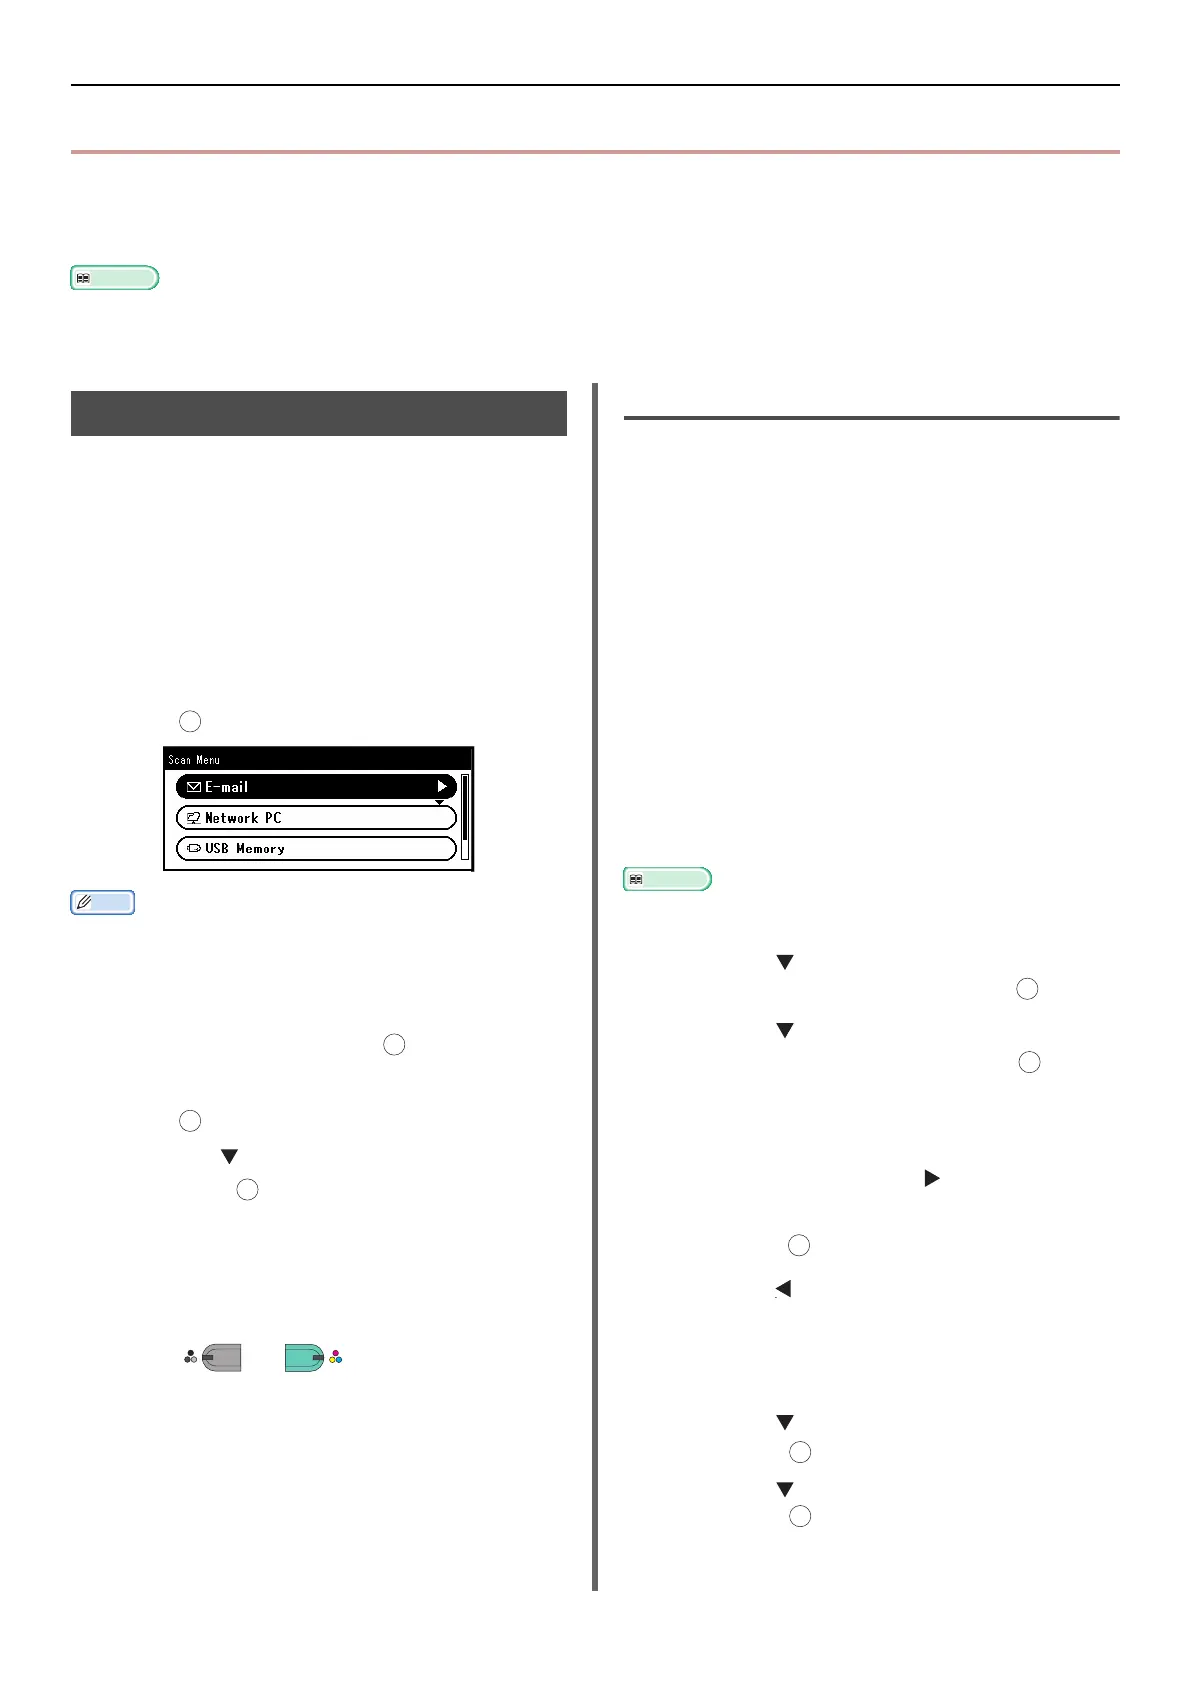
1 Press the <SCAN> key on the operator
panel.
2 Place your document with text face up in
the ADF or face down on the document
glass.
3 Make sure [E-mail] is selected and then
press .
Memo
z Here you can add addressees by using one-touch keys.
You can add addresses with [To]. Thereafter, you can add
multiple addresses using the one-touch keys.
4 Make sure [Add Destination] is
selected and then press .
5 Make sure [To] is selected and then
press .
Press
the to select [Cc] or [Bcc] and
then press
.
6 Specify a destination.
You can specify a destination by direct input or
from the address book, groups, e-mail histories,
LDAP or one-touch key.
7 Press or .
Specifying a Destination
You can specify a destination in the following six
ways:
z Using the address book
z Using a group list
z Using the e-mail history
z Direct input
z Using LDAP search
z Using the one-touch key pad
Perform any of the following operations at the
step 6 of "Scan to E-mail" stated above.
Using the Address Book or Group
List
You can select a destination from the address
book or group list. Be sure to register them in
advance.
Reference
z For how to register destinations in the address book or
group list, refer to "Registering Address Book" P. 110.
1 Press the to select [Address book]
or [Group list] and then press .
2 Press the to select the destination or
group you want and then press .
The check box is selected. You can select multiple
entries.
3 When you have selected all the
destinations, press the .
4 Check that [Complete] is selected and
then press .
5 Press the to return to start screen.
Using E-mail History
You can select a destination from transmission
histories.
1 Press the to select [Tx History] and
then press .
2 Press the to select a destination and
then press .
The check box is selected. You can select multiple
entries.
OK
OK
OK
OK
MONO
COLO
OK
OK
OK
OK
OK