Scanning Methods
-104-
Scan to Network PC
You can send a scanned document to a server on
the network.
The document is scanned and converted to a
PDF, JPEG, TIFF, or XPS file. The factory default
setting is PDF.
Note
z Check that the machine is connected to the network.
z It is necessary to set up Scan To Network PC in advance.
Reference
z For the Scan To Network PC setup, please refer to "Setting
Up Scan To Network PC" P. 62.
1 Press the <SCAN> key on the operator
panel.
2 Place your document with text face up in
the ADF or face down on the document
glass.
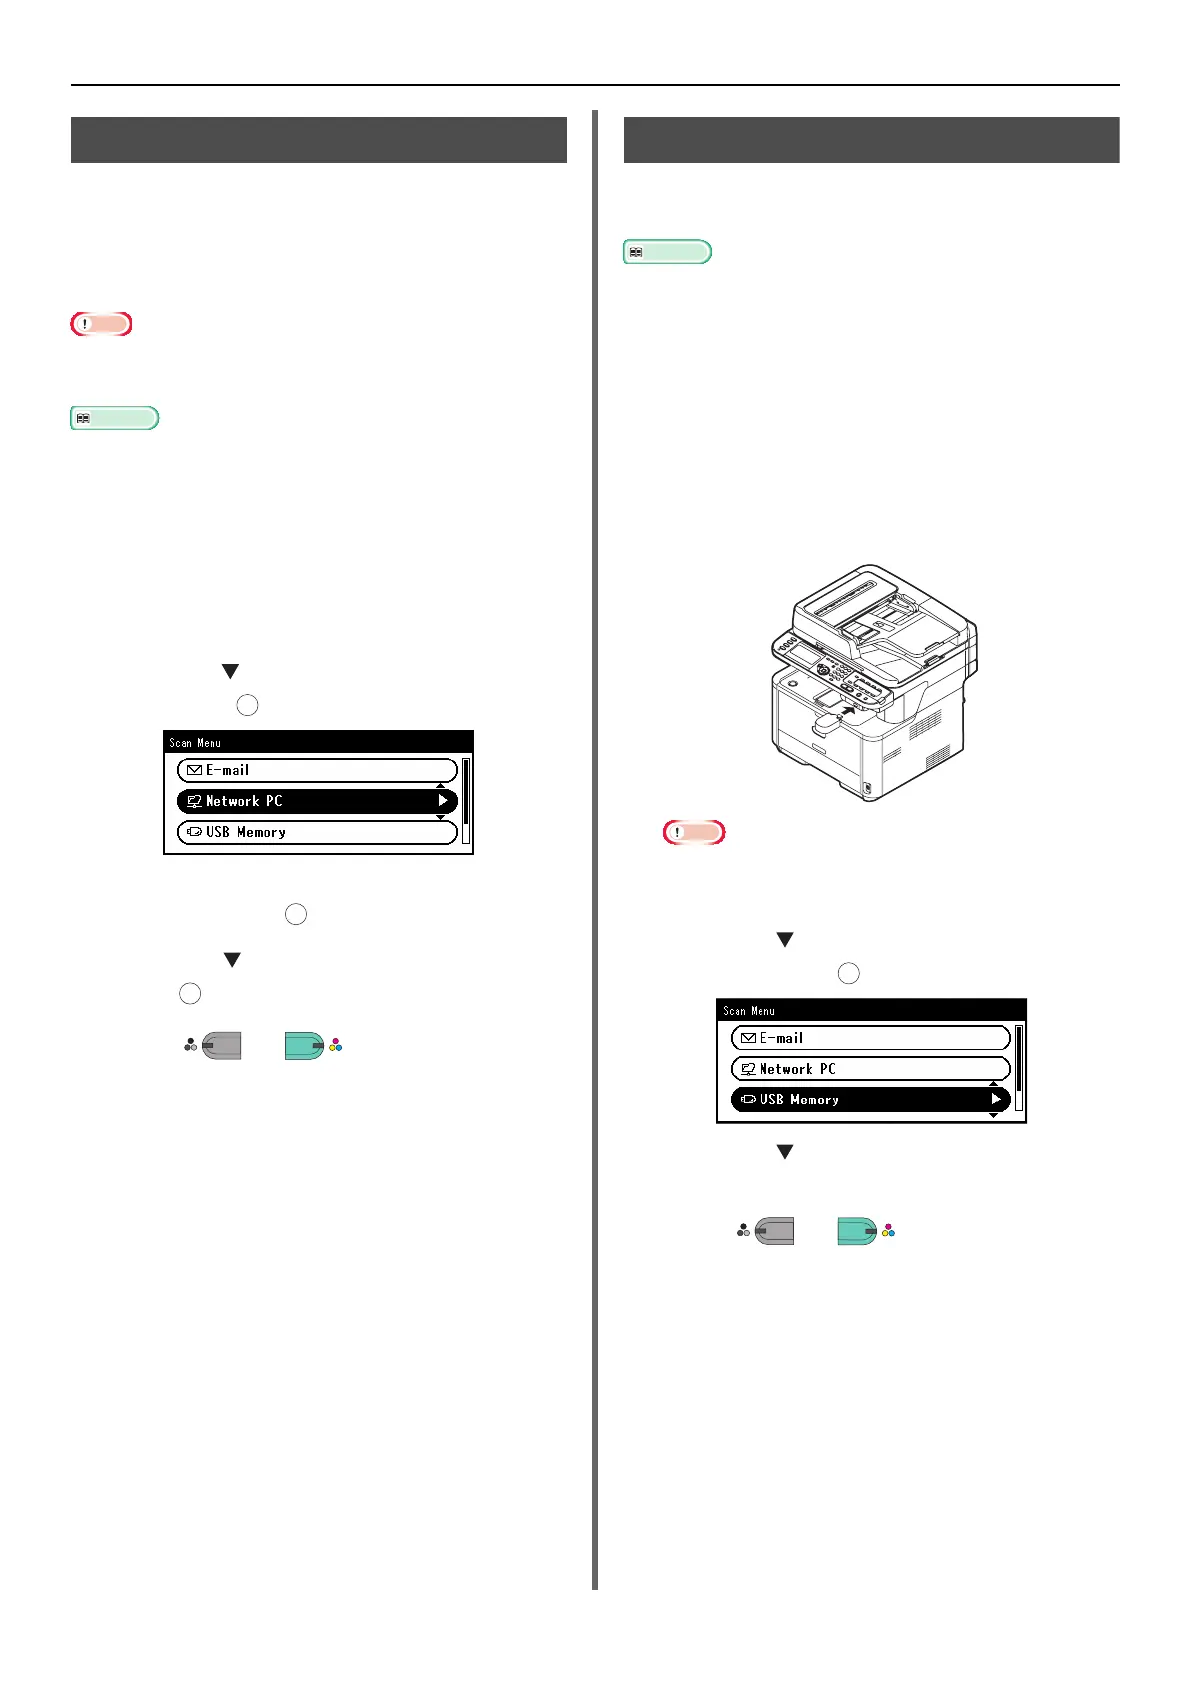
3 Press the to select [Network PC] and
then press .
4 Check that [Select Profile] is selected
and then press .
5 Press the to select a profile and then
press .
6 Press or .
Scan to USB Memory
You can save the scanned document in a USB
memory.
Reference
z For the specifications of USB memory that you can use, please
refer to "Print From USB Memory Specifications" P. 175.
1 Press the <SCAN> key on the operator
panel.
2 Place your document with text face up in
the ADF or face down on the document
glass.
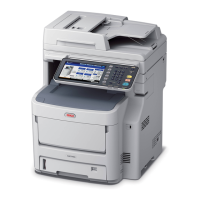
3 Insert the USB memory into the USB
memory interface of the machine.
Note
z Insert the USB memory into the USB port straight. If it
is not inserted with a correct angle, the USB port may
be damaged.
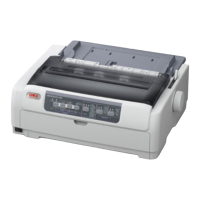
4 Press the to select [USB Memory]
and then press .
5 Press the to scanning settings if
necessary.
6 Press or .
7 Remove the USB memory from the port
after the message is displayed indicating
that it is OK to remove the USB memory.
OK
OK
OK
MONO
COLO
OK
MONO
COLO