Configuring Fax Settings
-83-
Faxing (for MB471, MB491, ES4191 MFP only)
3
z Configuring Fax Settings
You can configure the fax settings to alter the output to suit your needs. Each setting can be configured
from the [Fax Functions] menu on the fax start screen.
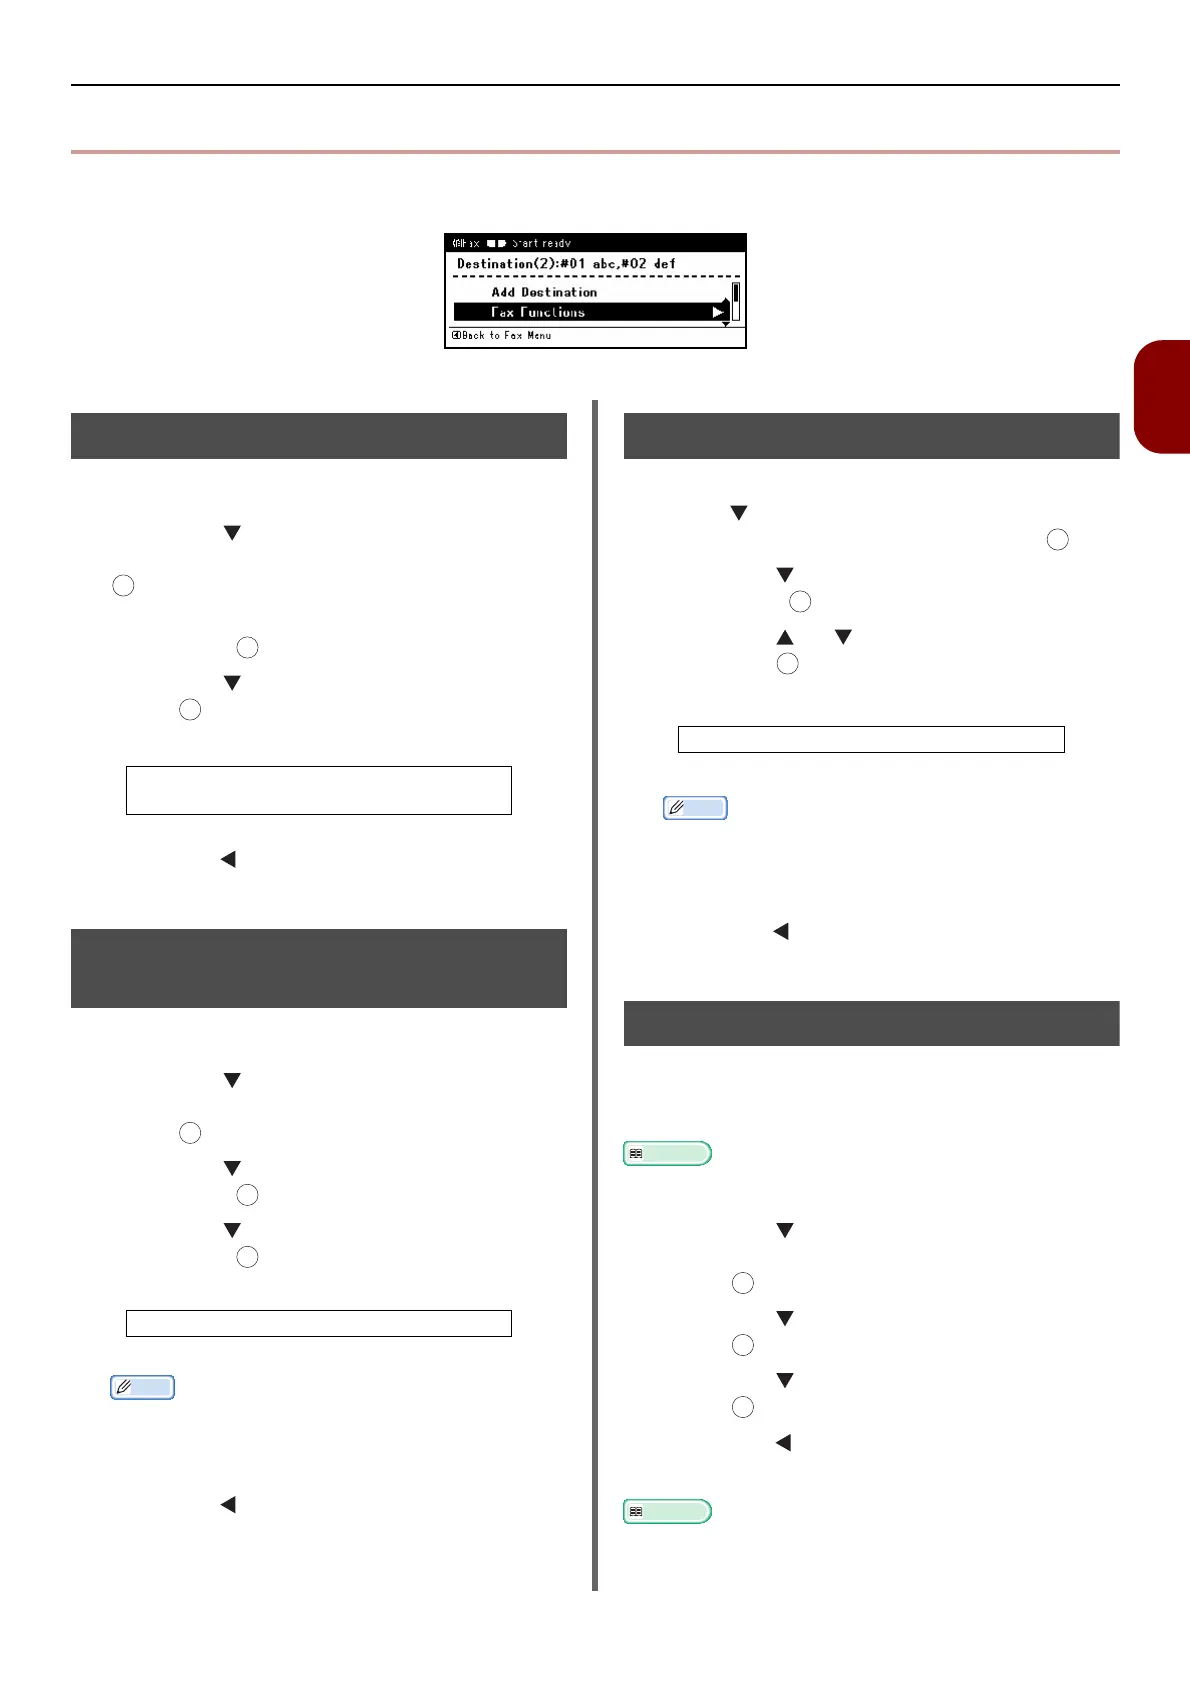
Perform the following procedures at step 6 of "Sending a Fax" P. 80 described above.
Changing Scan Size (Scan Size)
You can select the appropriate scan size for your
document.
1 Press the to select [Fax Functions]
on the fax start screen and then press
.
2 Check that [Scan Size] is selected and
then press .
3 Press the to select a size and then
press .
4
Press the until the fax standby screen
appears.
Changing Resolution
(Resolution)
You can select an appropriate resolution to scan
your fax document to get optimum image quality.
1 Press the to select [Fax Functions]
on the fax standby screen and then
press .
2 Press the to select [Resolution] and
then press .
3 Press the to select a resolution and
then press .
Memo
z [Extra-Fine] may be unavailable depending on the
recipient machine.
z In the [Fine], [Extra-Fine], or [Photo] mode,
scanning takes longer.
4
Press the until the fax standby screen
appears.
Adjusting Density (Density)
You can adjust the scan density from 7 levels.
1
Press to select [
Fax Functions
] on the
fax standby screen and then press .
2 Press the to select [Density] and
then press .
3
Press the
or to select a density and
then press .
Memo
z [0] is the standard value. To darken the document
image, select [+1], [+2] or [+3] (most dense).
Conversely, to lighten the document image, select
[- 1], [-2] or [-3] (least dense).
4
Press the until the fax standby screen
appears.
Printing the Sender Name
You can set the machine to print a sender name
on faxes you send. By default, the name you
specified in [Sender ID] is printed.
Reference
z For details on [Sender ID], refer to "Specifying Sender
Information" P. 44.
1 Press the to select [Fax Functions]
on the fax standby screen and then
press .
2 Press the to select [TTI] and then
press .
3 Press the to select [ON] and then
press .
4
Press the
until the fax start screen
appears.
Reference
z For details on how to register a sender name and change
the sender name to be used, refer to the Use's Manual
Advanced.
Settable Size Values:
A4* Letter Legal 13 Legal 13.5
Legal 14
*indicates the factory default.
Settable Resolution:
Normal* Fine Extra-Fine Photo
*indicates the factory default.
OK
OK
OK
OK
OK
OK
Values:
+3 +2 +1 0* -1 -2 -3
*indicates the factory default.
OK
OK
OK
OK
OK
OK