Configuring the Network Settings
-67-
Setup
1
For Windows Server 2003
Memo
z The items here may differ depending on the edition you
are using.
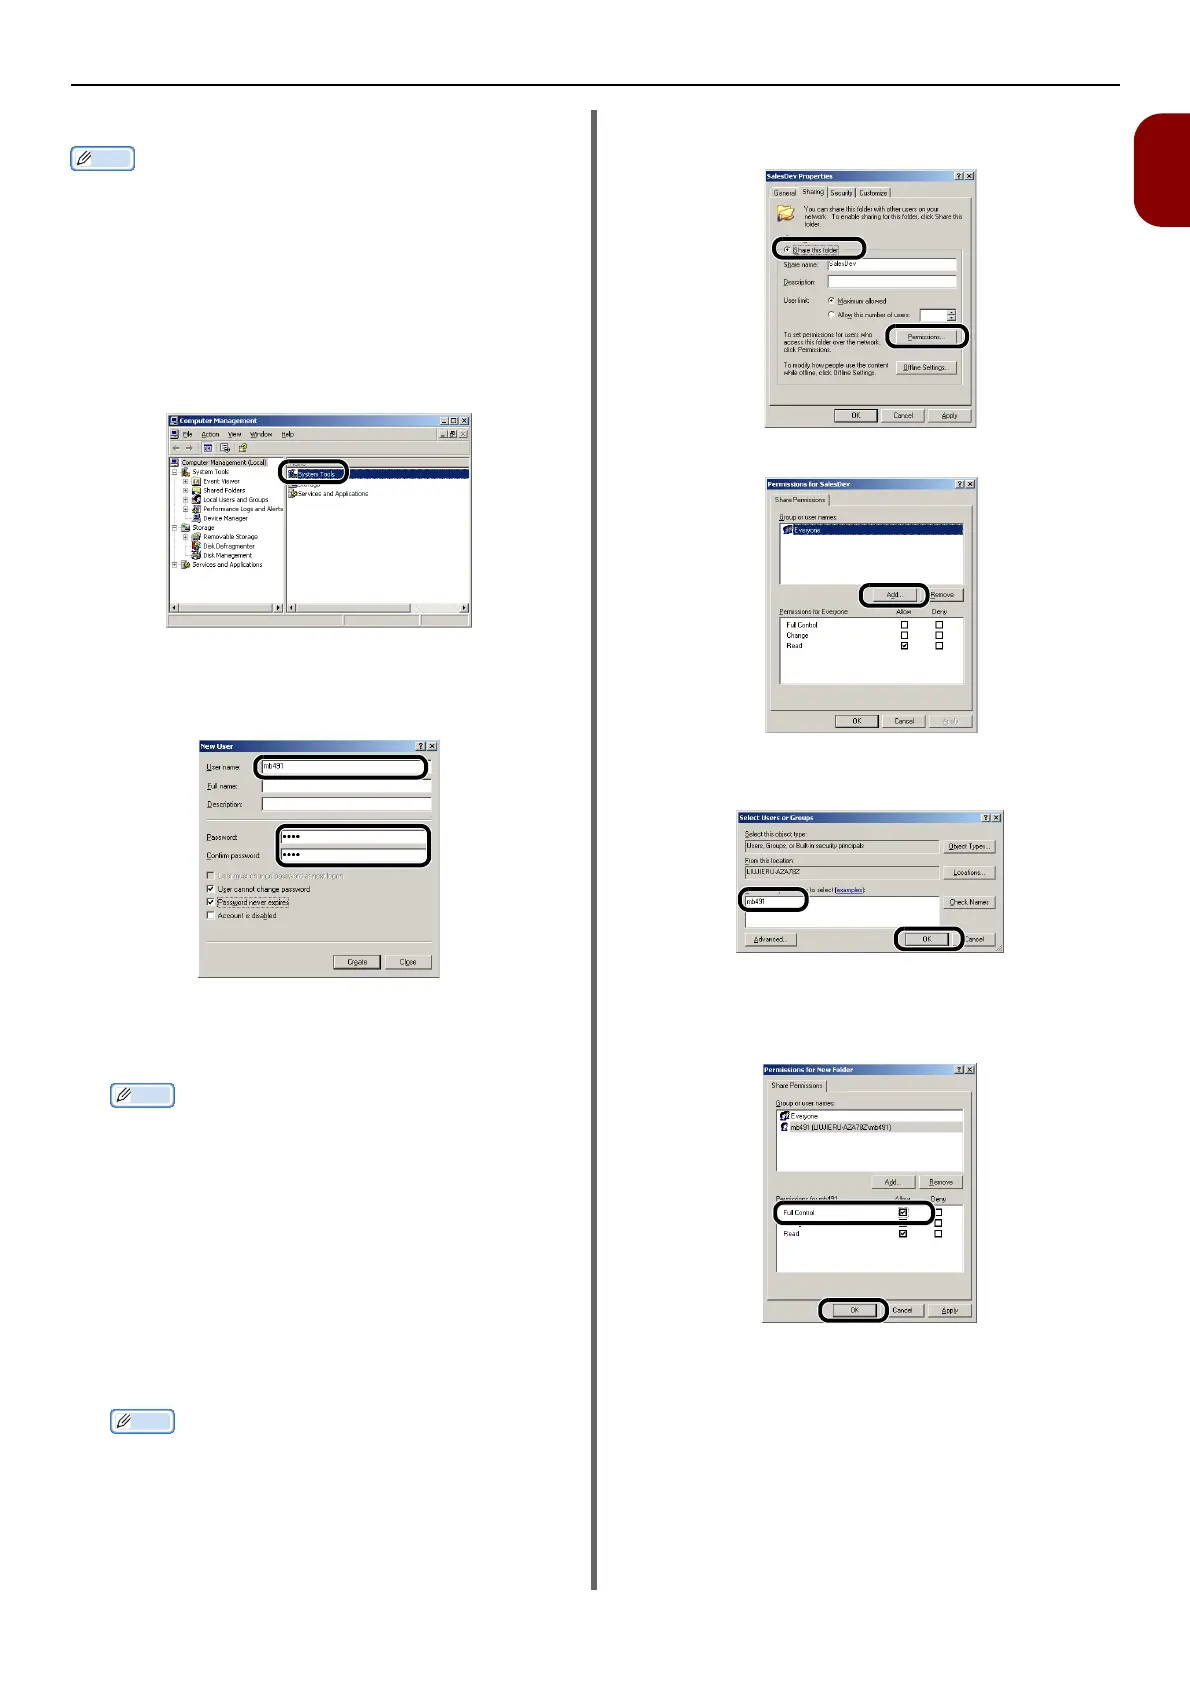
1 Click [Start] > [Administrative Tools] >
[Computer Management].
2 In the right window, double-click
[System Tools] > [Local Users and
Groups], and then Right-click [Users]
and select [New User].
3 Enter the value of C-2 in [User name]
and the value of C-3 in [Password] and
[Confirm password].
4 Select [User can not change
password] and [Password never
expires], and then click [Create].
Memo
z If [User must change password at next logon] is
selected, clear it so that you can select [User can not
change password] and [Password never expires].
5 Click [Close].
6 Double-click [User] and check that the
user created in step 4 is displayed.
7 Close the window.
8 Create a new folder on the computer
with the name entered in C-5.
Memo
z It is recommended to create a folder in the local drive
(C drive or D drive), not on the desktop, [My
Documents], or network drive.
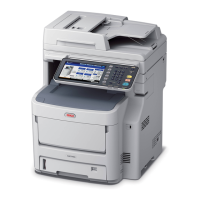
9 Right-click the folder created in step 8
and then select [Sharing].
10 Select [Share this folder] and then
click [Permissions].
11 Click [Add].
12 Enter the value in C-2 in the entry field
and click [OK].
Proceed to the step 15.
13 Select the [Allow] check box for [Full
Control], and then click [OK].
14 Ensure that the icon of the shared folder
created in the step 8 changes into the
icon with a hand, and then close the
window.
"Creating a Profile for Scan To Network PC" P. 70