FP3 MEWNET-TR
Chapter3-1. Page.36
32
5) Mounting method
J
Mounting hole dimensions
x Mount the master backplane using M5 screws in the sequence
given below.
1
Lightly secure the upper part of the backplane using the
mounting holes.
2
Align the mounting holes for the lower part and secure.
3
Tighten the upper screws.
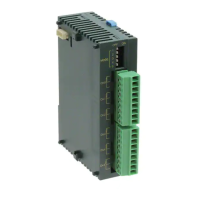
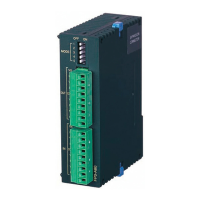
6) Connecting expansion cables
x The expansion cables are directional and are equipped with a key to prevent erroneous insertion.
x Connect so that the IN and OUT marks on the cable match the IN and OUT marks on the backplane.
x Insert the expansion cables firmly until they click into place.
x When removing the cables, release the lock by pinching the spring release tabs of the connector before pulling out the
cable.
Master backplane
Expansion backplane
Expansion backplane
Connector
Springs
Notes:
x
Leave the dust proofing label on the upper surface of the unit until the wiring work is finished.
x
Leave the connector covers on any unused slots to protect them from dust.
x
The same for the expansion cable covers.
3-1. Installation
3-slot
Expansion
backplane
Master
backplane
Type
(unit: mm/in.)
Part No. A (mm/in.) B (mm/in.)
AFP3505 260/10.236 245/9.646
5-slot
AFP3501 330/12.992 315/12.402
8-slot
AFP3502 435/17.126 420/16.535
3-slot
AFP3506 260/10.236 245/9.646
5-slot
AFP3503 330/12.992 315/12.402
8-slot
AFP3504 435/17.126 420/16.535
Master backplane
M5 screws