78
Position Measuring System
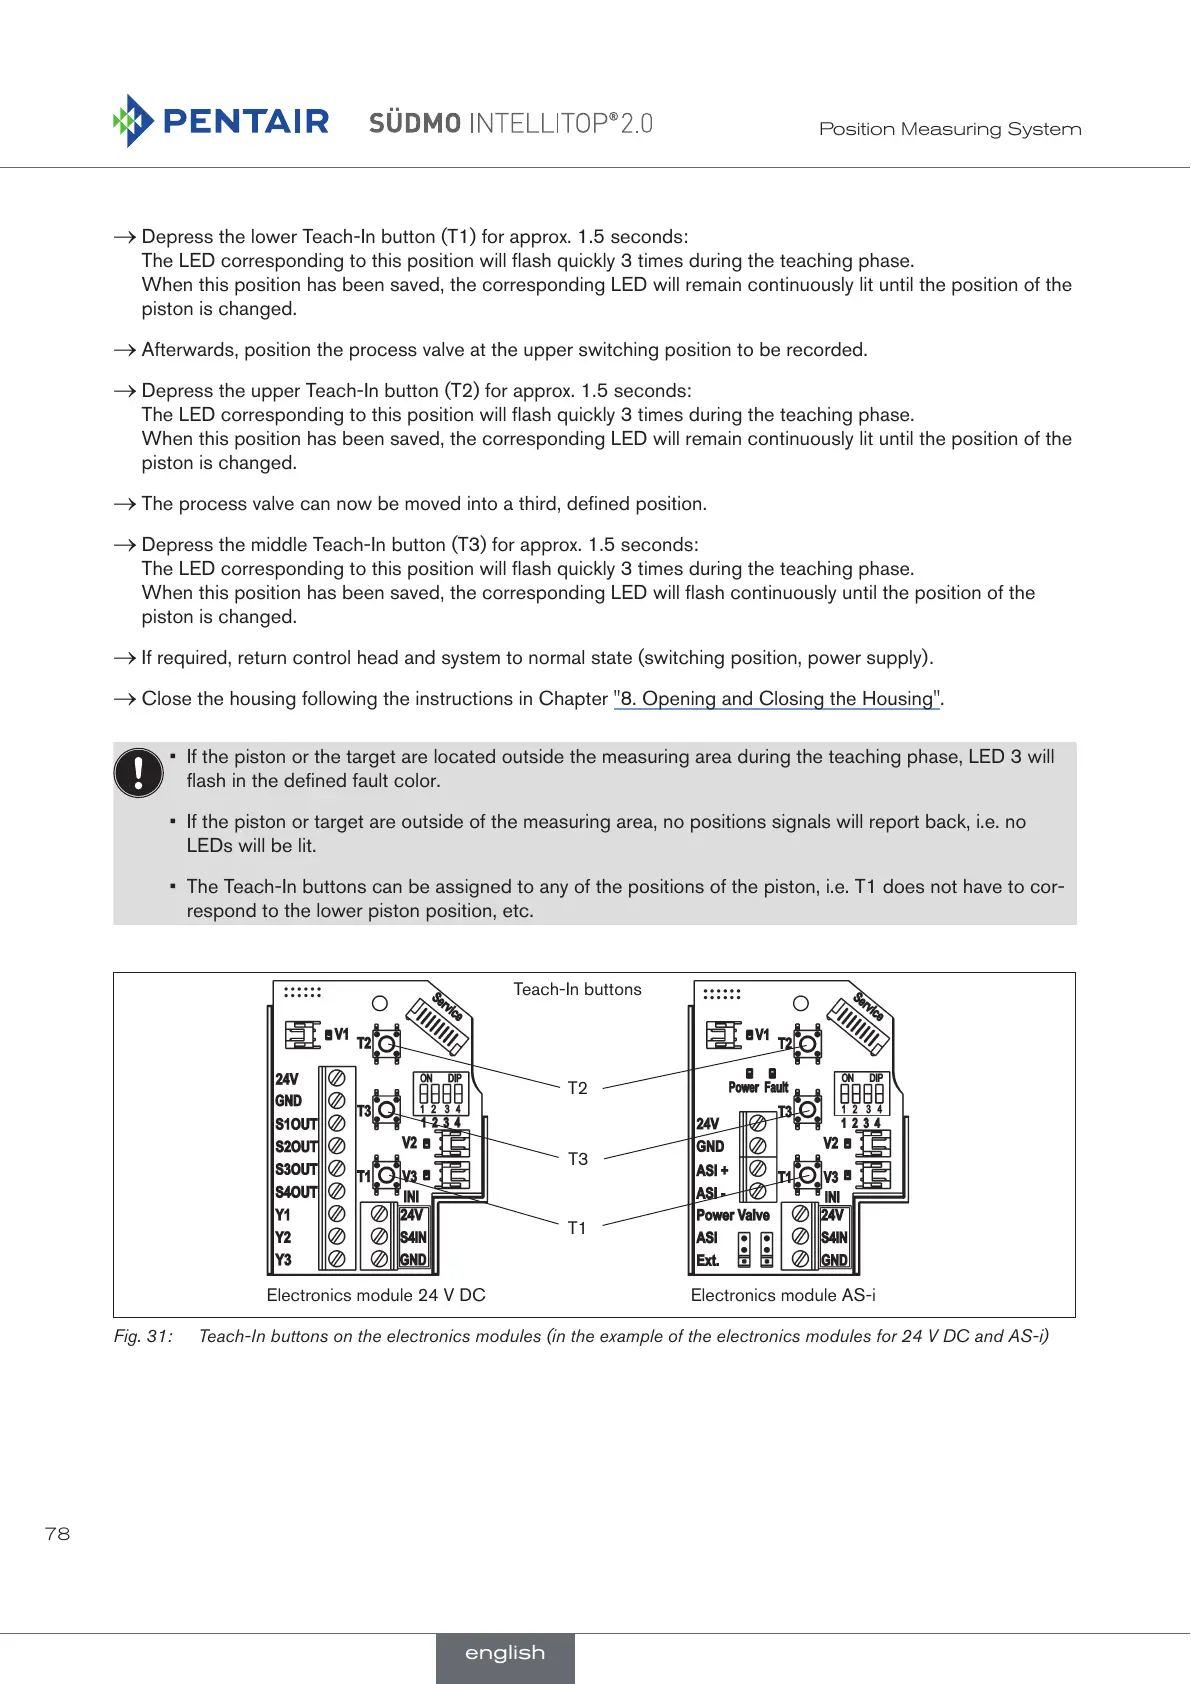
→ Depress the lower Teach-In button (T1) for approx. 1.5 seconds:
The LED corresponding to this position will flash quickly 3 times during the teaching phase.
When this position has been saved, the corresponding LED will remain continuously lit until the position of the
piston is changed.
→ Afterwards, position the process valve at the upper switching position to be recorded.
→ Depress the upper Teach-In button (T2) for approx. 1.5 seconds:
The LED corresponding to this position will flash quickly 3 times during the teaching phase.
When this position has been saved, the corresponding LED will remain continuously lit until the position of the
piston is changed.
→ The process valve can now be moved into a third, defined position.
→ Depress the middle Teach-In button (T3) for approx. 1.5 seconds:
The LED corresponding to this position will flash quickly 3 times during the teaching phase.
When this position has been saved, the corresponding LED will flash continuously until the position of the
piston is changed.
→ If required, return control head and system to normal state (switching position, power supply).
→ Close the housing following the instructions in Chapter "8. Opening and Closing the Housing".
• If the piston or the target are located outside the measuring area during the teaching phase, LED 3 will
flash in the defined fault color.
• If the piston or target are outside of the measuring area, no positions signals will report back, i.e. no
LEDs will be lit.
• The Teach-In buttons can be assigned to any of the positions of the piston, i.e. T1 does not have to cor-
respond to the lower piston position, etc.
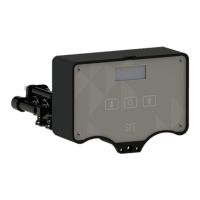
Teach-In buttons
Electronics module 24 V DC Electronics module AS-i
T2
T3
T1
Fig. 31: Teach-In buttons on the electronics modules (in the example of the electronics modules for 24 V DC and AS-i)
english
 Loading...