26
Choosing a Switchbox Layout
The ICS System offers several Switchbox Layouts for each Seating System. These Layouts enable the
Switchbox functionality to be tailored to suit the user.
When changing the Switchbox Layout, first select the desired layout number from the table on the next
page, then proceed with the programming instructions below. Only layouts designed for a seating system
are able to be chosen on that seating system.
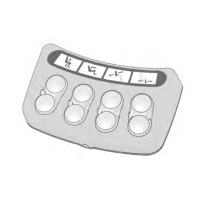
To enable layout changes once a wheelchair is in the field, a label sheet is available with all layout stickers,
part number 1822329 can be ordered as a Spare Part. It is suggested that the appropriate label be applied
to the Switchbox after the layout has been programmed and its operation is confirmed.
To change the Switchbox Layout
1.
Enter the Switchbox Layout Selection mode:
a) With the wheelchair off, press and hold Button 1 and Button 3 on the ICS Switchbox.
b) While holding these buttons, turn on the wheelchair with the Joystick (or Input Device) Power Button.
c) Once all LEDs on the ICS Switchbox turn green, release Buttons 1 and 3.
• LED #7 will flash GREEN and LED #8 will glow RED to signify Switchbox Layout Select mode.
2.
Adjust Layout Number to desired Layout type:
a) Once in the Switchbox Layout Selection mode, the current layout setting will be displayed.
b) Find the desired layout in the chart below. Select this value using Button 1 and 5 on the switchbox.
• Button 1 will increase the layout selection and Button 5 will decrease the layout selection.
The Switchbox Layout is represented with LEDs 1, 2, 3, 4, 5 on the ICS Switchbox.
Programming Configuring using the ICS Switchbox