Applying the Sensor
SpO
2
Monitoring 8-13
Inspect the application site every 2 to 3 hours or according to clinical practice
guidelines to ensure skin integrity and correct optical alignment. If skin
integrity changes, move the sensor to another site.
Follow the sensor’s instructions for use, adhering to all warnings and cautions.
To apply the sensor, use the following directions.
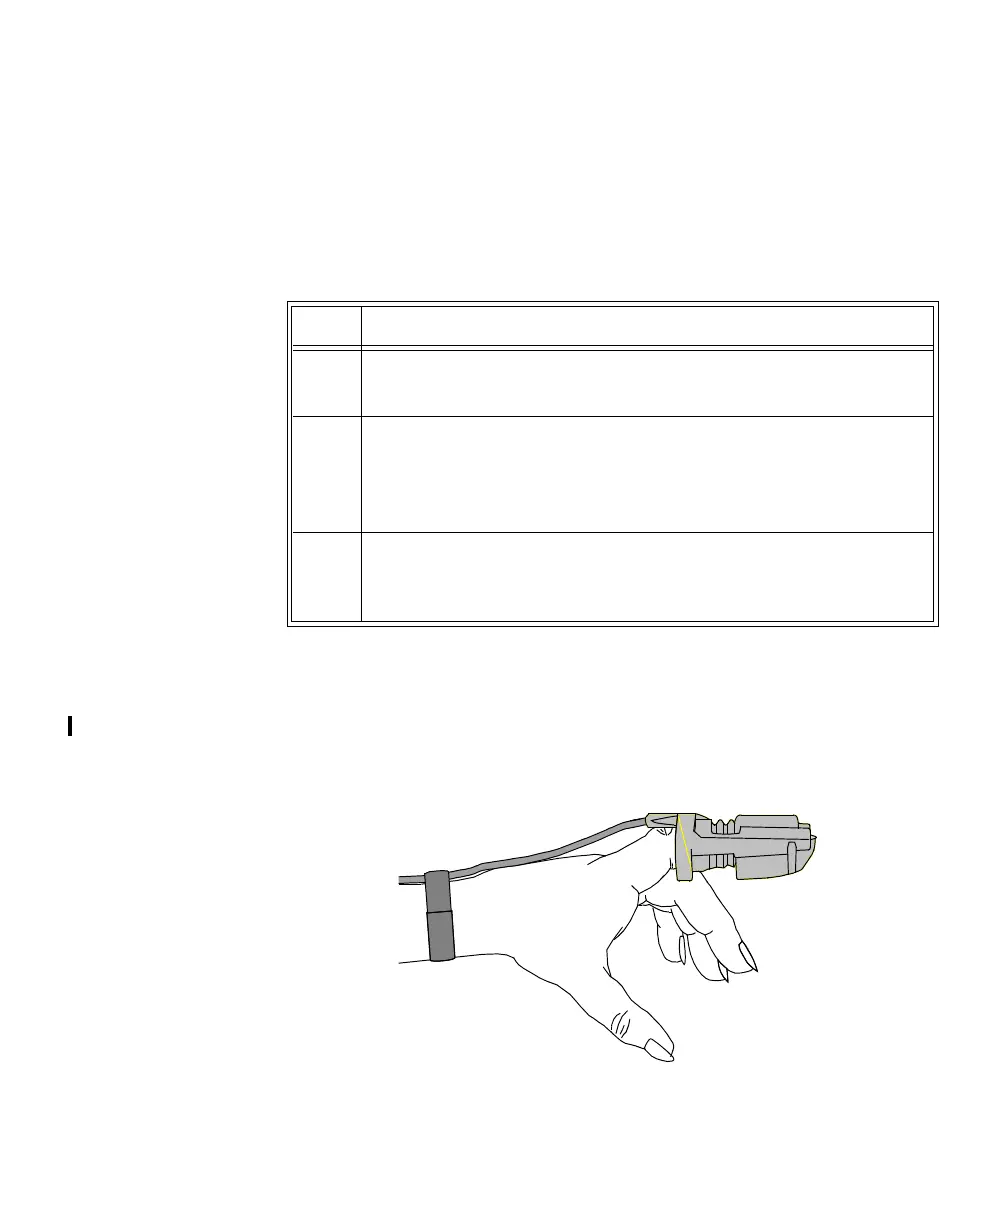
Adult Finger
sensor
(M1191A/B)
Push the sensor over the fingertip in such a way that the fingertip touches but
does not protrude from the end of the sensor. The fingertip must be uppermost
and the cable must lie on the back of the hand. This ensures that the light source
cover the base of the fingertip giving the best measurement results. The cable
can be held in place by the accompanying wristband.
Step Action
1 Select the site and appropriate sensor (see “Selecting a SpO
2
Sensor” on page 8-7).
2 Apply the sensor to the appropriate part of the patient’s body.
Note—The application site should match the sensor size so that the
sensor can neither fall off nor apply excessive pressure.
3 Check that the light emitter and the photo detector are directly
opposite each other. All light from the emitter must pass through the
patient’s tissue.

 Loading...