17
Connecting your PIKO SmartBox
®
to the track
After making sure that your layout is setup according to above mentioned criteria you can connect the
Piko SmartBox
®
to the track. You begin by connecting the wires to the the terminal / socket-connector.
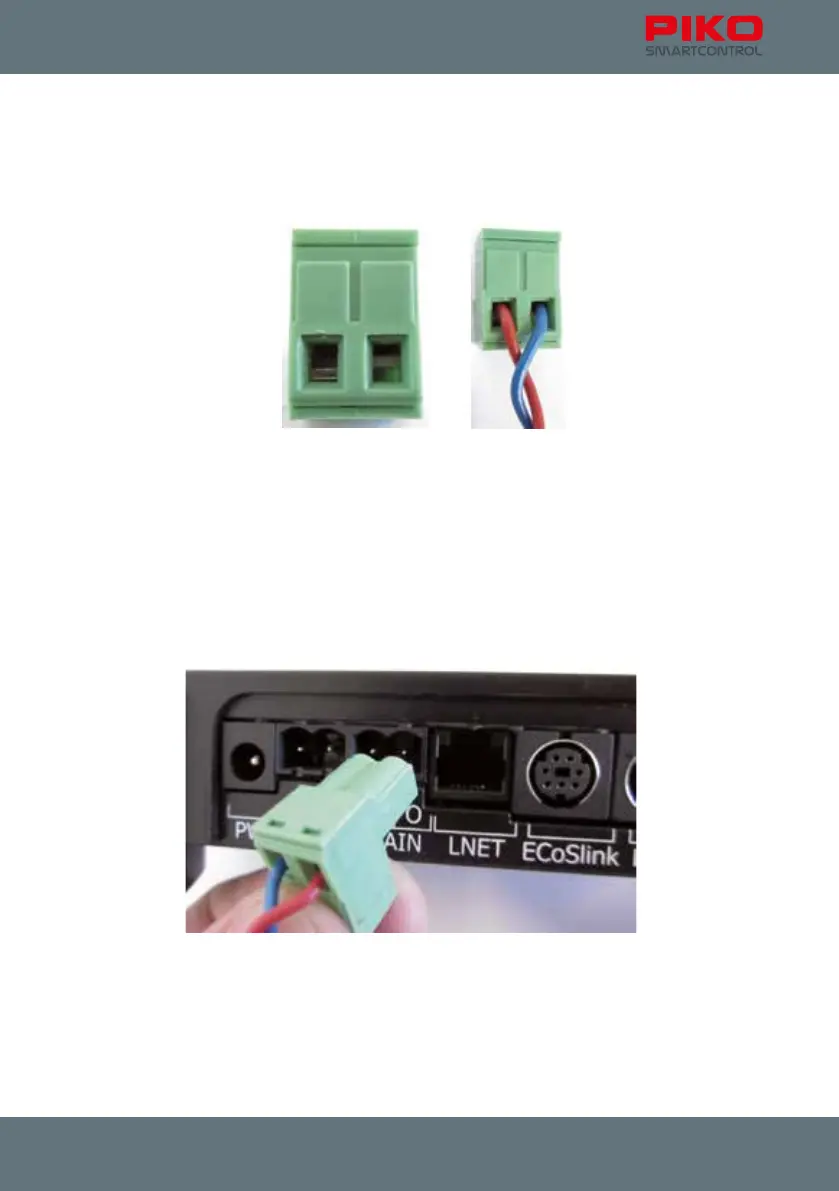
Terminal / Socket Connector
Before inserting the wire, please open the terminal screws a little bit (see left picture, left side opened).
Open the screws until the wire will t.
The wire ends should be tin-plated ca. 5mm. If you have no soldering iron on hand you can twist the
wire ends instead.
Now insert the wires and tighten the screws. Please make sure that the insulation is not pushed into
the holes, otherwise contact problems may occur.
You will have the choice where to connect your track.
Please connect your layout to “MAIN”. If you have a separate programming track you can connect it to
“PROG” with another socket terminal.
With a programming track in place you can control your layout and program decoders in parallel.